My Standard Sourdough Recipe
Let me say right now I am no sourdough expert. I don’t bake up perfect loaves. But, I do bake on a regular basis, and the method and recipe I’ve developed produces a reliably tasty loaf. I make bread work with my schedule. I’m pretty hesitant to plan my day around my bread.
If I’m going to be baking on a regular basis, bread baking can’t be too nit-picky. At least, that’s how I see it. While some days everything aligns and I make a spectacularly tasty loaf, I rejoice at the beauty and mystery of bread. Other days, I might be a little more preoccupied with cleaning the house or chasing my children or running errands. But no matter the day, this produces a delicious bread with a softer crust, milder sourdough flavor, and good chewy crumb. Which is what I want, and what my family wants.
Let me also say, I had a bumpy start to making sourdough. I first got into sourdough baking after Maria gifted me The Bread Baker’s Apprentice. I love the book. But for some reason, the explanation on sourdough didn’t sink in. I followed the motions, but had no clue what I was dealing with. Amazingly, I managed to bake a number of decent loaves. But suddenly, I had a string of flat loaves. None of them would rise. I was so perplexed! I was doing the same things! WHAT WAS HAPPENING?! I was discouraged.
Then I emailed Maria (who has her own sourdough groove). As I waited for her response, I web searched madly. Between the two sources, I realized I was starving and abusing my starter. I had no clue how to feed it properly, keep it happy, and monitor its well-being.
So, after feeding my starter intensively for a couple days, I got off to a second start. My starter has been happy ever since then, and I’ve not had another flat loaf. Hurrah!
With sourdough, it’s hard to give a clean recipe. So much is flexible, so much can depend on certain ingredients, the time of year, even how humid it is. So what I’ll do is walk you through my usual method more conversationally, then provide the recipe at the end. Let me repeat, I am not very hard and fast about hardly anything. There is so much room for freedom and flexibility with sourdough! While the outcome can range, it is nevertheless something pretty darn tasty.
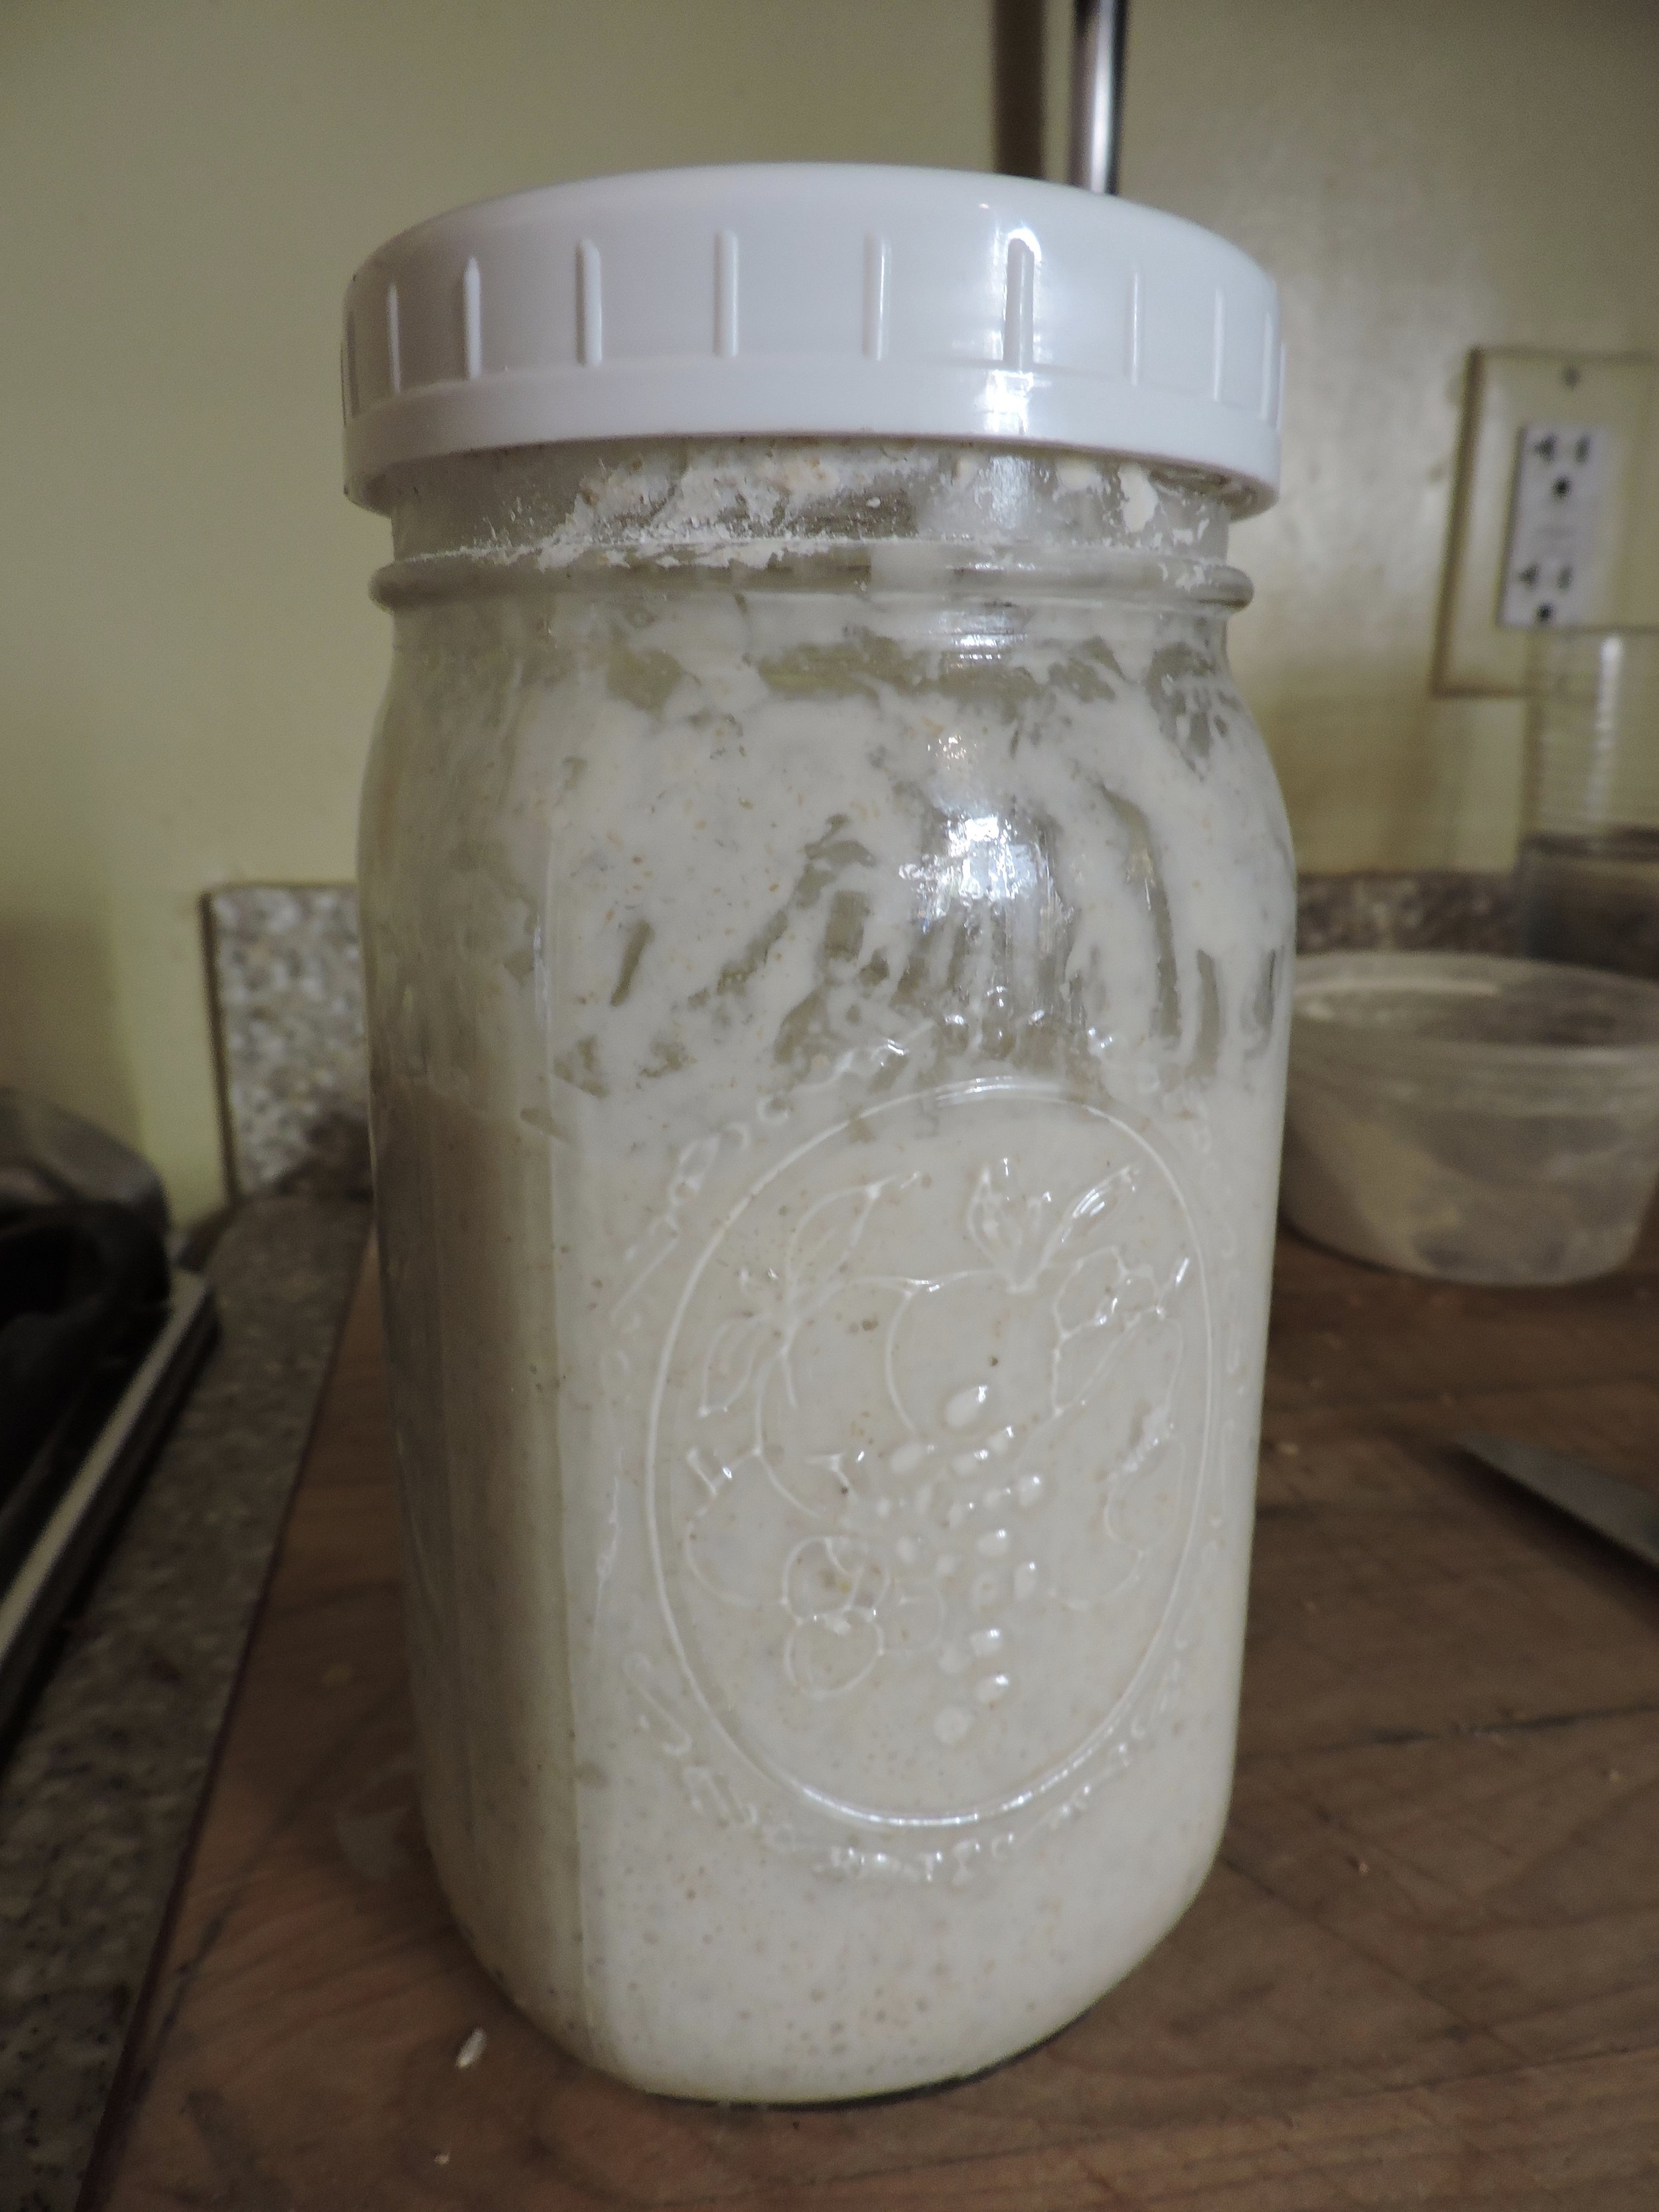
how i keep my starter:
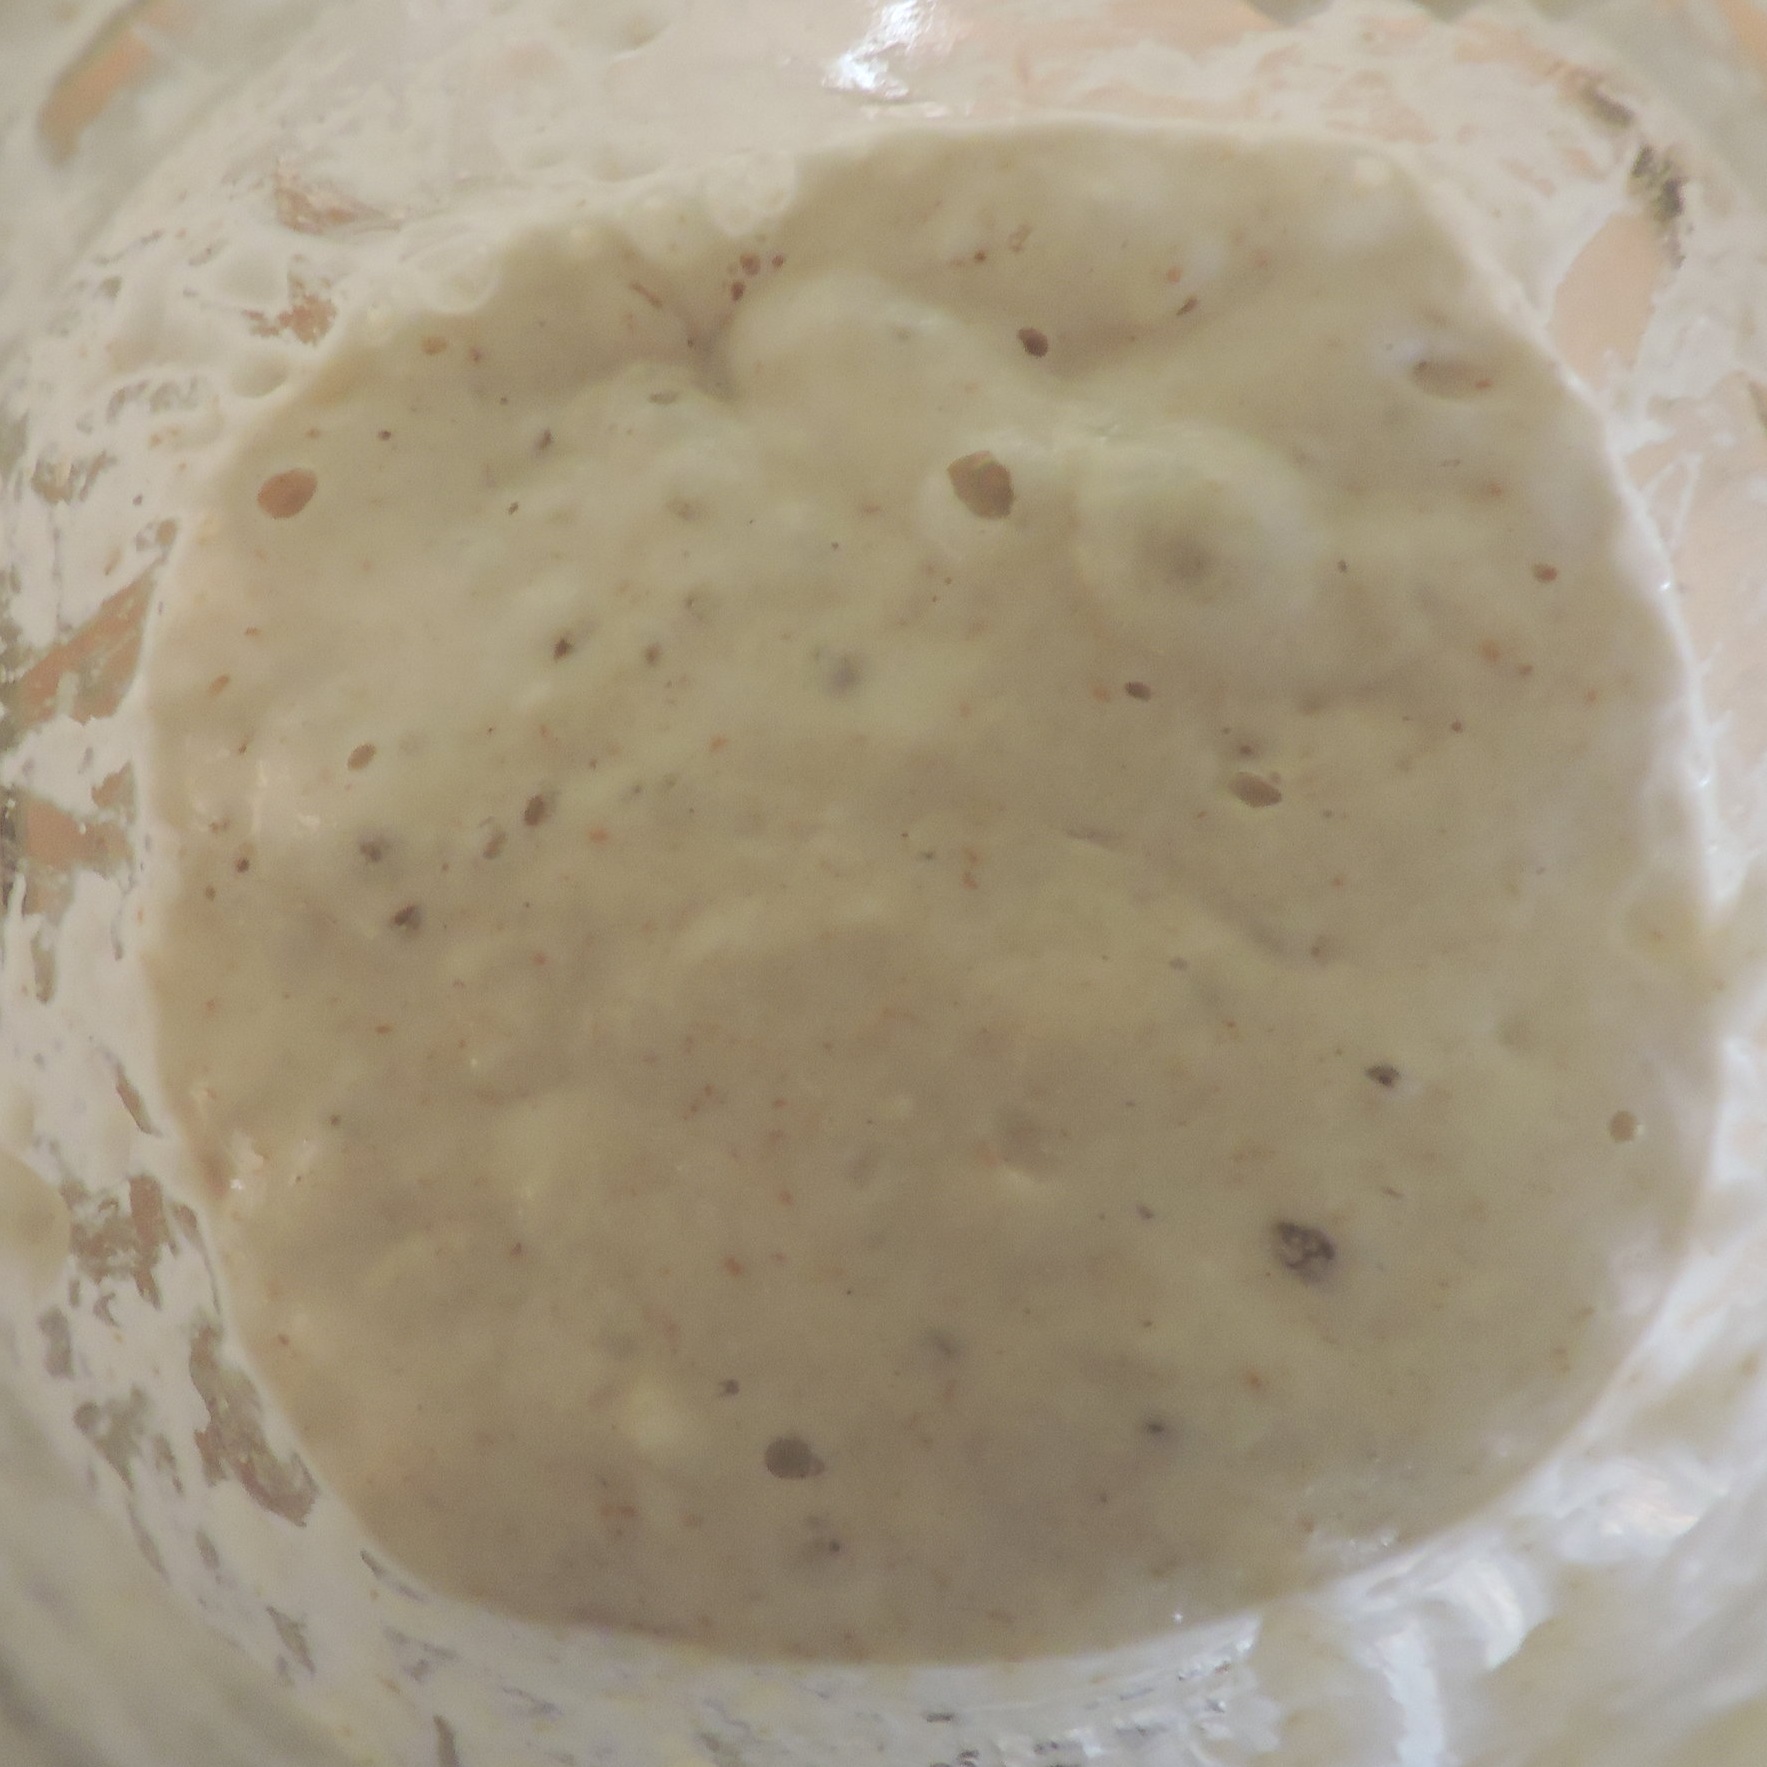
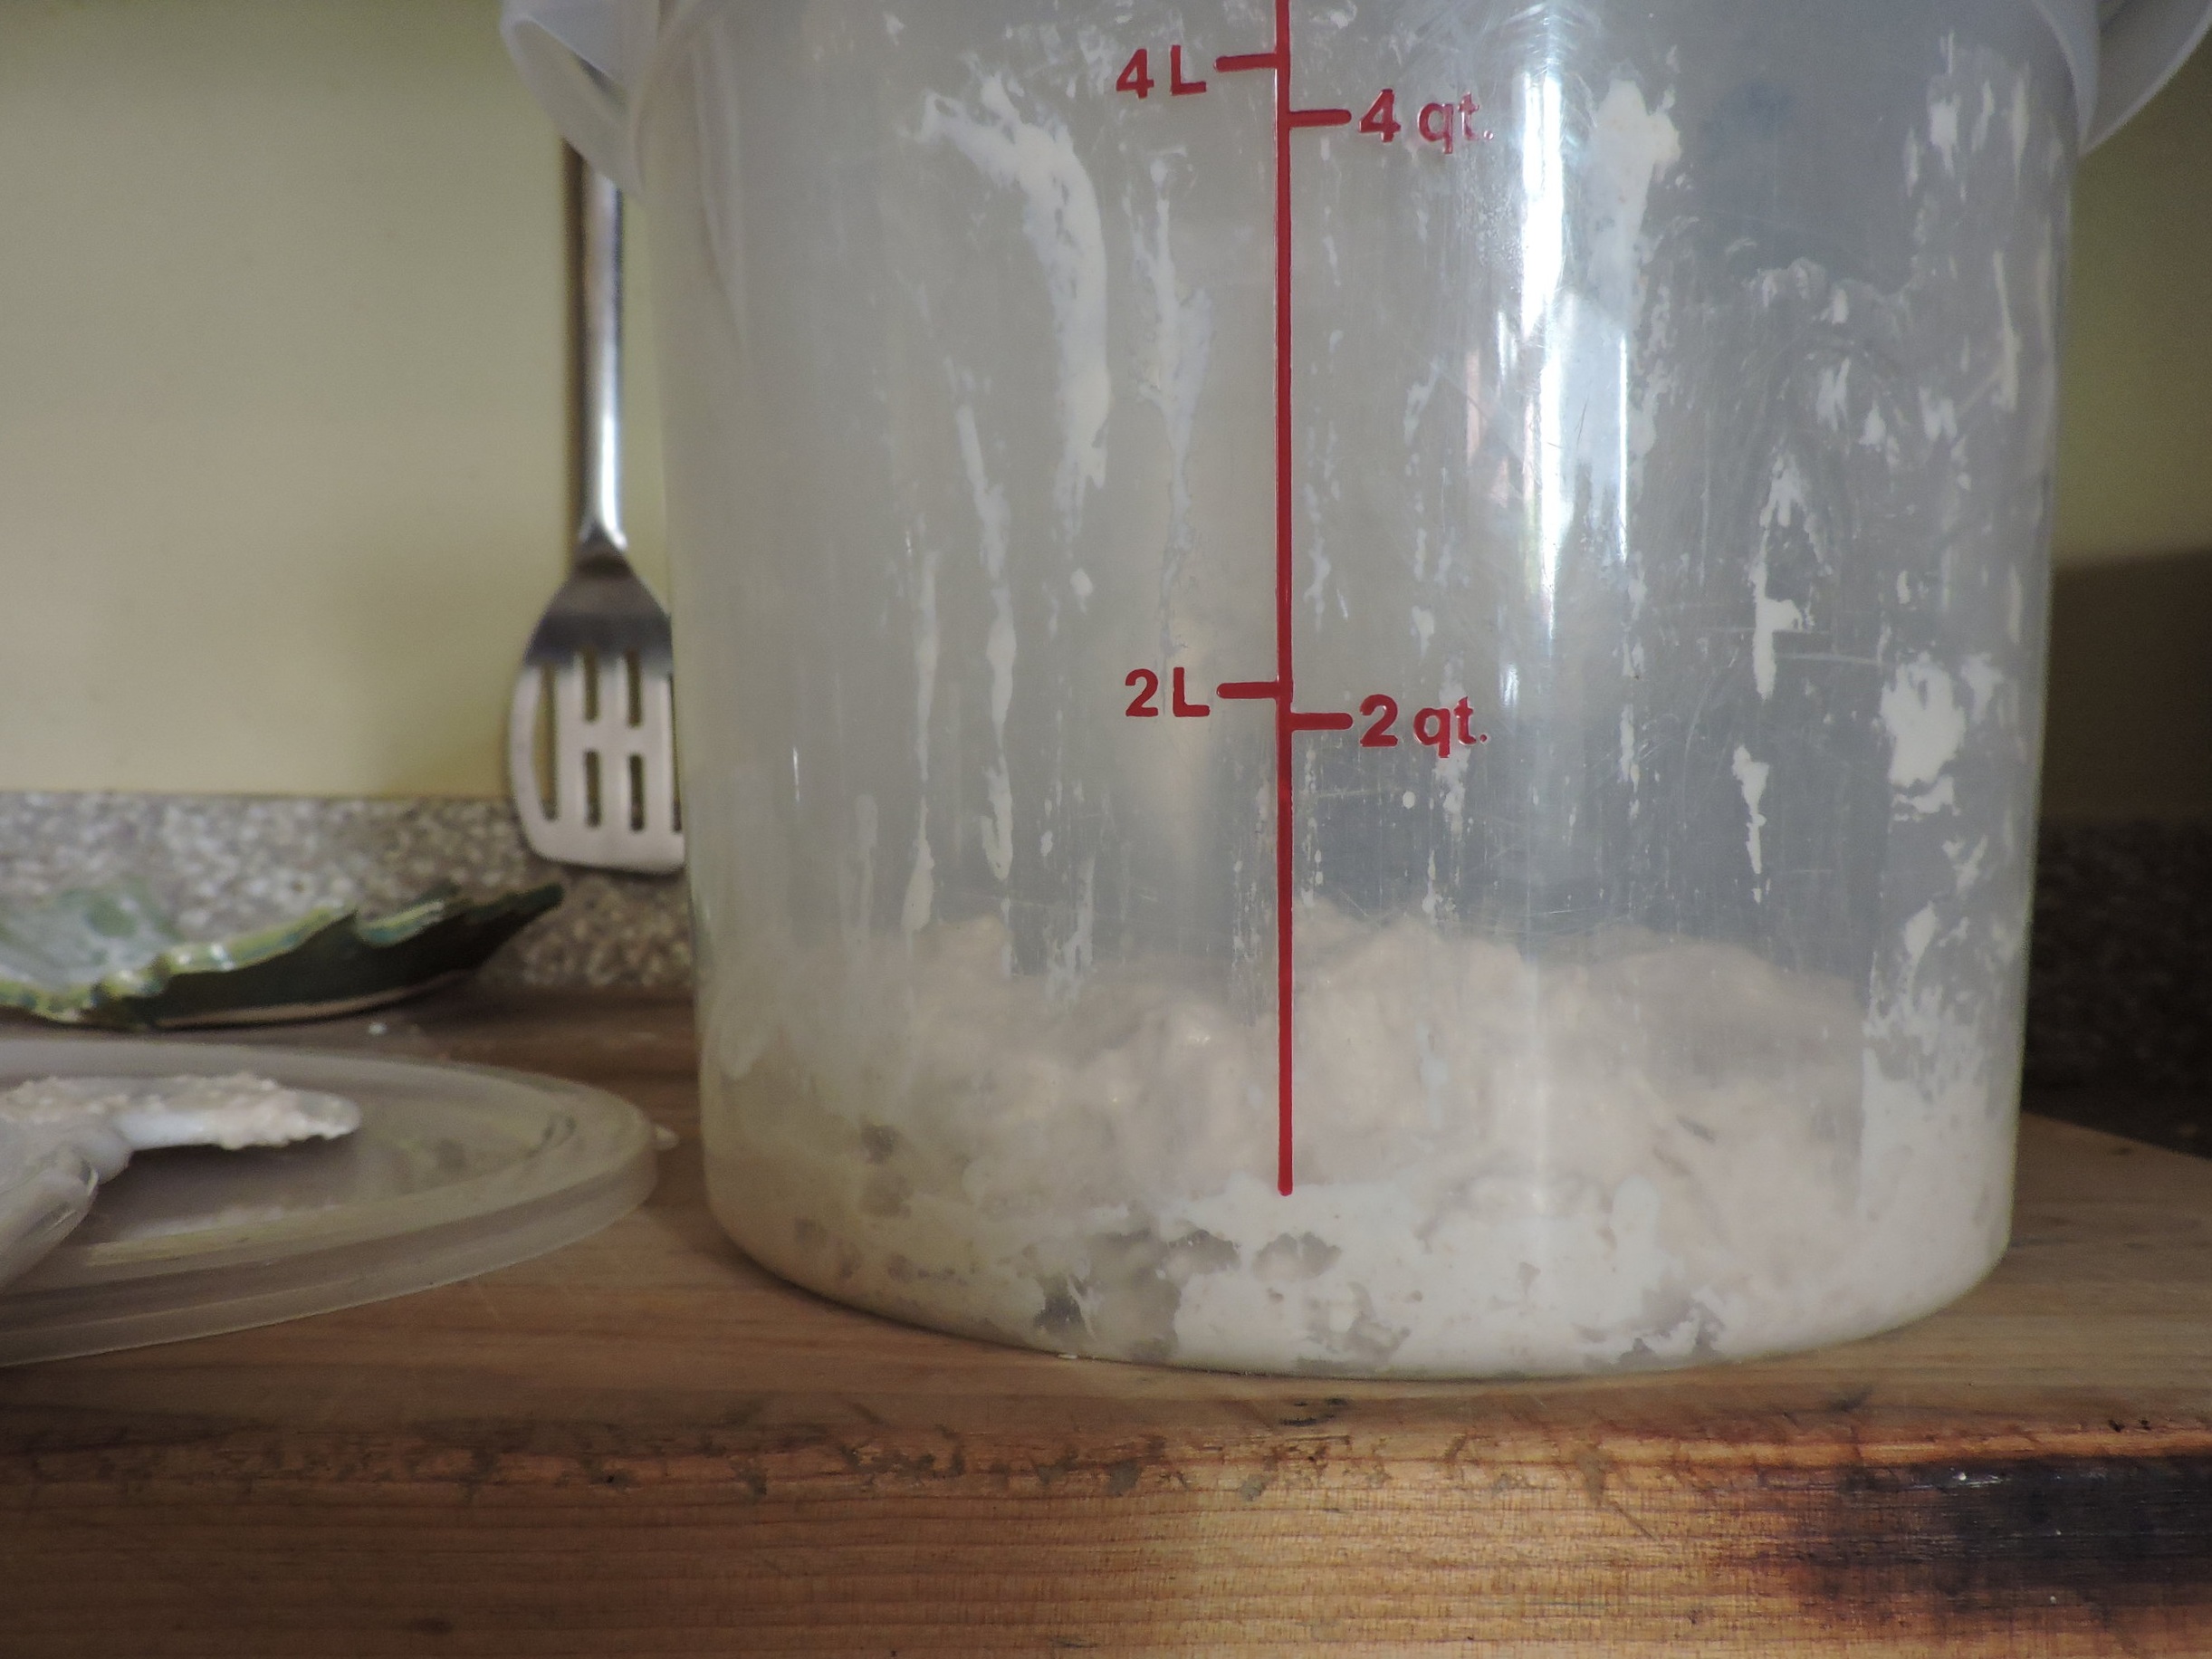
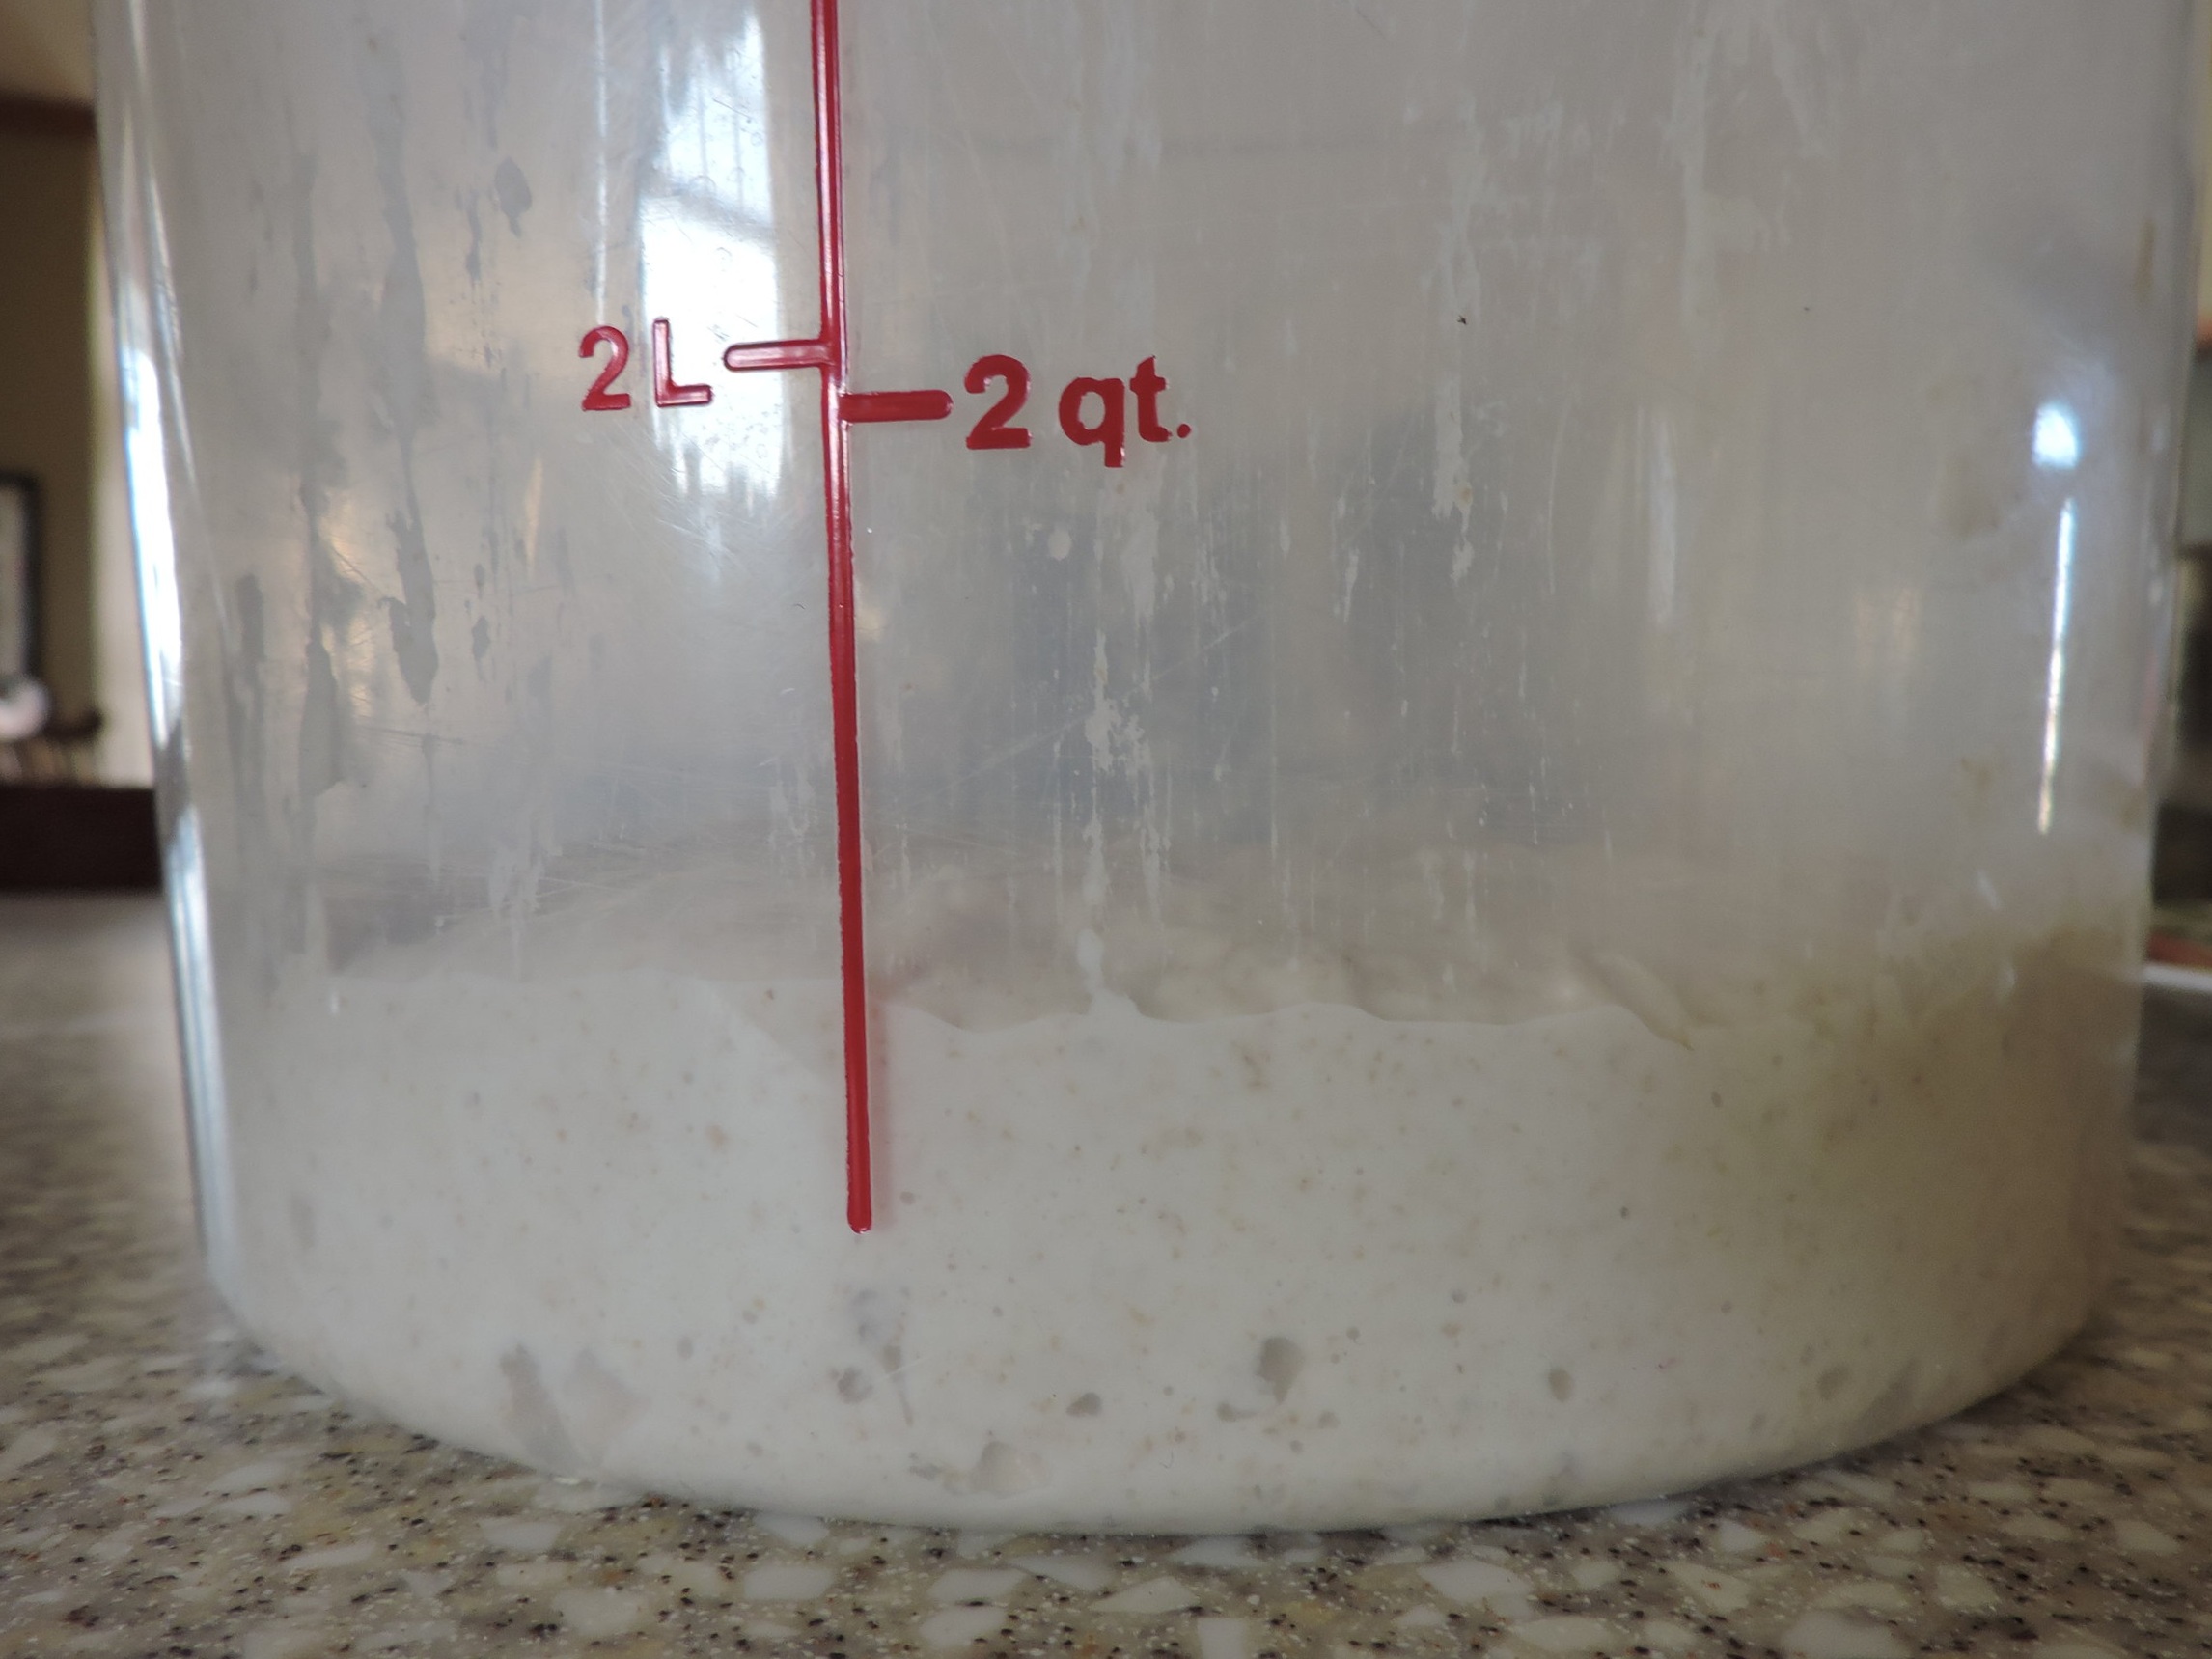
I keep my starter in a 4-qt wide-mouth canning jar with a plastic screw cap. Usually, I have about about 1/2 a cup on hand in my jar. I keep my starter at 100% hydration (which means I feed it equal parts water and flour). I feed it roughly 4.5oz water and 4.5oz flour the night before I want to mix up dough. (The amount doesn’t matter so much as that it is equal parts of each. I aim for 4-5oz which feeds and multiplies my roughly 1/2 a cup or 3-4oz starter enough to bake my normal batch of bread.) If my starter is healthy and happy, it will double or triple in 8-12 hours. (If it doesn’t double or triple, you’ll need to revive it. More on that later.)
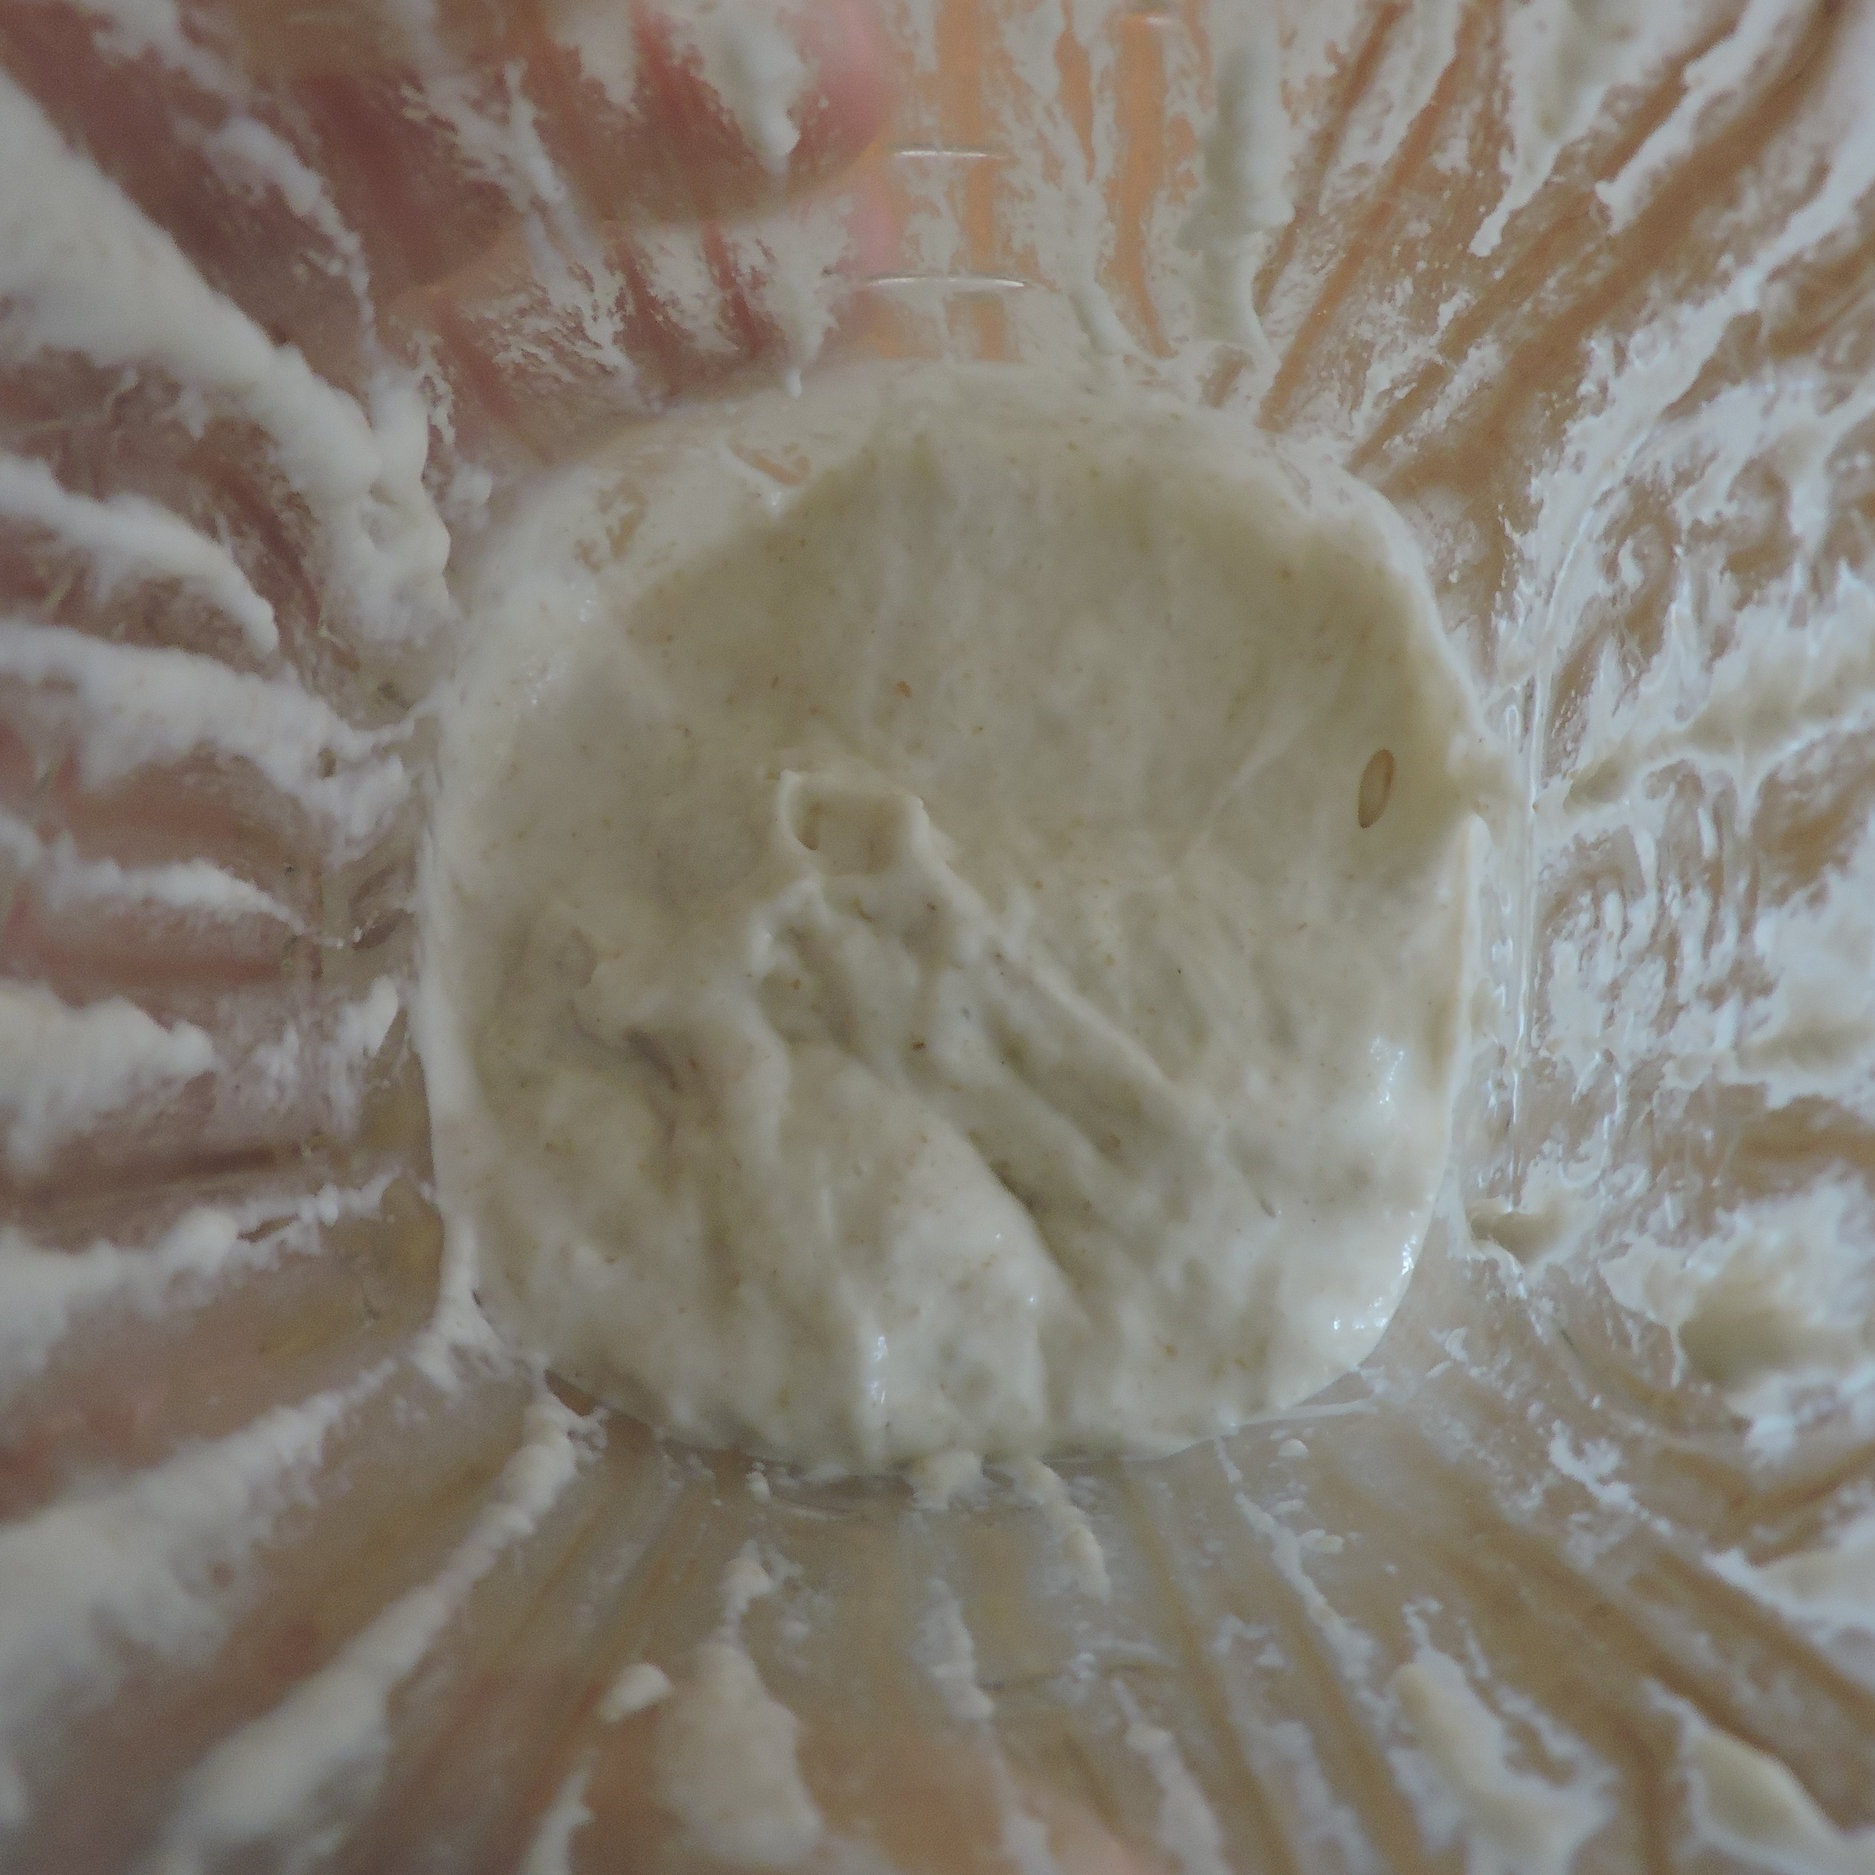
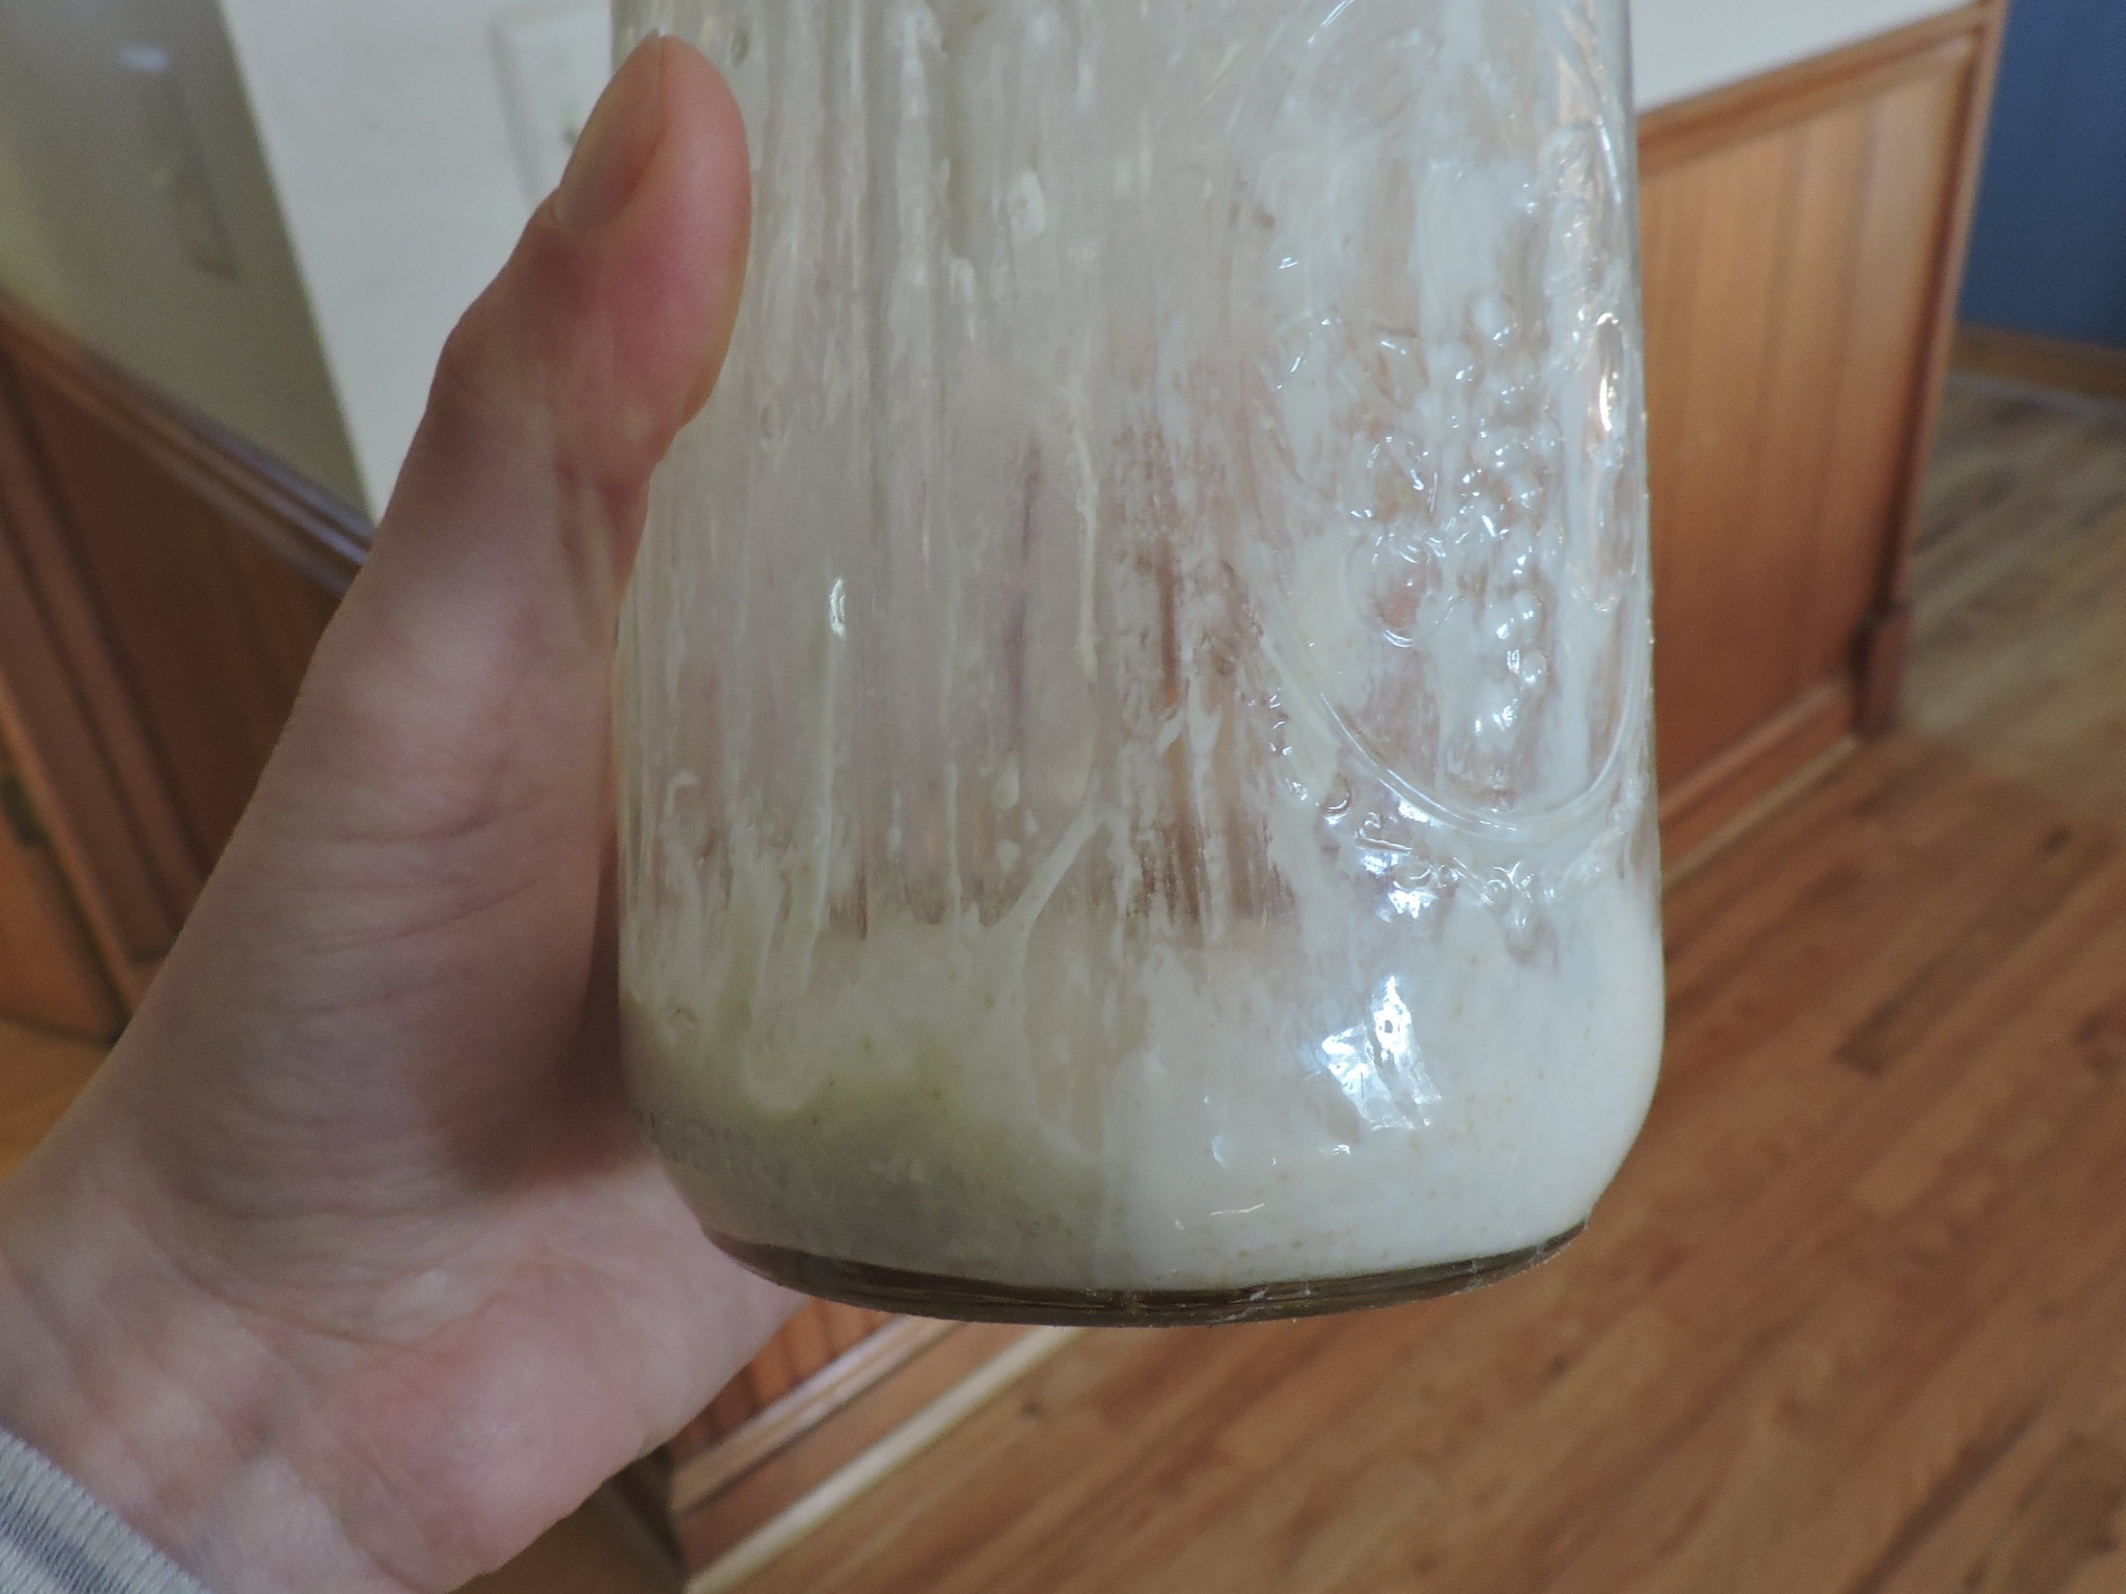
Now, when you use your happy starter effects the flavor. If you use it right when it has just about doubled, it’s a younger starter and has less of a sour taste. If you use it closer to its peak of rising, it’s more mature, but still not too sour. If you use it when it has fallen (after rising to its peak), it’s overripe and more sour. It has run out of food and is starting to starve and die. I have used it at all stages, and it still produce a welcome loaf of bread. Just be aware that the taste changes, and you might want to keep note of it so you can tweak the recipe to your own tastes. Your starter will also change with the time of year and how warm your kitchen is. I usually feed mine around 7pm-12midnight and use it the next morning anywhere between 7-10am. (Now you probably understand how I’ve used my starter at so many different stages…but as I said, bread needs to be flexible for me to do it regularly.) Once I use what I need in the morning, I leave the remaining starter in the jar and pop it back in the fridge. It stays there until I need it again, often less than a week (but it can survive for a month or more).
If at any time I want to use my starter again and it looks really sad and sorry with a good amount of hooch (that grey liquid on top), then I will give it some extra love and nurture it back to health. Which means, I’ll feed it an extra time or two before baking. So, I would feed it about 4oz water and 4oz flour, and give it about 8-12 hours to rise some. If it has doubled by 12hrs, I’ll measure out 4oz into a clean jar, feed it about 4oz water and 4oz flour again, then use it 8-12hrs later as usual. If my starter hasn’t risen by 12hrs after the first feeding, I measure out 4oz into a clean jar and feed it again and again until it is rigorous enough to double by 8-12hrs. (It rarely takes more than two feedings to bring my starter back to health. Usually one is good enough.)
So, you may have noticed, I don’t typically have discard. I don’t fuss about having and feeding a specific amount of starter for my bread dough, so simply feed whatever remains in the jar after using it, which tends to be around 1/2 a cup. It has always multiplied enough to make my dough rise. Not having discard is great for me and my life as I don’t like throwing it away and don’t want to bother with remembering to bake it into something else. I also like not having to clean out a jar repeatedly. But, if I have to do an extra feeding or two to revive my starter, then I will have some discard. I’ll save it and throw it into waffles and pancakes or other baked good.
the “biga”
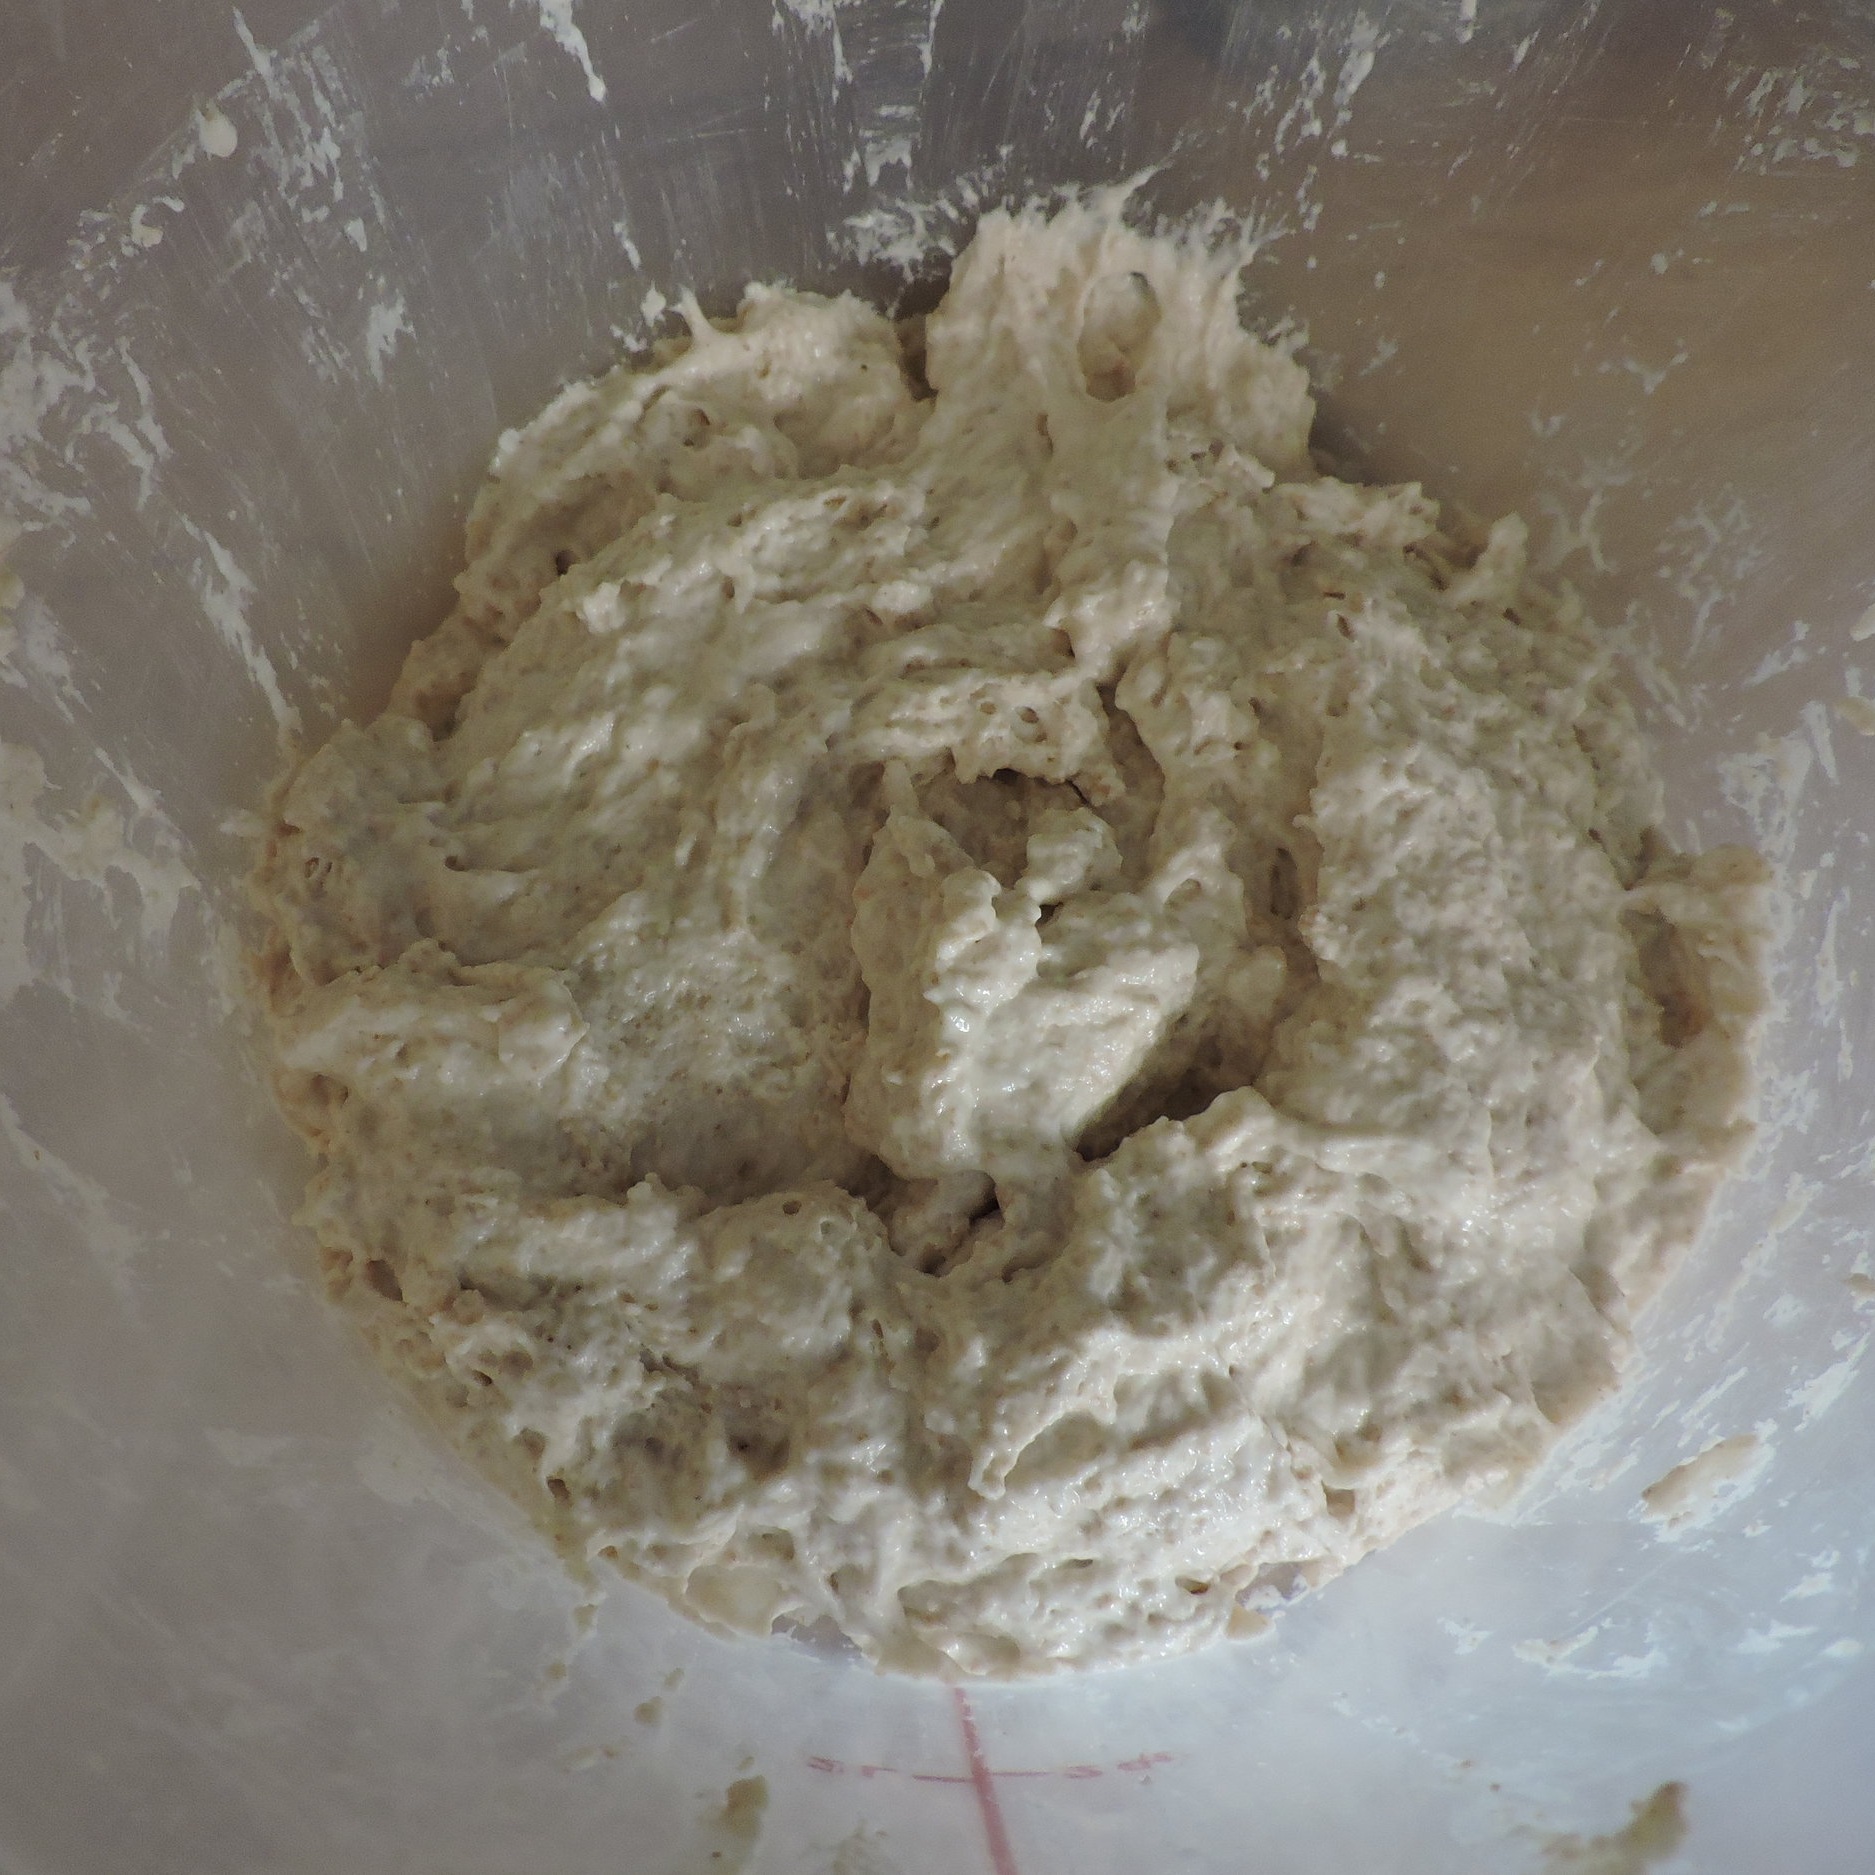
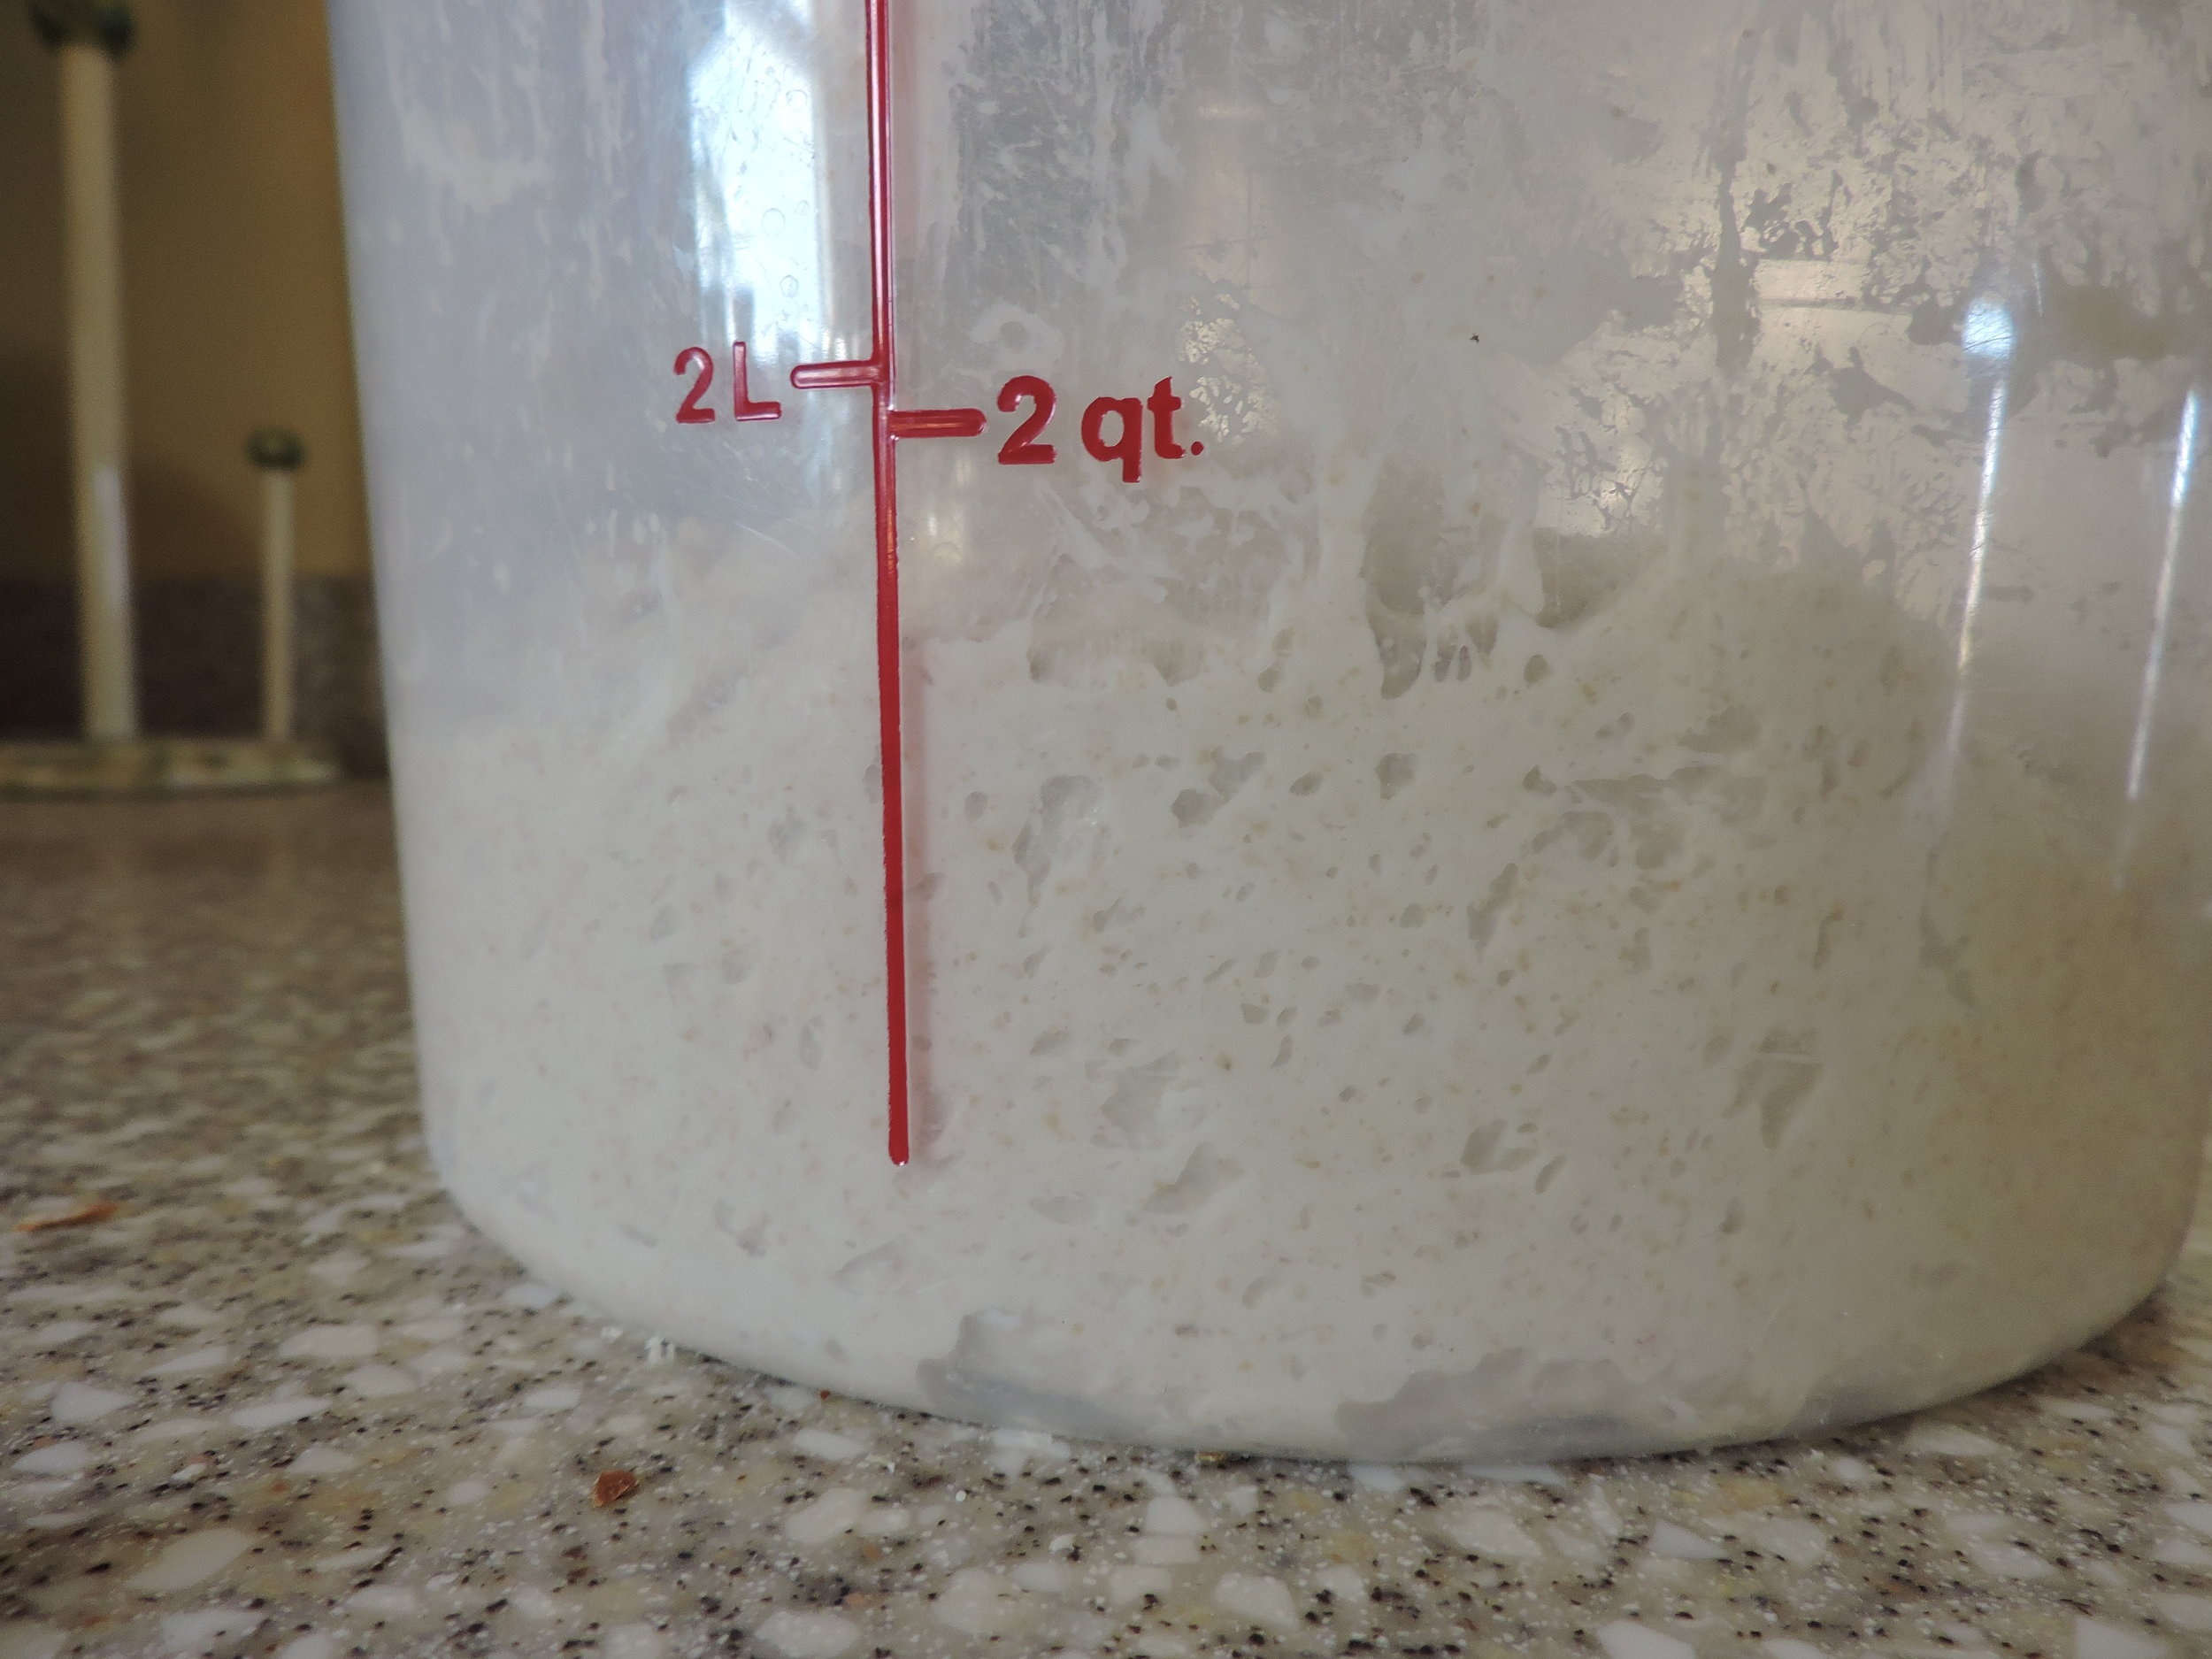
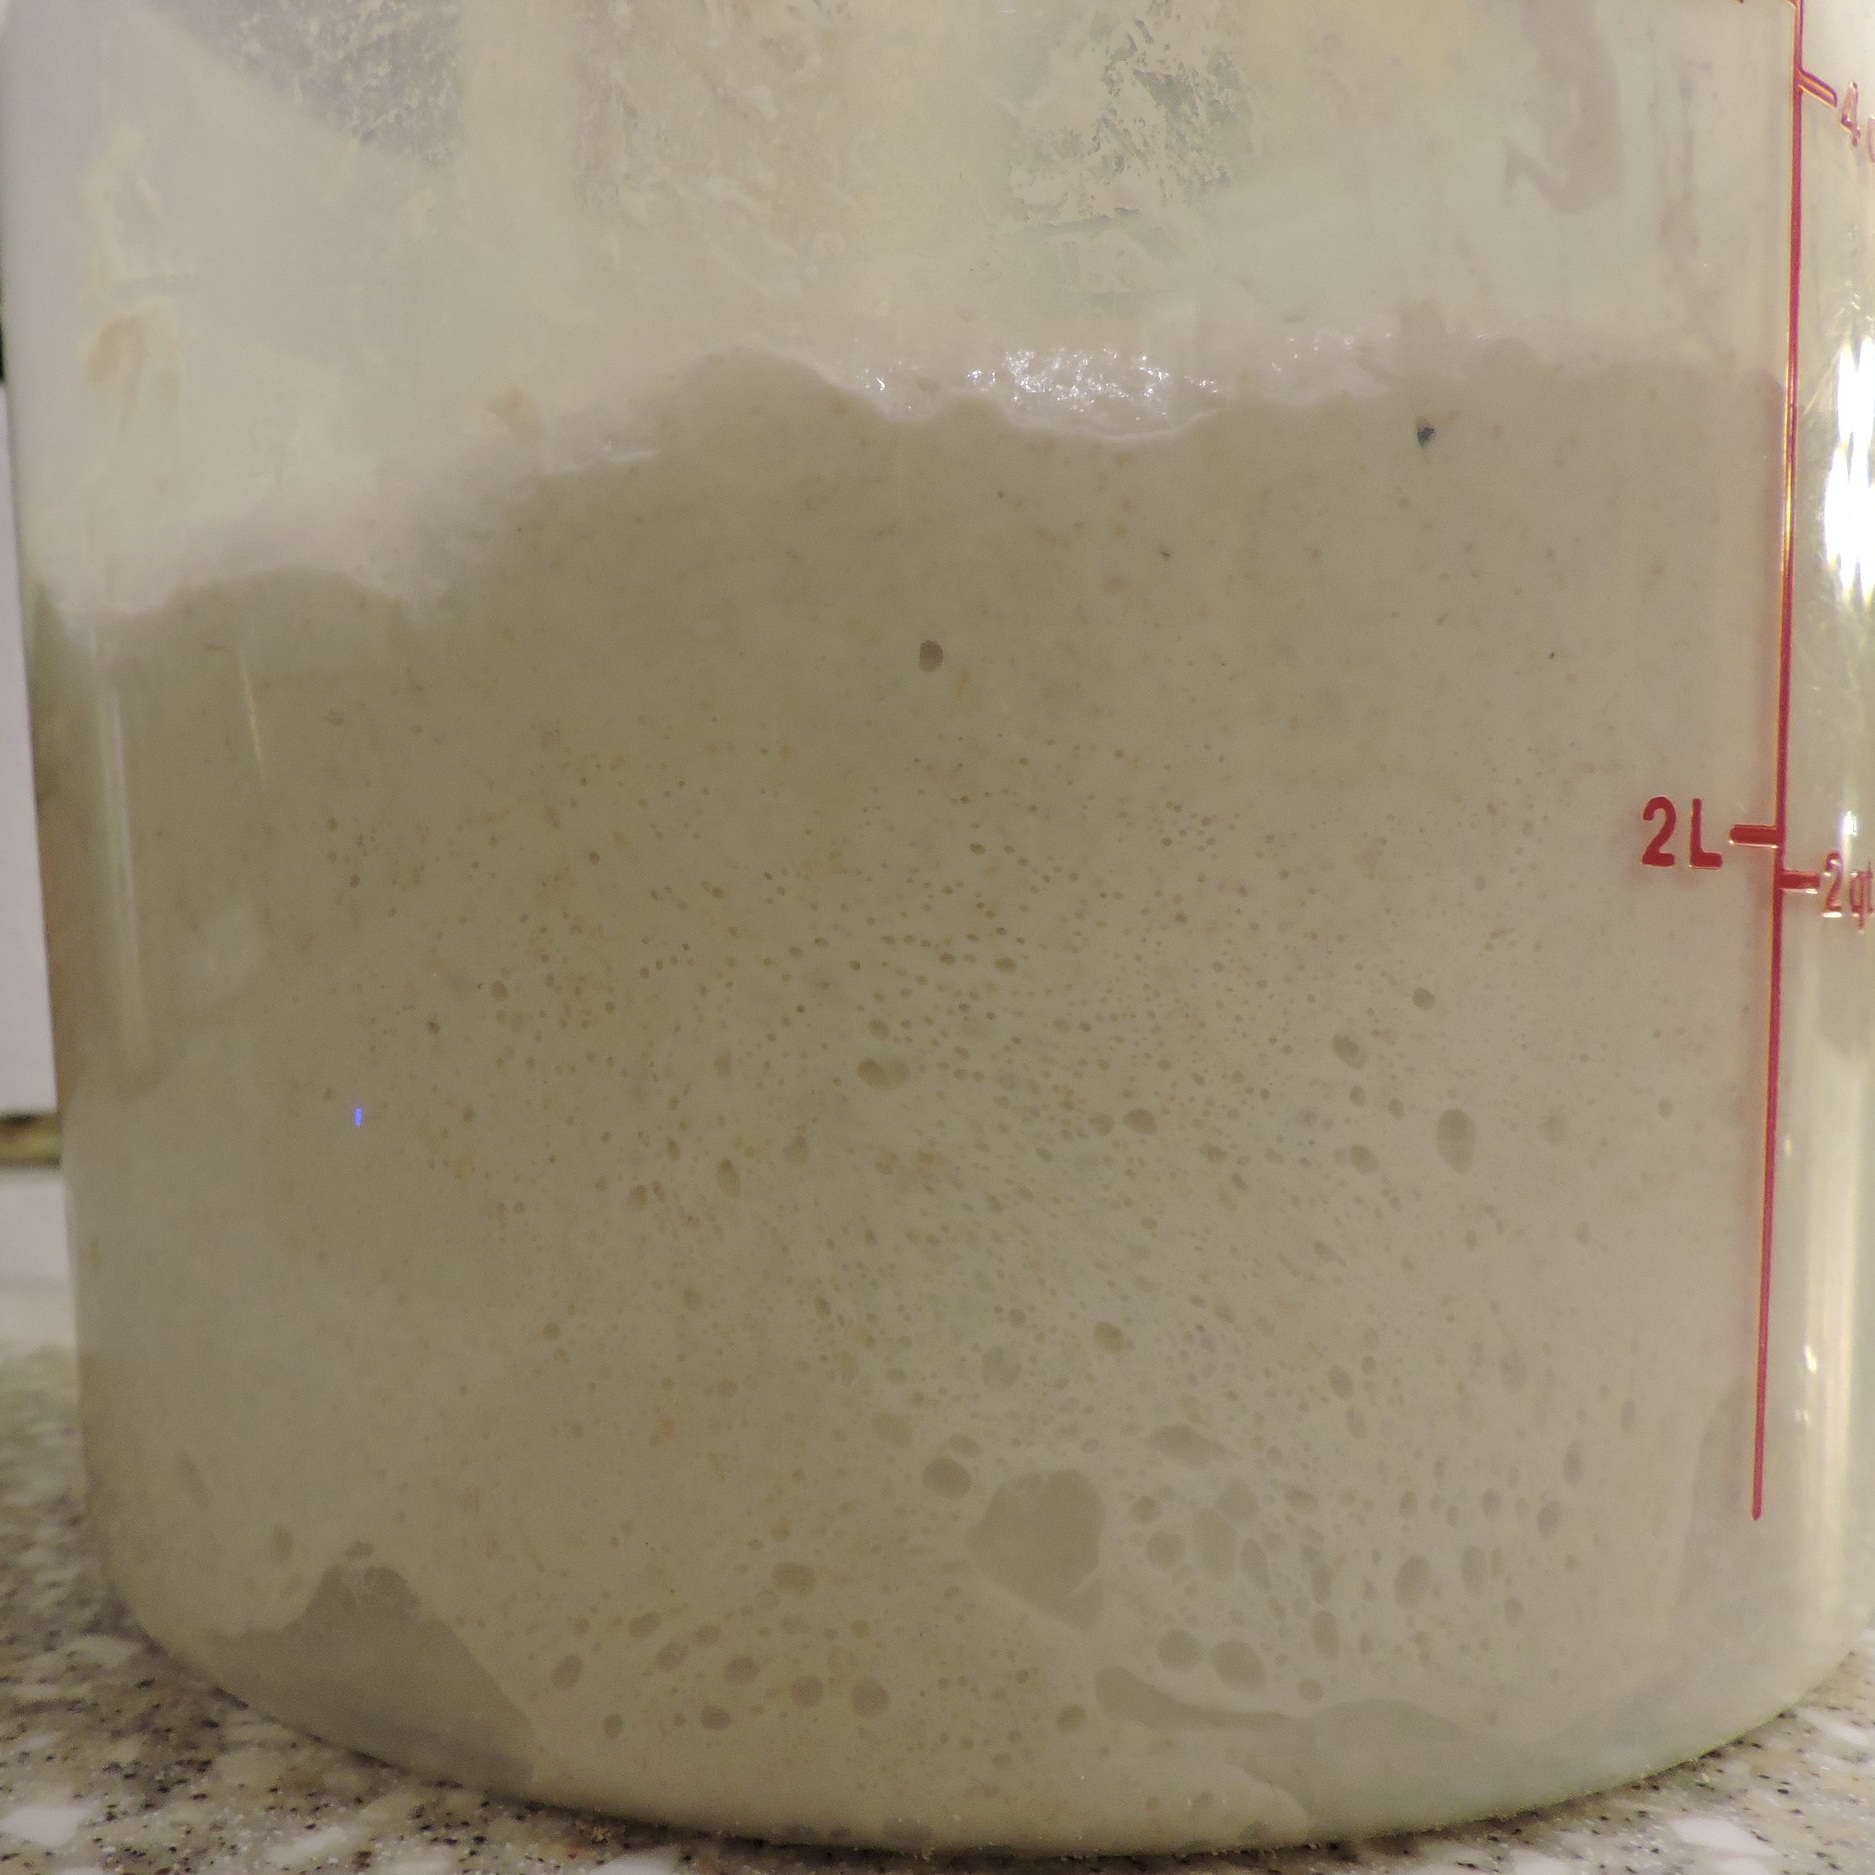
Next morning on dough making day (around 7-10am), I take my happy, well-fed starter and weigh out about 9oz into a container. (I like to use these.) I say about 9oz because some days my starter isn’t as robust, and if I took a full 9oz, I wouldn’t leave enough behind to keep it as happy as I would like it. Those days, I use a little less (though never less than 6oz). Other days, I may have recently revived my starter and it is unusually happy and vigorous. Those days, I’ll measure out a little more than 9oz (although I’ve never gone beyond 10oz). So basically, measure out 6-10oz of starter into a container. Add 12oz flour (though a little more, a little less won’t wreck anything) and 10oz water (again, I’ll go up or down, usually within 1-2 oz). Cover and let sit for about 4 hours. (If you want to know the full window I’ve tried, you’ve got anywhere between 3-6hrs.)
What you’ve just done is made a build,which is not far from making a giant starter and goes by fancy names like “levain.” I like to refer to mine as a “biga” as my method originally derived from an Italian bread recipe. What you’ve got rising right now is going to add more depth to your bread’s flavor.
the “autolyse”
About 1 hour before you anticipate your biga to be done rising (usually around 10am-noon), mix together 17oz flour, 12oz water, 1oz olive oil, 1 tbs sugar, and 1 tbs salt. Cover and let sit an hour. Though, as short as 30min is fine and as long as 2hrs is fine too. (I hope you’ve caught on to the fact that I’ve nudged all the ingredient measurements up or down as well without much harm. Usually I tinker with the water amount the most. I like the mixture to err on the wetter side, but it shouldn’t be as slack and sloppy as your starter. Some days, it just needs more water because I’ve used a different flour, or it’s not so humid, or who knows why! Bread is mysterious and more beautiful for it.)
What you’ve just mixed together is your “autolyse.” It helps the flavor and structure of your bread, and technically, you shouldn’t add any salt to it. You really ought to hold your salt off for the next step. But, I usually do add it to my autolyse because I’m measuring everything else out so why not the salt too? I’m not enough of an expert to know how it has affected my bread, and I can’t taste the difference. But when baking for special occasions, I will go the extra mile and hold the salt.
the final dough and bulk rise
After the hour is up (or whatever time you’ve allotted for your autolyse), add the autolyse to the biga and mix well. Add a splash of water to help thing mesh together, if needed. Oh, and if you’ve held back your 1 tbs of salt, now is when you would add it. Really pinch, pinch, and pinch everything together to form your final dough. You might have to pick the whole mass up out of the container and grabble with it. Or beat it hard with a hefty spoon. Just do whatever you have to to make sure it’s fully mixed.
The background noise…it’s everyday life!
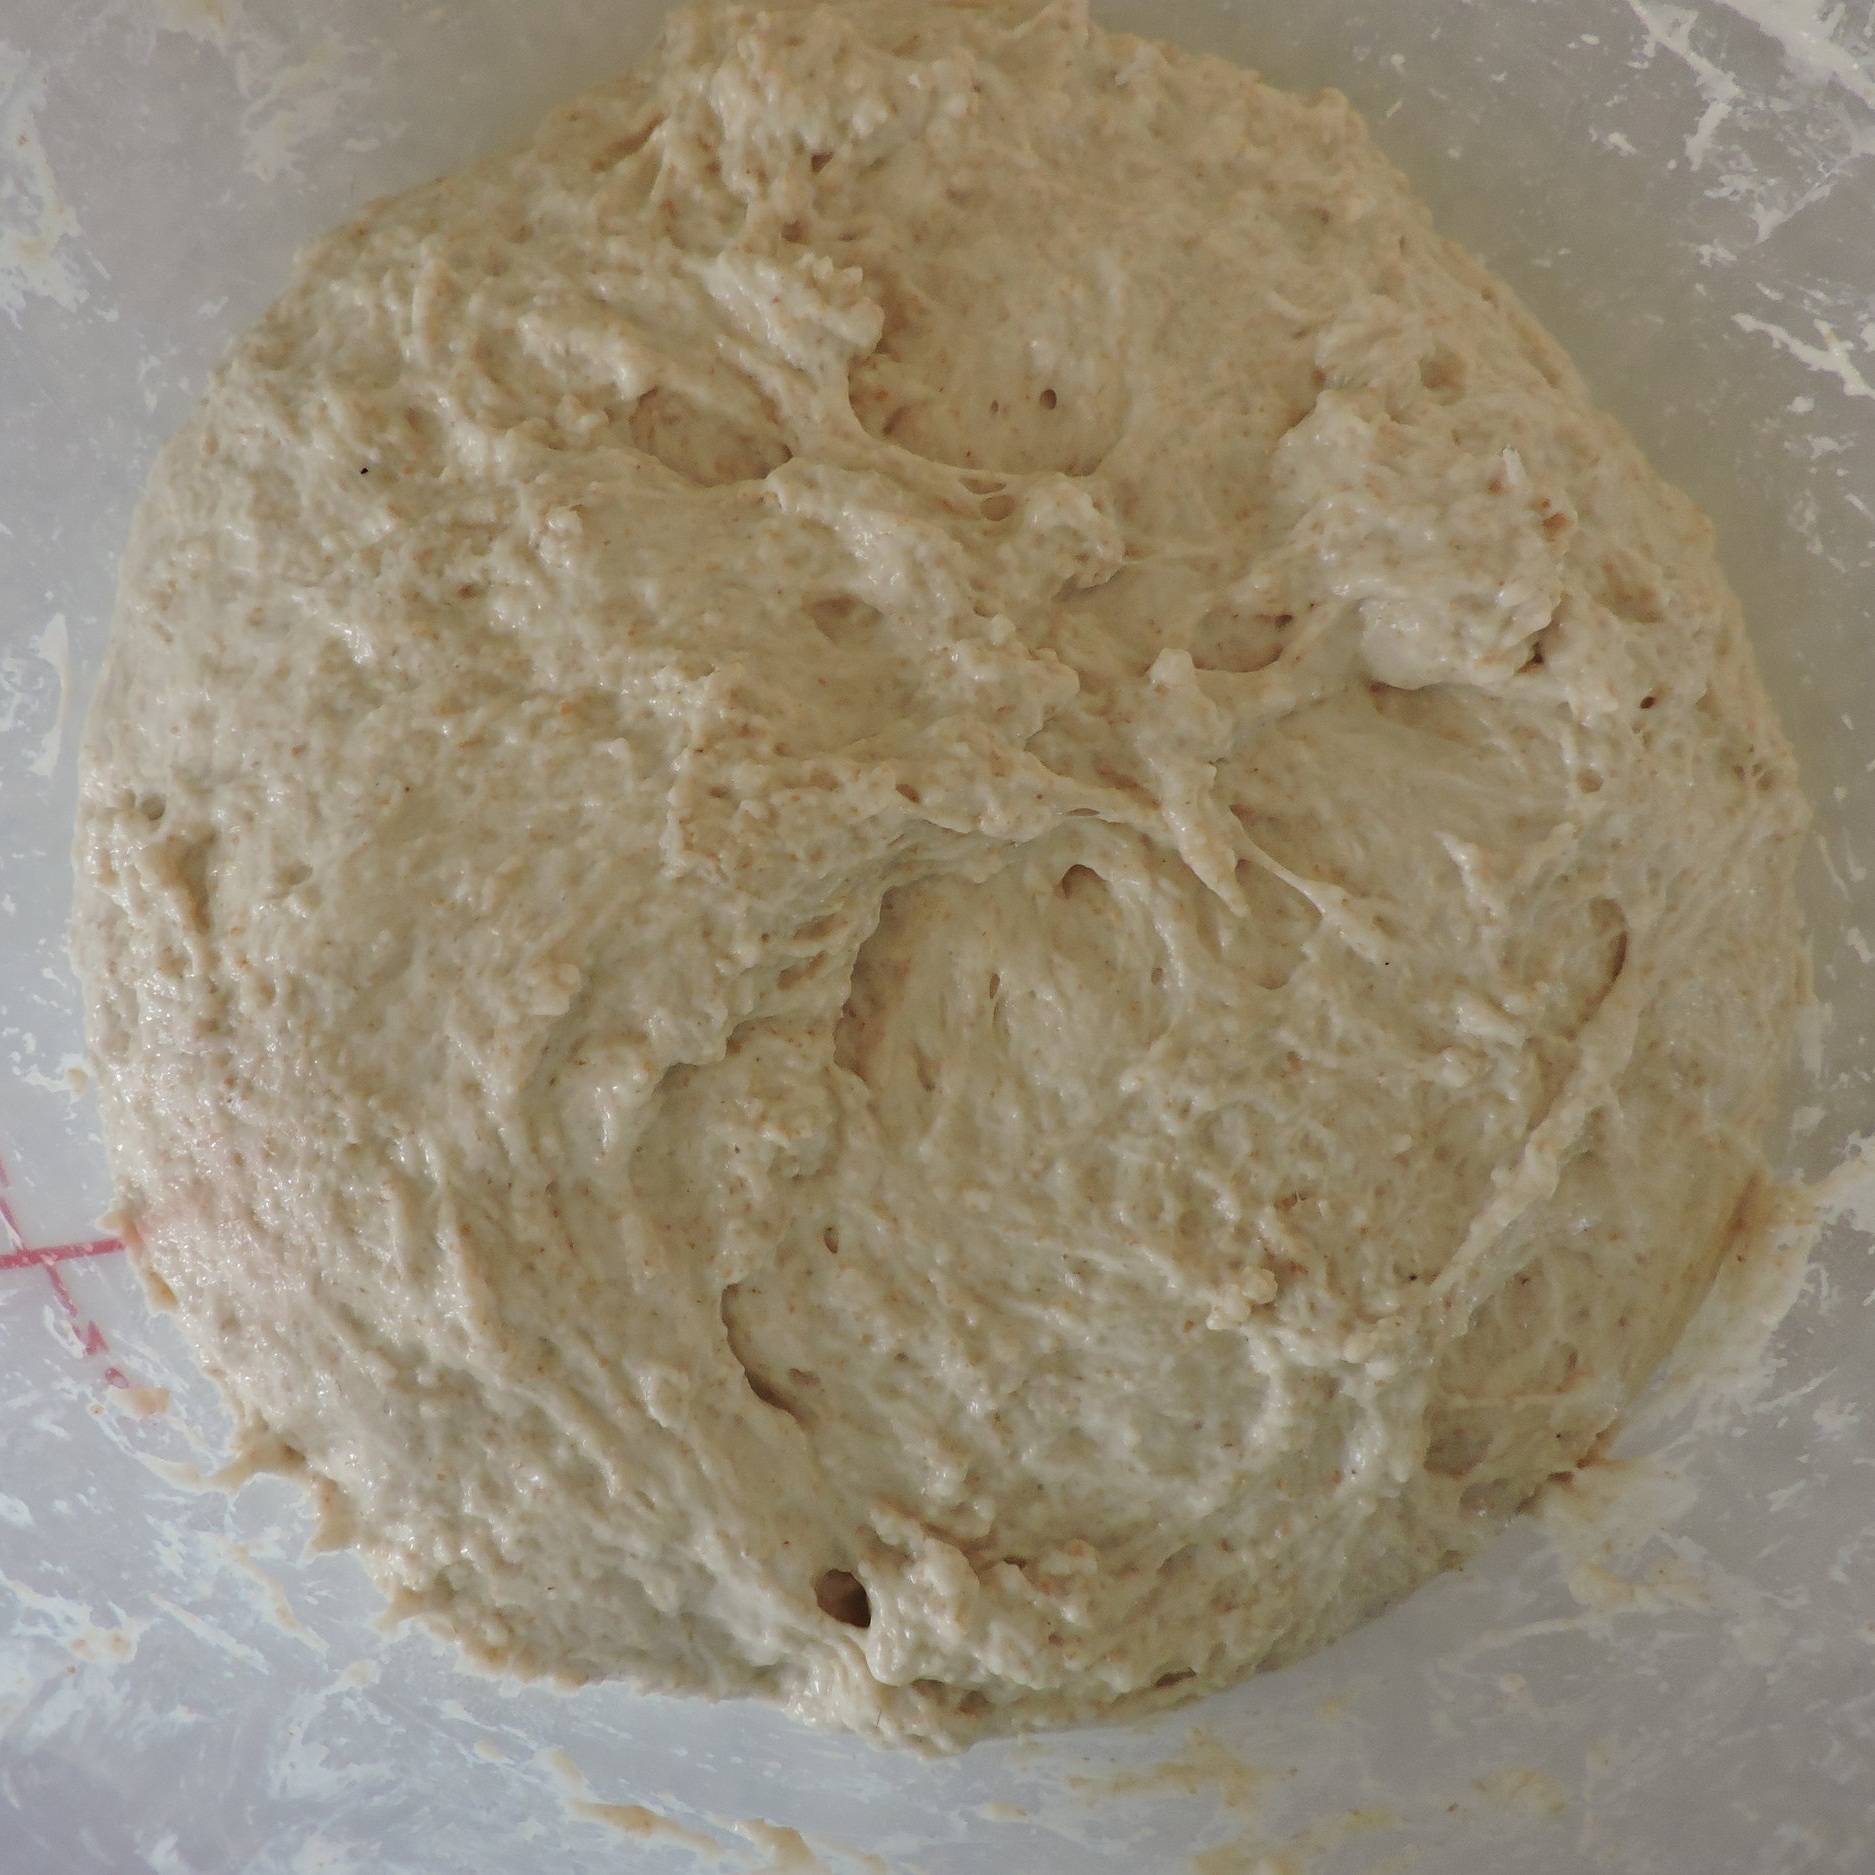
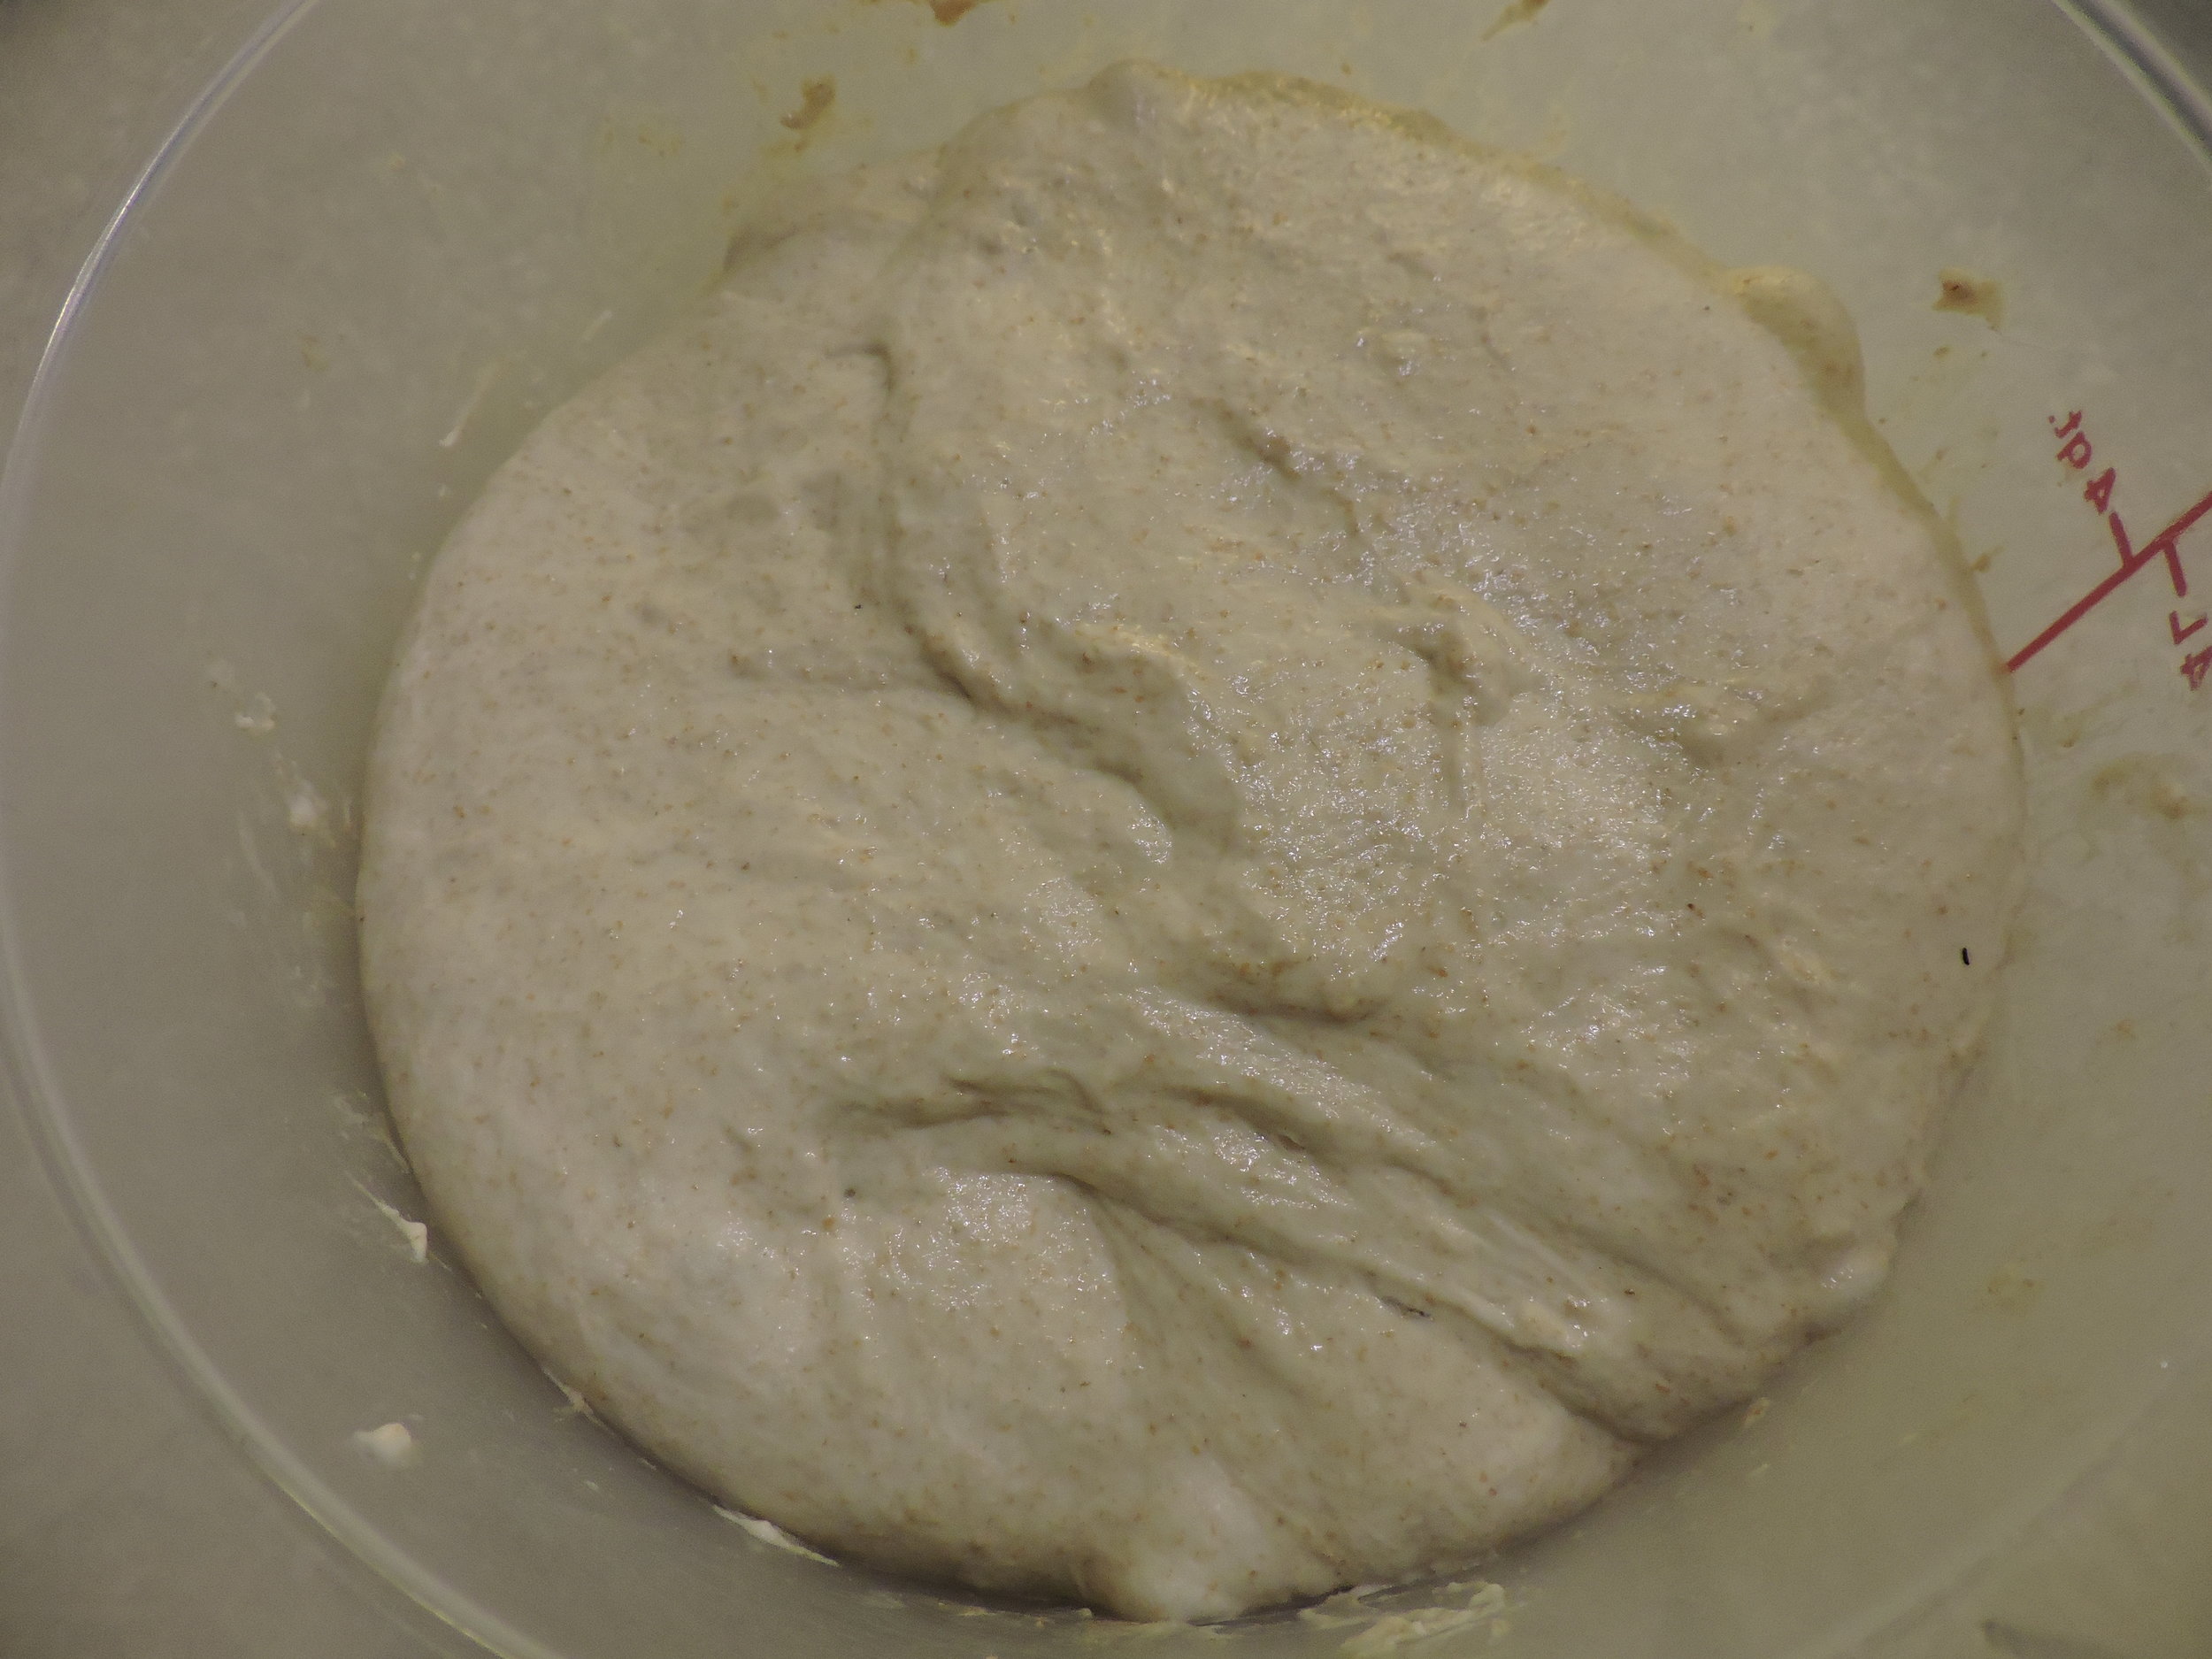
Cover and let bulk rise for about 4-8 hours, or until at least doubled. (This varies greatly with how warm it is in the house. And more than doubled is even better. I usually try to aim for the tripled stage.)
Now, ideally, you want to stretch and fold the dough every 30min for the first 2hrs. So, that means picking the dough up at north, stretching it up, then folding it down to south. Turn the container 90 degrees and repeat until you have stretched and folded it on all four sides. I usually only manage to get 2 full stretches and folds within the first 1-3hrs. Sometimes, if I have to leave the house, I get none in. But more stretching and folding does greatly help the structure of your bread. Plus, I love feeling the bread strengthen under my hands. It goes from pretty slack at the first turn or so to retaining a more ball like shape. Incredible!
shaping
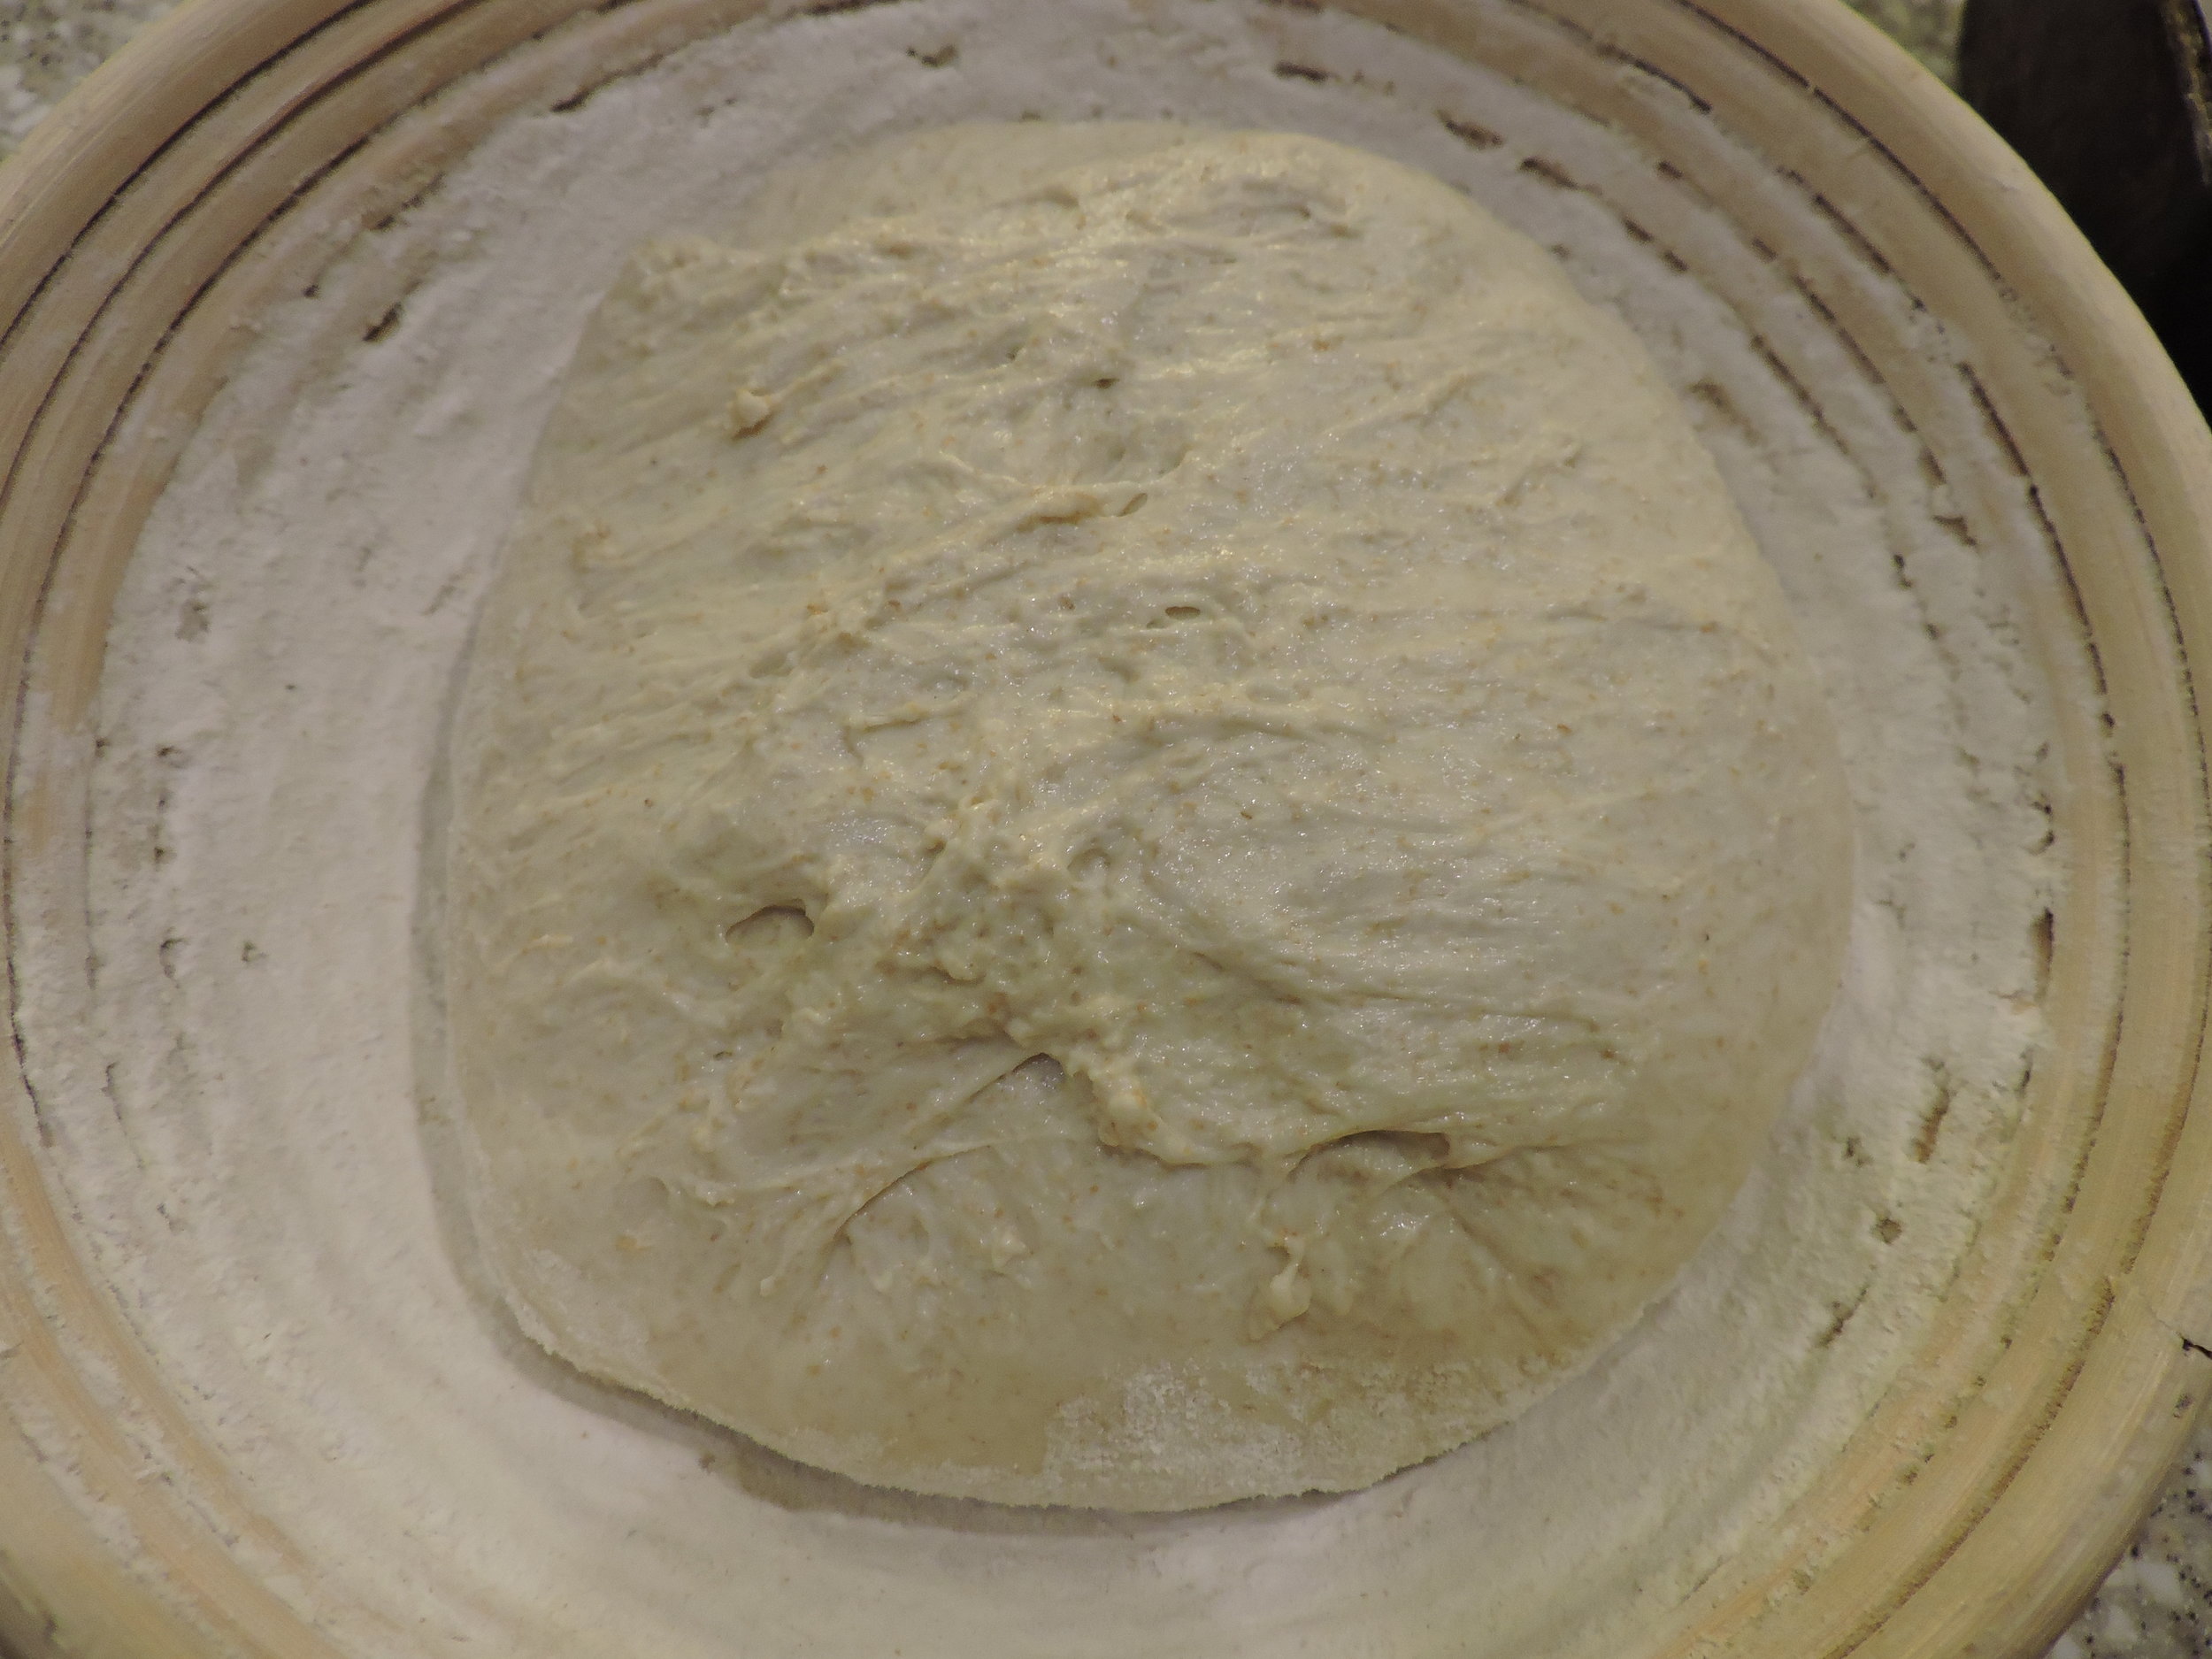
After your dough has risen, turn out onto a lightly floured counter and divide in half. I typically shape my sourdough in two ways. One (this is easier, more accessible, and great for sandwich slicing): Oil a sandwich loaf pan and dust with cornmeal. Shape dough into a sandwich loaf as you know how. It is a wet dough, so be patient, flour your hands, and be okay with some stickiness. Once shaped, place into pan seam side down. Two (this produces a tastier, crisper crust): Flour and prep a banneton or medium bowl lined with a floured, linen cloth. Shape dough into a boule as you know how, though with sourdough, this technique can help. Once you’ve got a nice, taut skin, place into banneton seam side up.
proofing
Cover loaves (I find these handy) and let proof. If you want to bake the loaves that day, leave them on the counter for 2-4 hours until at least doubled. Otherwise, and if you want added flavor and a little more sour, place in fridge overnight.
baking
For sandwich loaves, bring to room temperature for 1-2 hours before baking. Bake at 450 for about 30 min. For banneton loaves, I like to use a dutch oven which I preheat in the oven to 500. Once heated, take banneton out of fridge and turn out the loaf onto a square of parchment paper. Score the top with a lame or sharp knife, then transfer loaf into preheated dutch oven. Cover with lid, lower oven temp to 450, and bake for 20min. Remove lid, lower oven temp to 440, and bake for 20min more.
Let cool, then enjoy! Bread keeps for at least 3 days in a bread box or wrapped in tin foil. It also freezes fine.

sourdough sandwich loaf
Makes two large loaves
Ingredients:
[For Feeding Starter]:
A rough 1/2 cup or 3-4 oz of happy starter
4-5oz water
4-5oz flour
[For Biga]:
12oz flour
10oz water
9oz mature starter
[For Autolyse]:
17oz flour
12oz water
1 tbs sugar
1oz olive oil
[For Final Dough]:
All of the biga
All of the autolyse
1 tbs salt
A splash of water
Directions:
[Feeding Starter]:
Measure equal parts water and flour into your jar of starter. Mix thoroughly.
Loosely cover and let rise at room temp for 8-12hrs, or until at least doubled.
[Biga]:
Measure roughly starter into large bowl or container. Add flour and water and mix thoroughly.
Cover and let rise at room temp for about 4hrs. You should definitely see some bubbles in the mixture.
[Autolyse]:
About an hour before your biga is done rising, measure all ingredients in a medium bowl or container. Mix thoroughly. If a bit stiff, add an extra splash of water.
Cover and let sit until needed.
[Final Dough and Bulk Rise]:
Plop the autolyse into the biga. Add the 1tbs of salt and splash of water. Mix together thoroughly.
Cover and let rise 4-8hrs, until at least tripled.
During the first 2-3hrs, try to do 4 full stretches and folds, roughly every 30min. Let sit undisturbed for the remainder of the bulk rise.
[Shaping]:
When dough has tripled, gently pour out onto a lightly floured surface. Divide in half.
Shape loaves into sandwich loaves or boules:
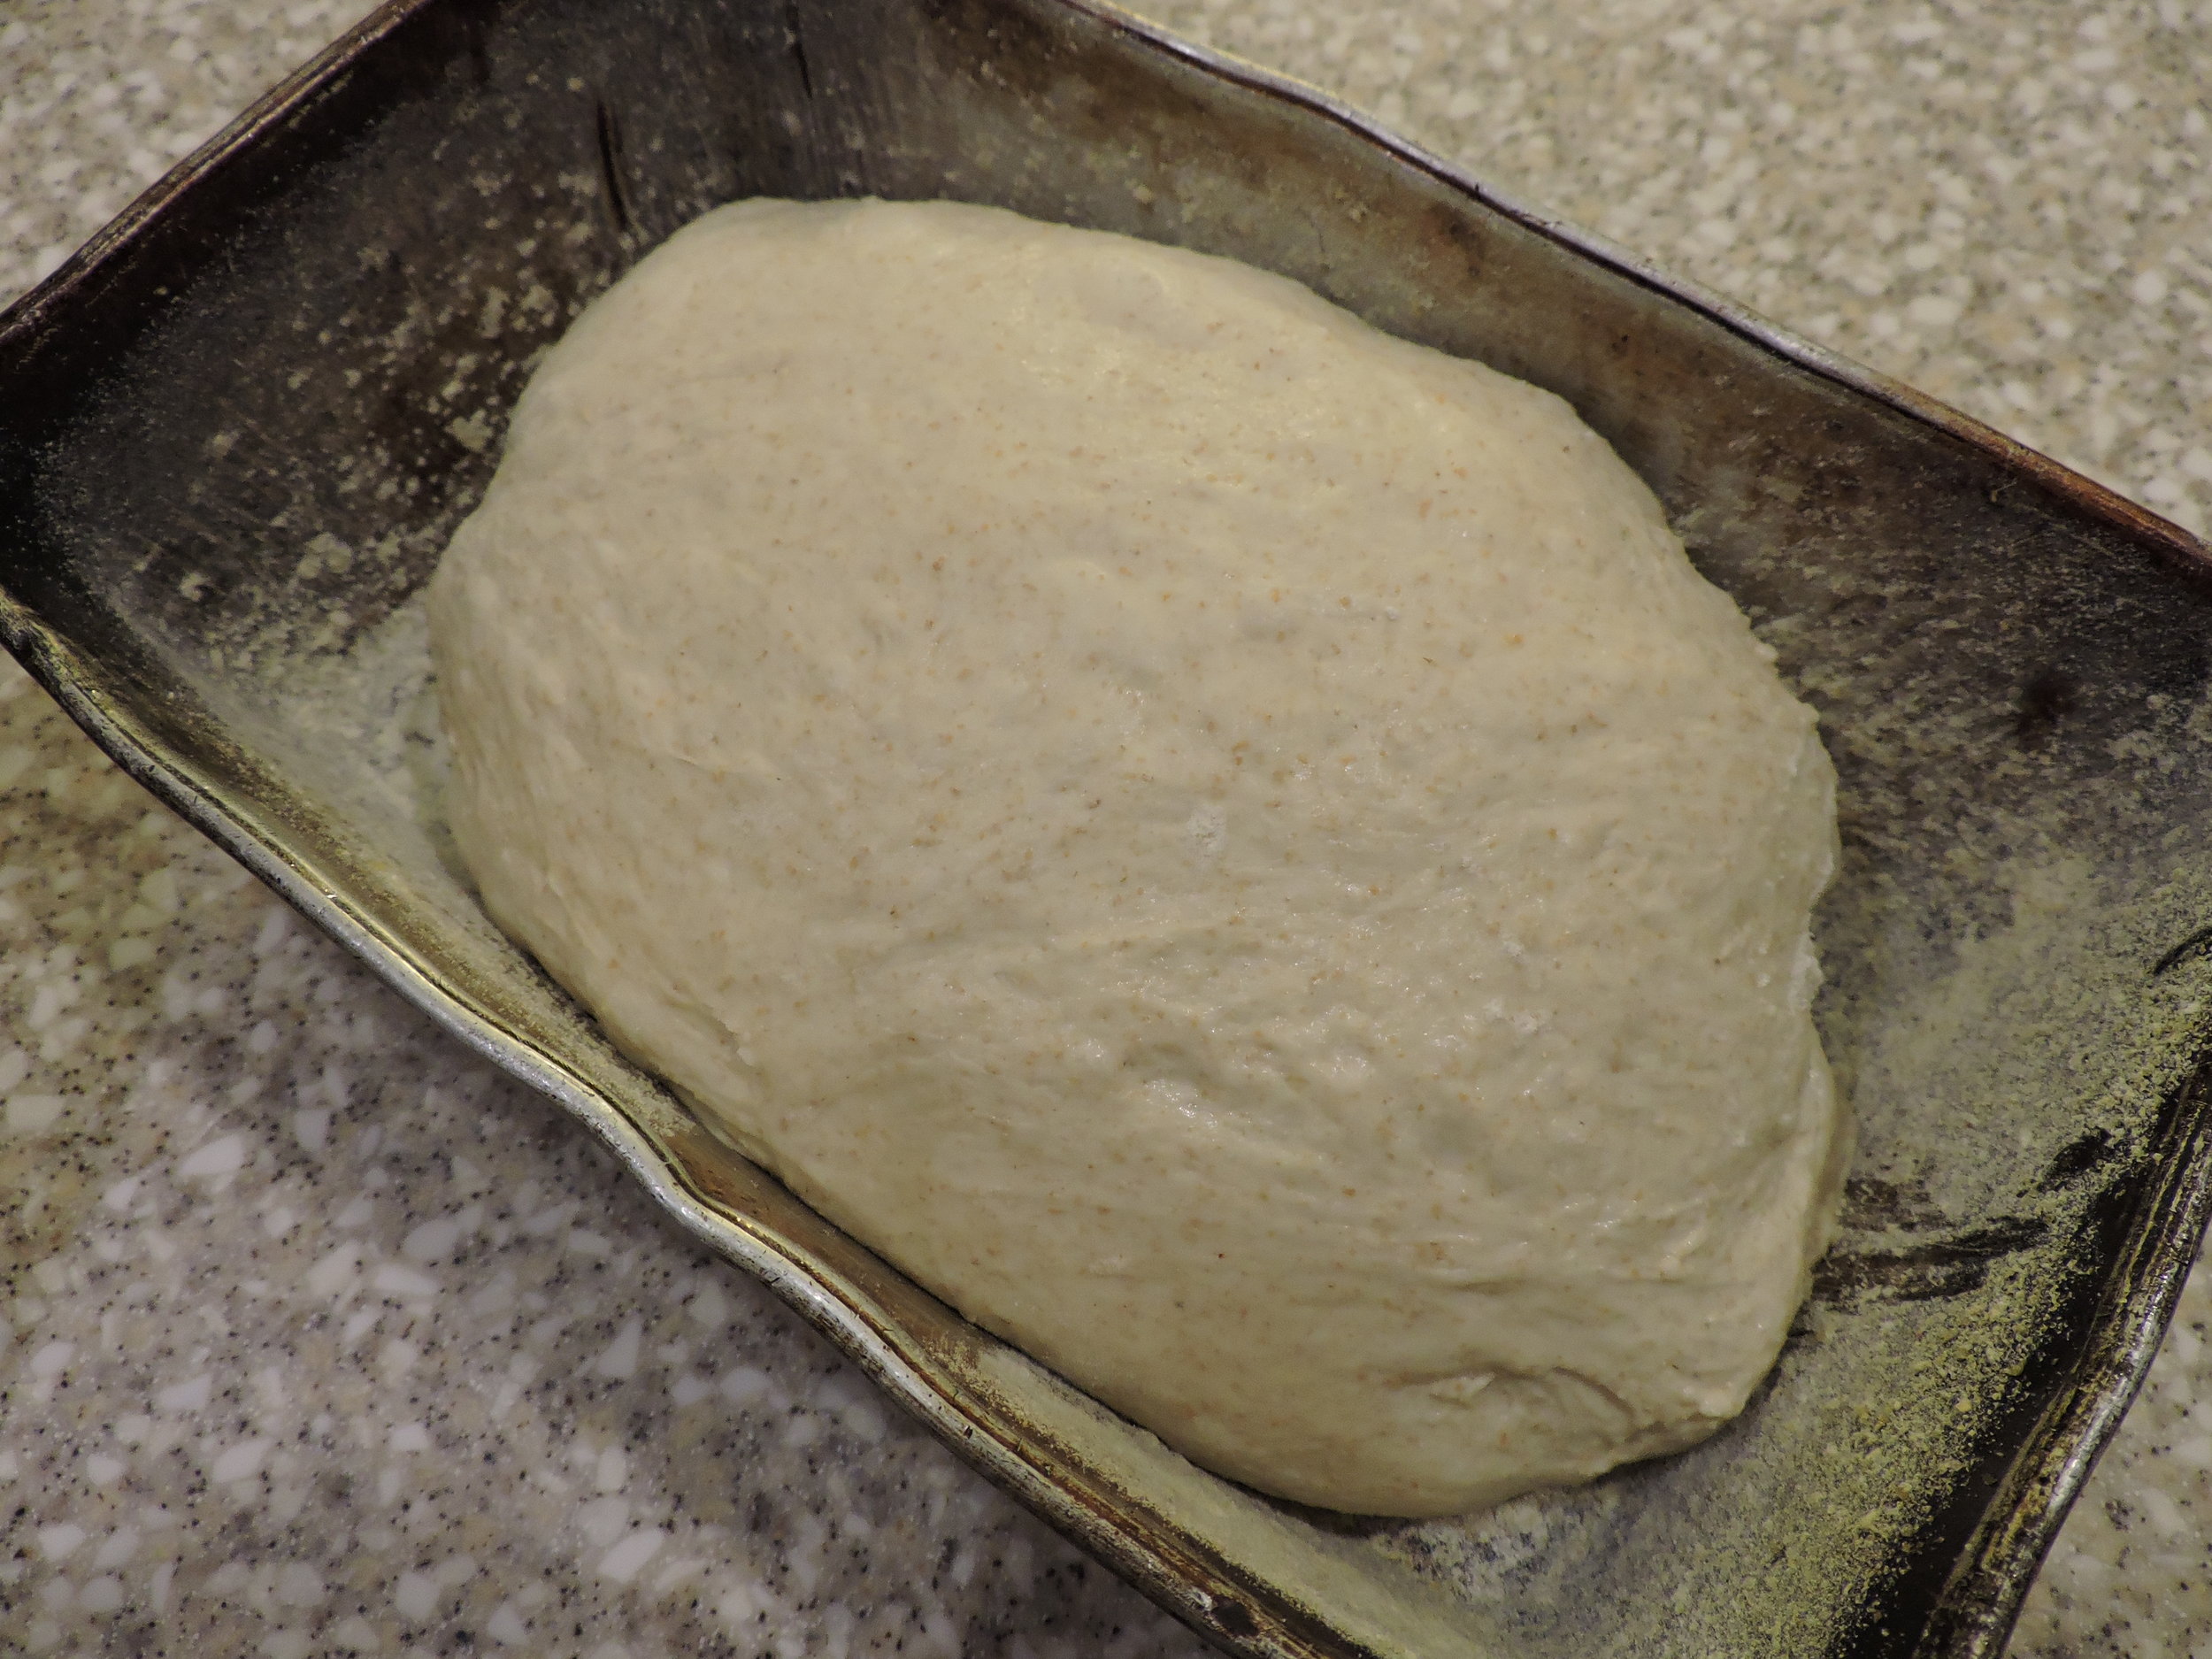
Sandwich Loaves: Oil loaf pans and dust with cornmeal. Shape dough into a sandwich loaf then place into pan seam side down.
Boules: Flour and prep bannetons. Shape dough into a boule and place into banneton seam side up.
[Proofing]:
Cover loaves and let proof until doubled. This can be done at room temp for 2-4hrs or overnight (8-12hrs) in the fridge.
[Baking]:
For sandwich loaves:
(If coming from the fridge, let come to room temp for 1-2hrs.)
Score top of loaf with lame, scissors, or sharp knife. Bake at 450 for about 30-40min.
Let cool for about 10min, then turn out of pan to prevent soggy bottom.
For banneton loaves:
Place dutch oven (or two cast iron skillets that stack on top of each other to form a makeshift baker) in oven and preheat to 500.
Once heated, gently turn one loaf out of banneton onto a square of parchment paper. Score top with lame, scissors, or sharp knife. Using heavy duty oven mitts (like these), place loaf into dutch oven, cover with lid, and return to oven.
Lower temp to 450, and bake for 20min.
After 20min, remove lid, lower temp to 440, and bake for 20min more uncovered.
Repeat with second loaf.
Let cool, then enjoy! Bread keeps for at least 3 days in a bread box or wrapped in tin foil. It also freezes fine.