Dried Flowers: Capturing Summer's Beauty
My mother-in-law has grown flowers in the backyard for some time now. Throughout the spring and summer, the family grows accustomed to beautiful cut flower arrangements brightening the home. This year I wanted to see if I could prolong our enjoyment of flowers into the cooler months. After looking into several ways of preserving flowers, I decided to try drying.
Drying flowers is the most accessible and affordable way to preserve flowers. Not requiring any special equipment or materials, you can pretty much make do with whatever you have on hand. Furthermore, after looking up all the variety of flowers in our garden, it seemed like air drying was a safe bet with most. With that decision made, I went out to harvest flowers.
The basic criteria for picking flowers to dry is to look for blooms that are still lovely and not past their peak. The simple logic is that dried flowers are going to loose their vibrancy to some degree. If they’ve already begun to do so even before picking, they are going to look only even sadder after drying.
Having picked my flowers, I brought them inside to prep them for drying. To ensure the flowers dry thoroughly and do not fall prey to mildew, it is important to remove all foliage. With that done, I began to bunch them in numbers of roughly 5-8 stems, securing them with rubber bands. It is good to keep in mind that most flowers will become quite brittle once dried, so keep the stems as long as will be wanted later.
The best place to dry flowers is anywhere that is dry, dark, warm, and has some air flow. If there is humidity, flowers will fall prey to mildew. (This rules out most basements and cellars!) If there is too much light, the flowers could fade more than desired. Both the warmth and air flow speed up the drying process and help against mildew.
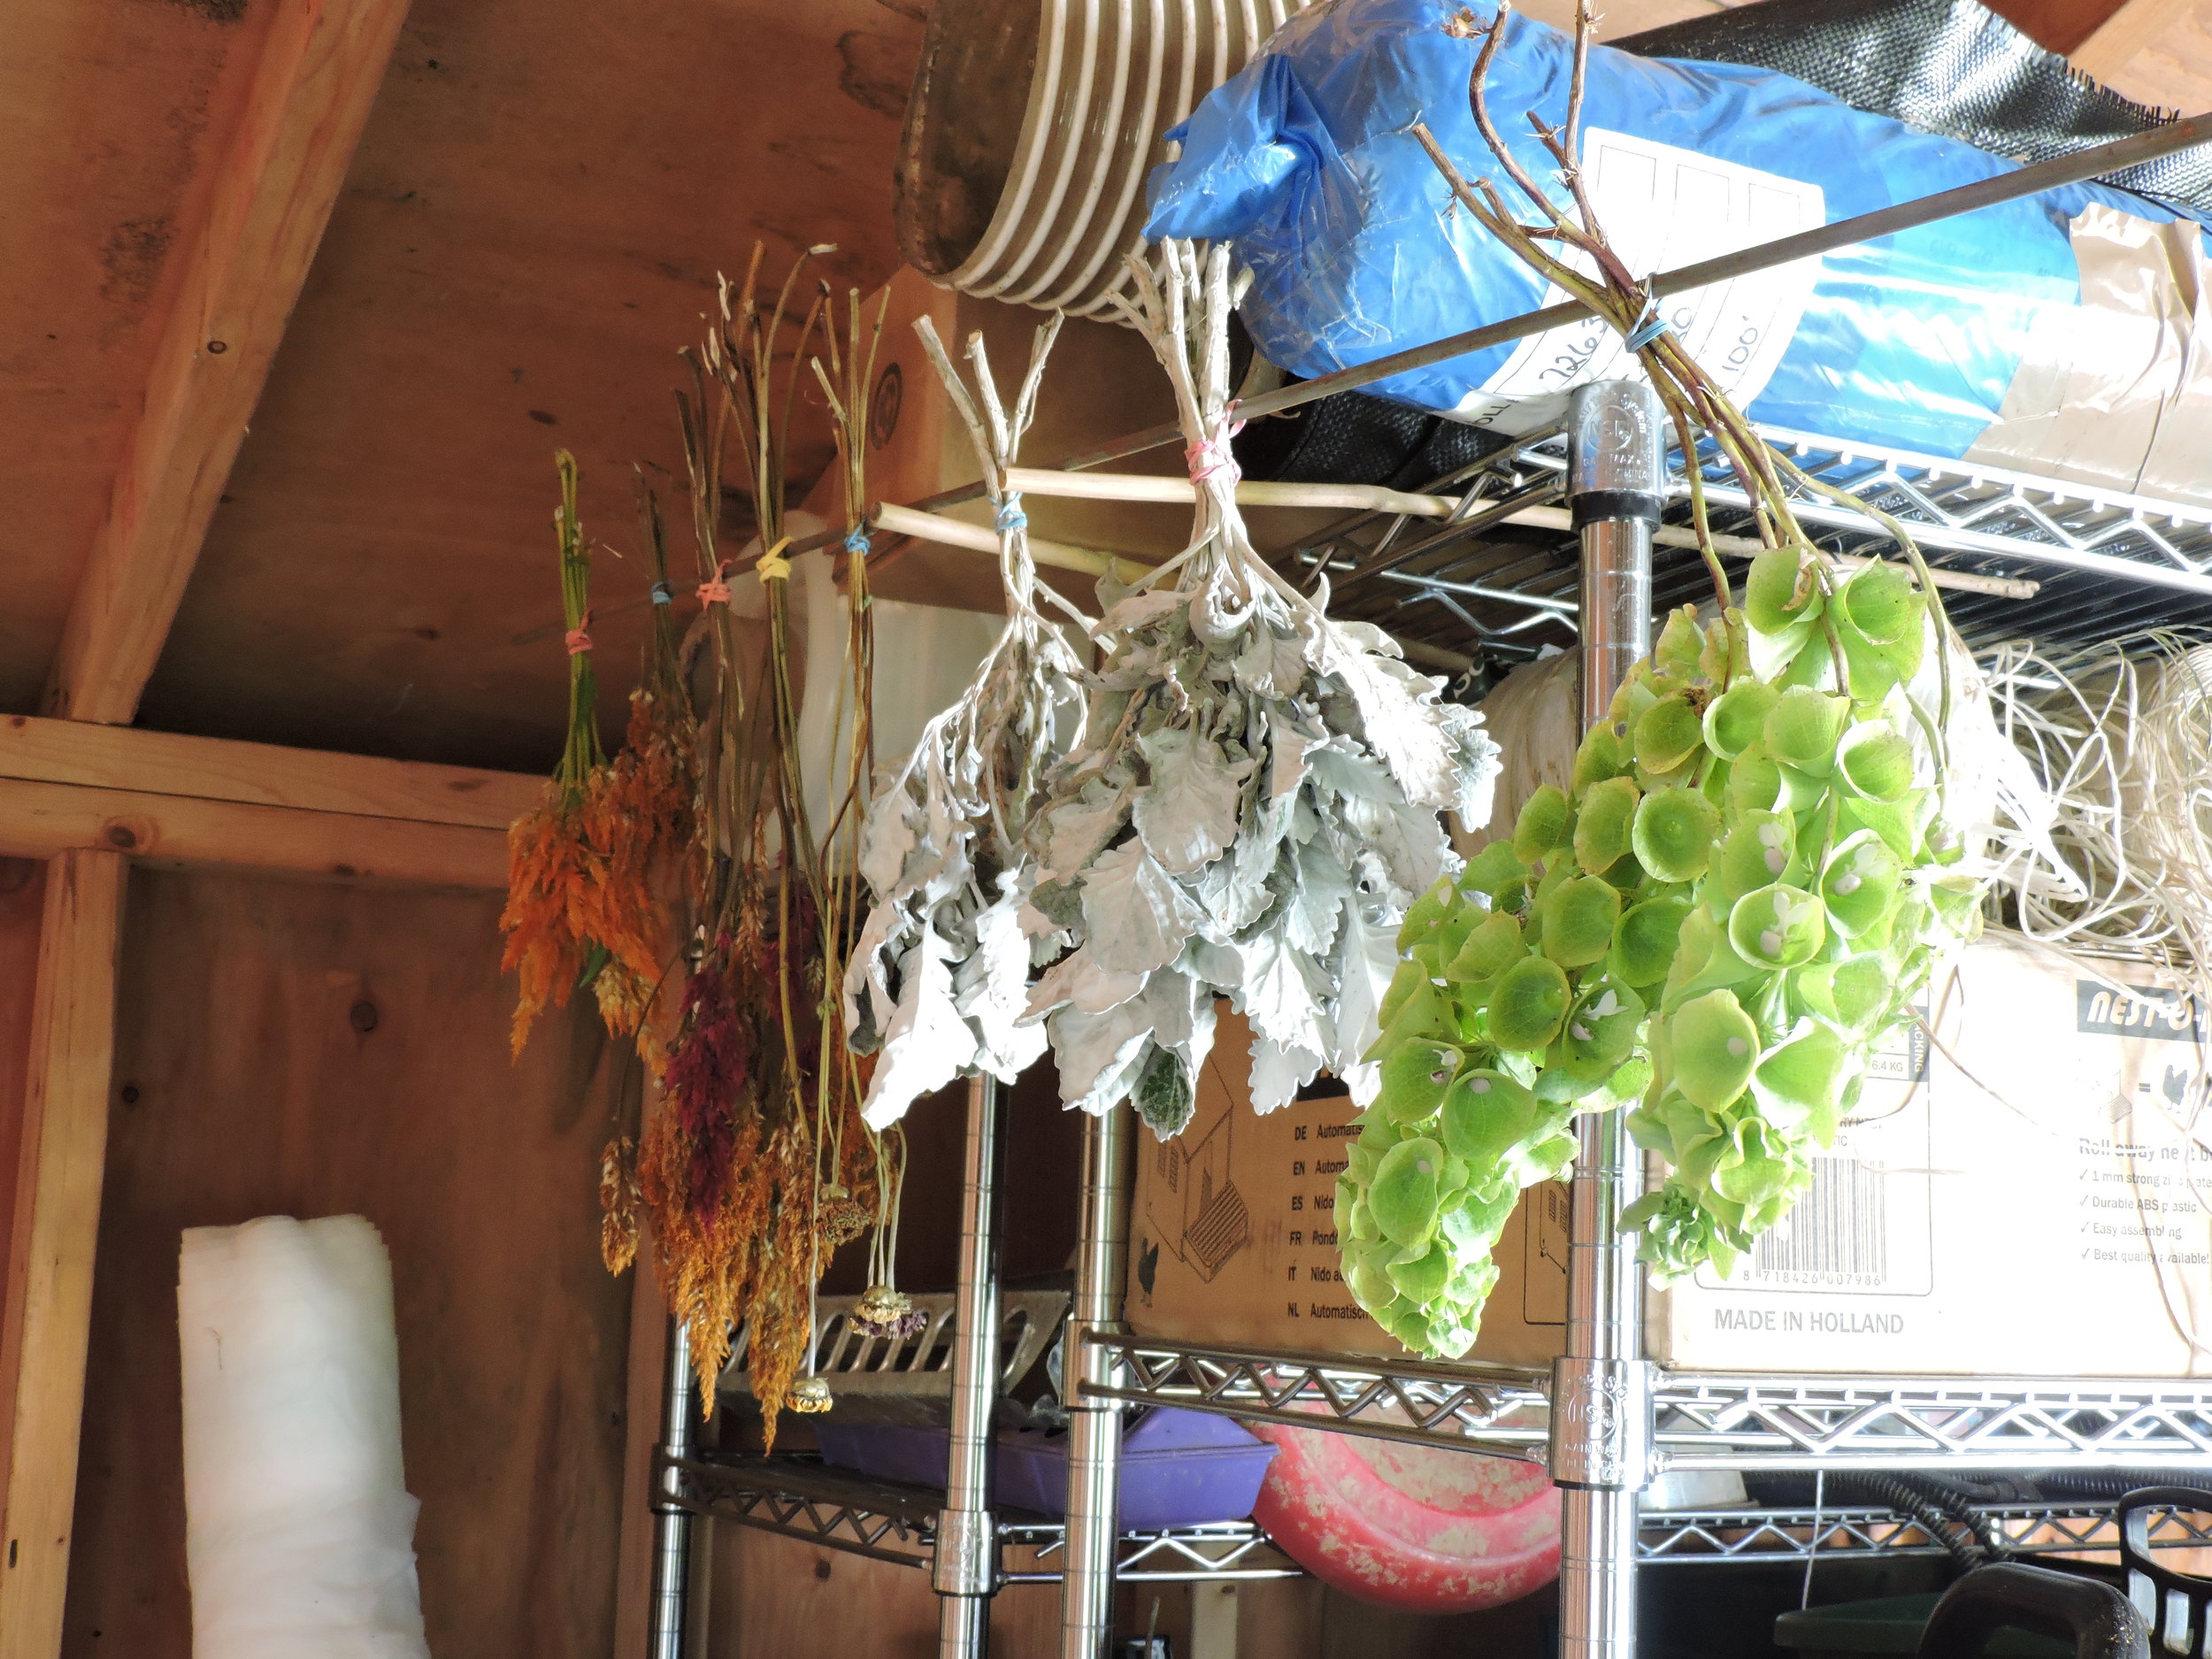
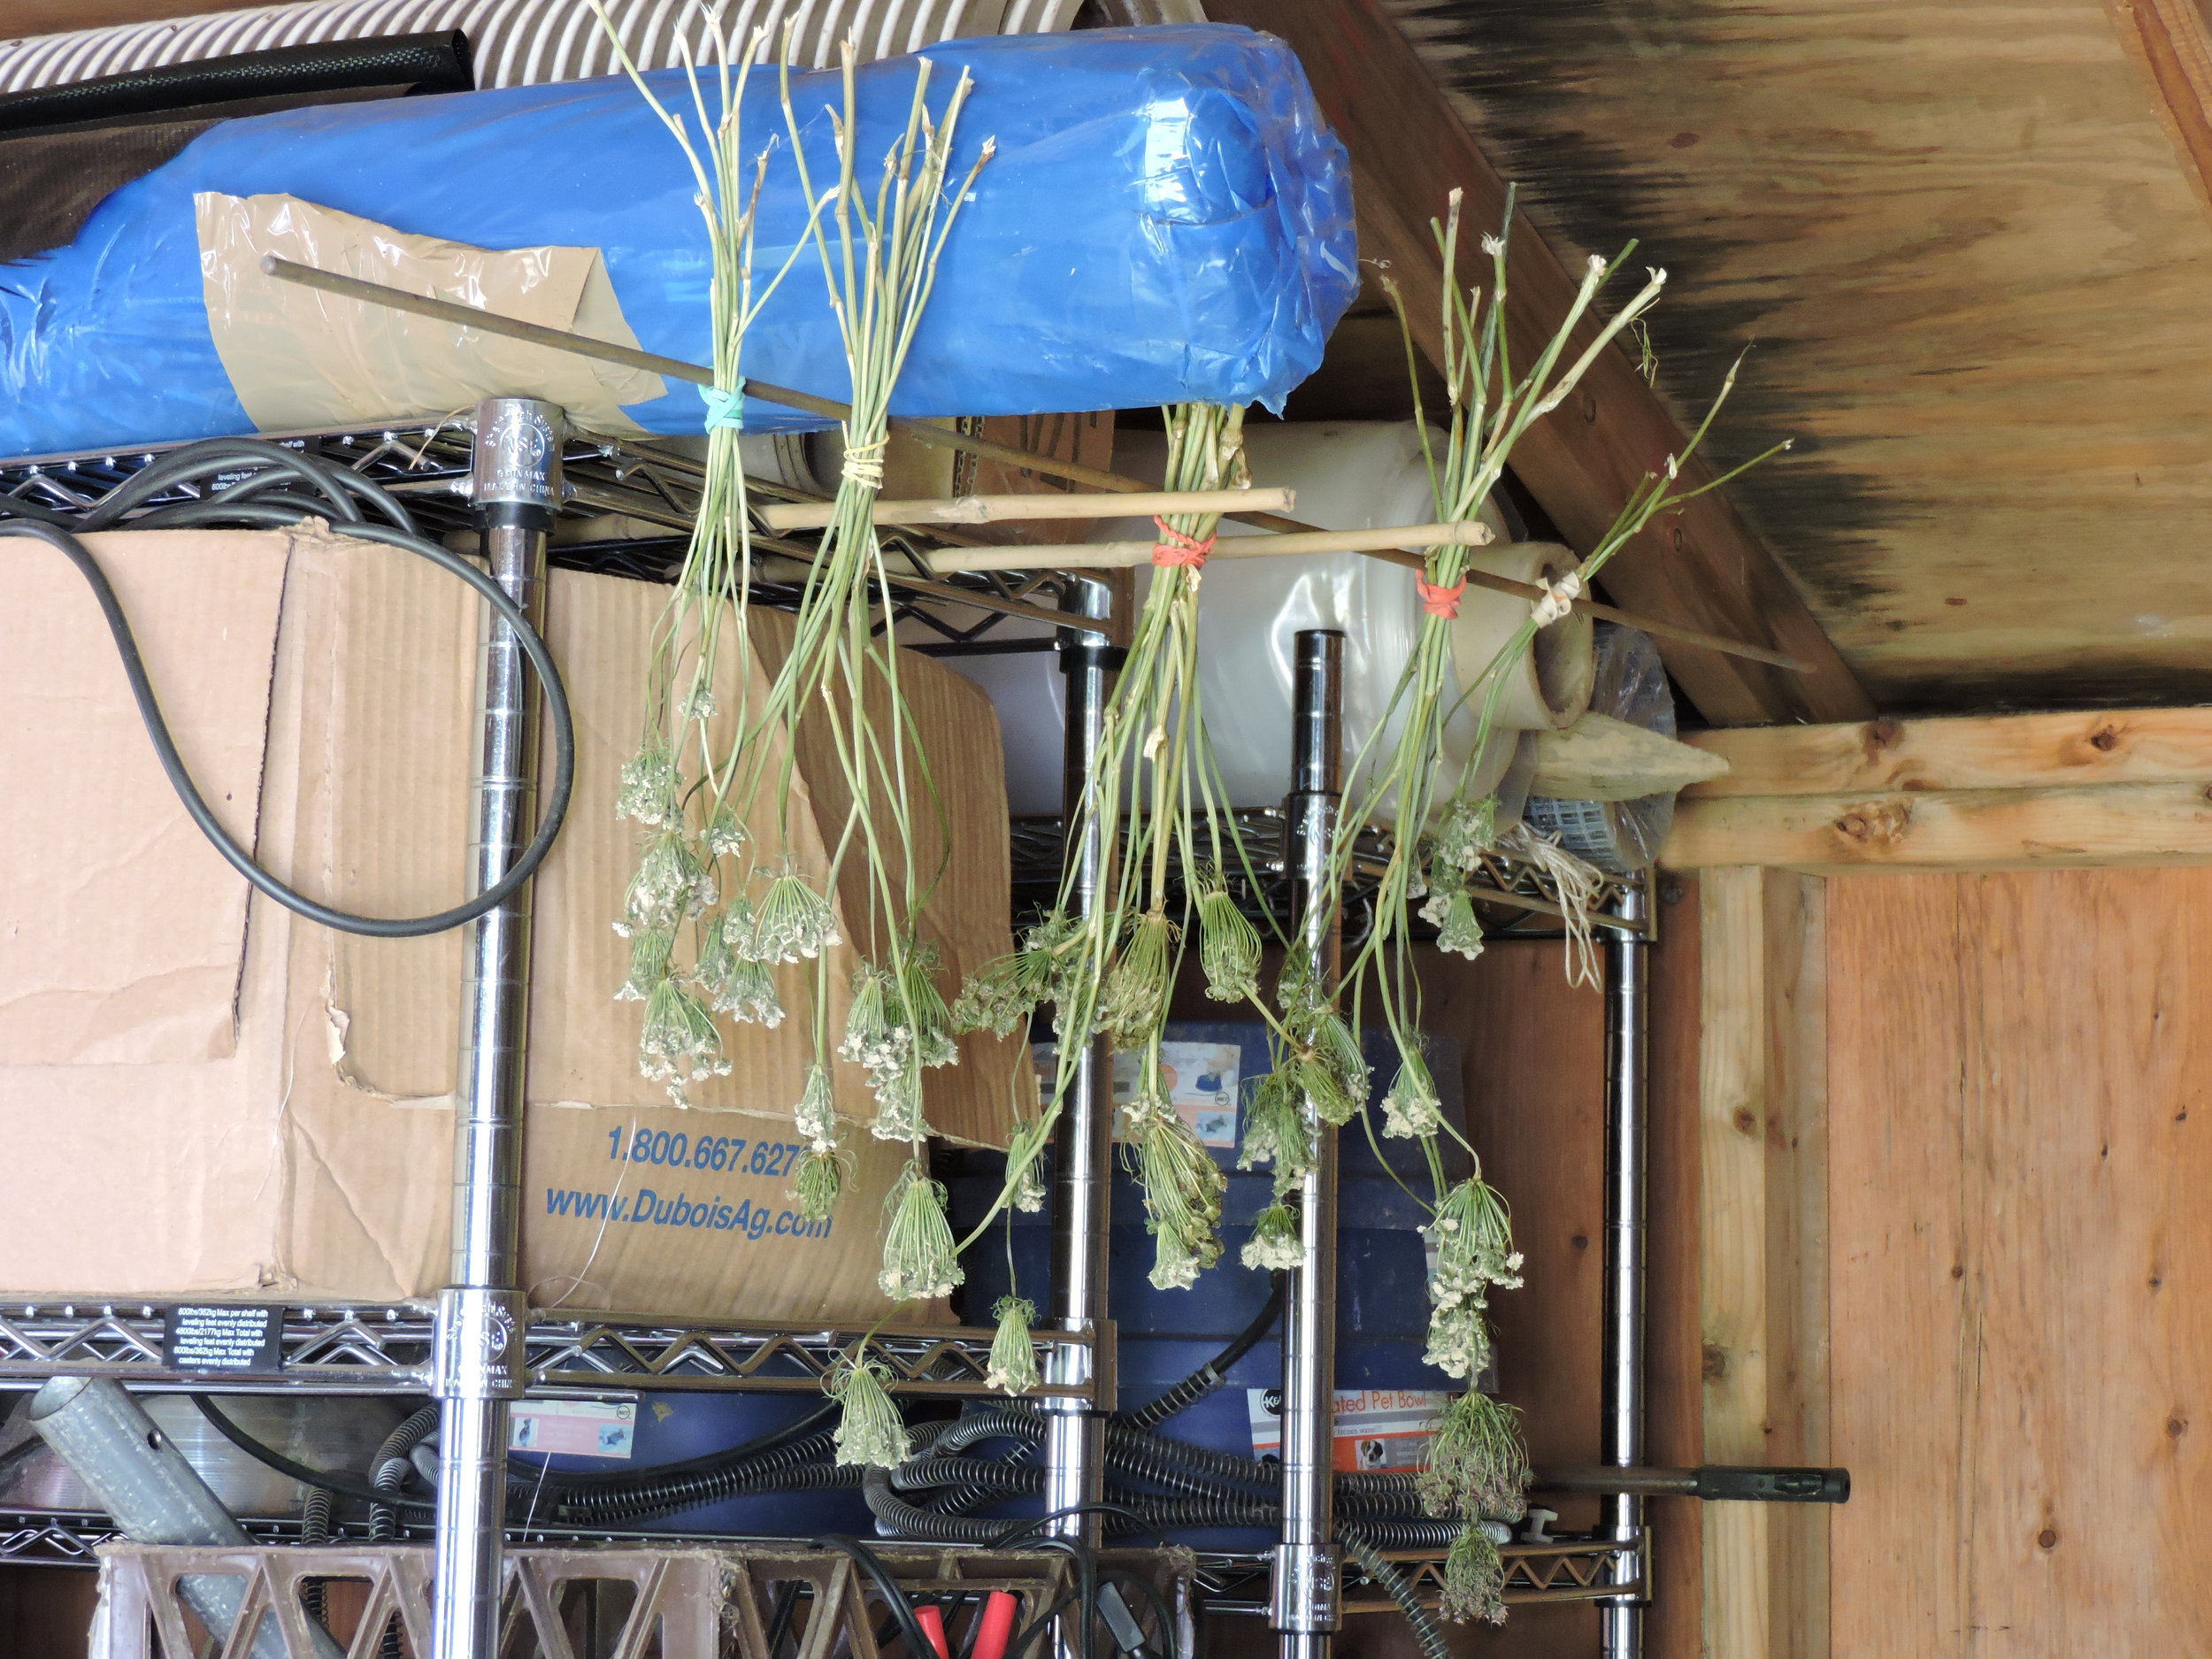
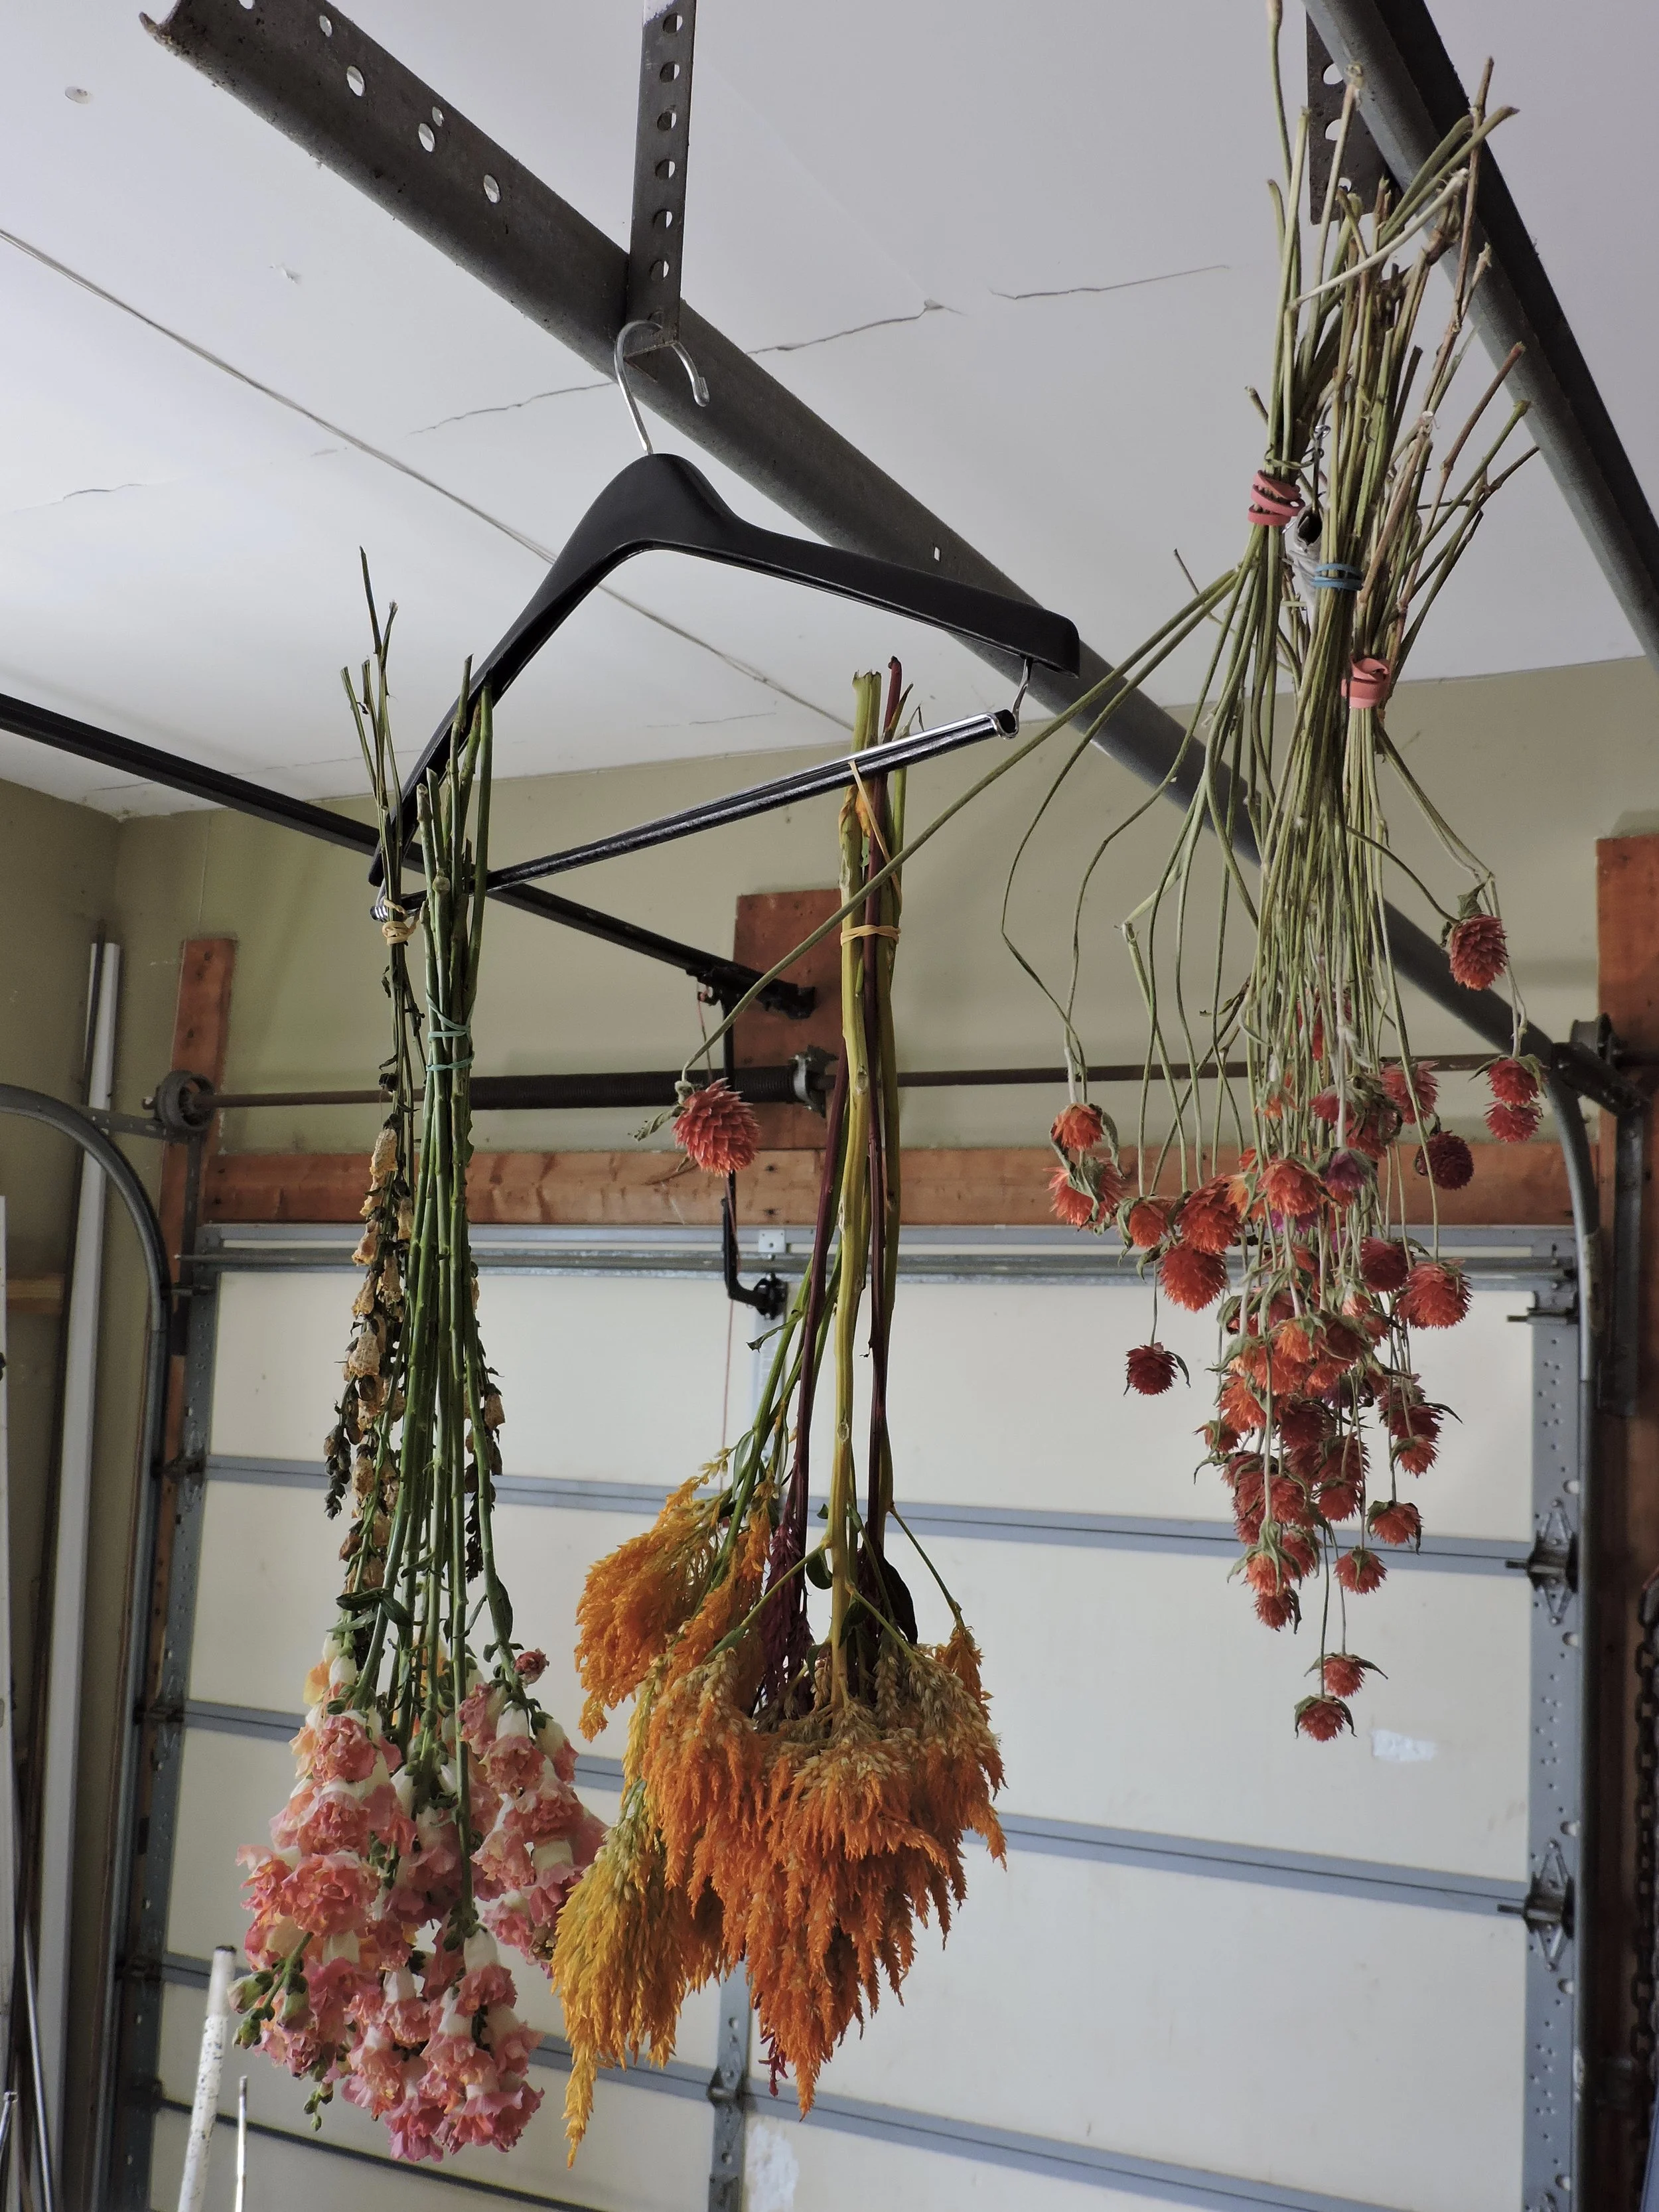
Working with the space I had, I decided to try the shed and the garage. Both places could probably be darker for ideal flower drying, but as I intended the flowers for family use and enjoyment, I didn’t allow myself to get too hung up on ideal conditions. Plus, with the doors closed, both places were far from bright. So, I secured my flower bunches to clothes hangers and metal rods we had on hand and hung them up to dry!
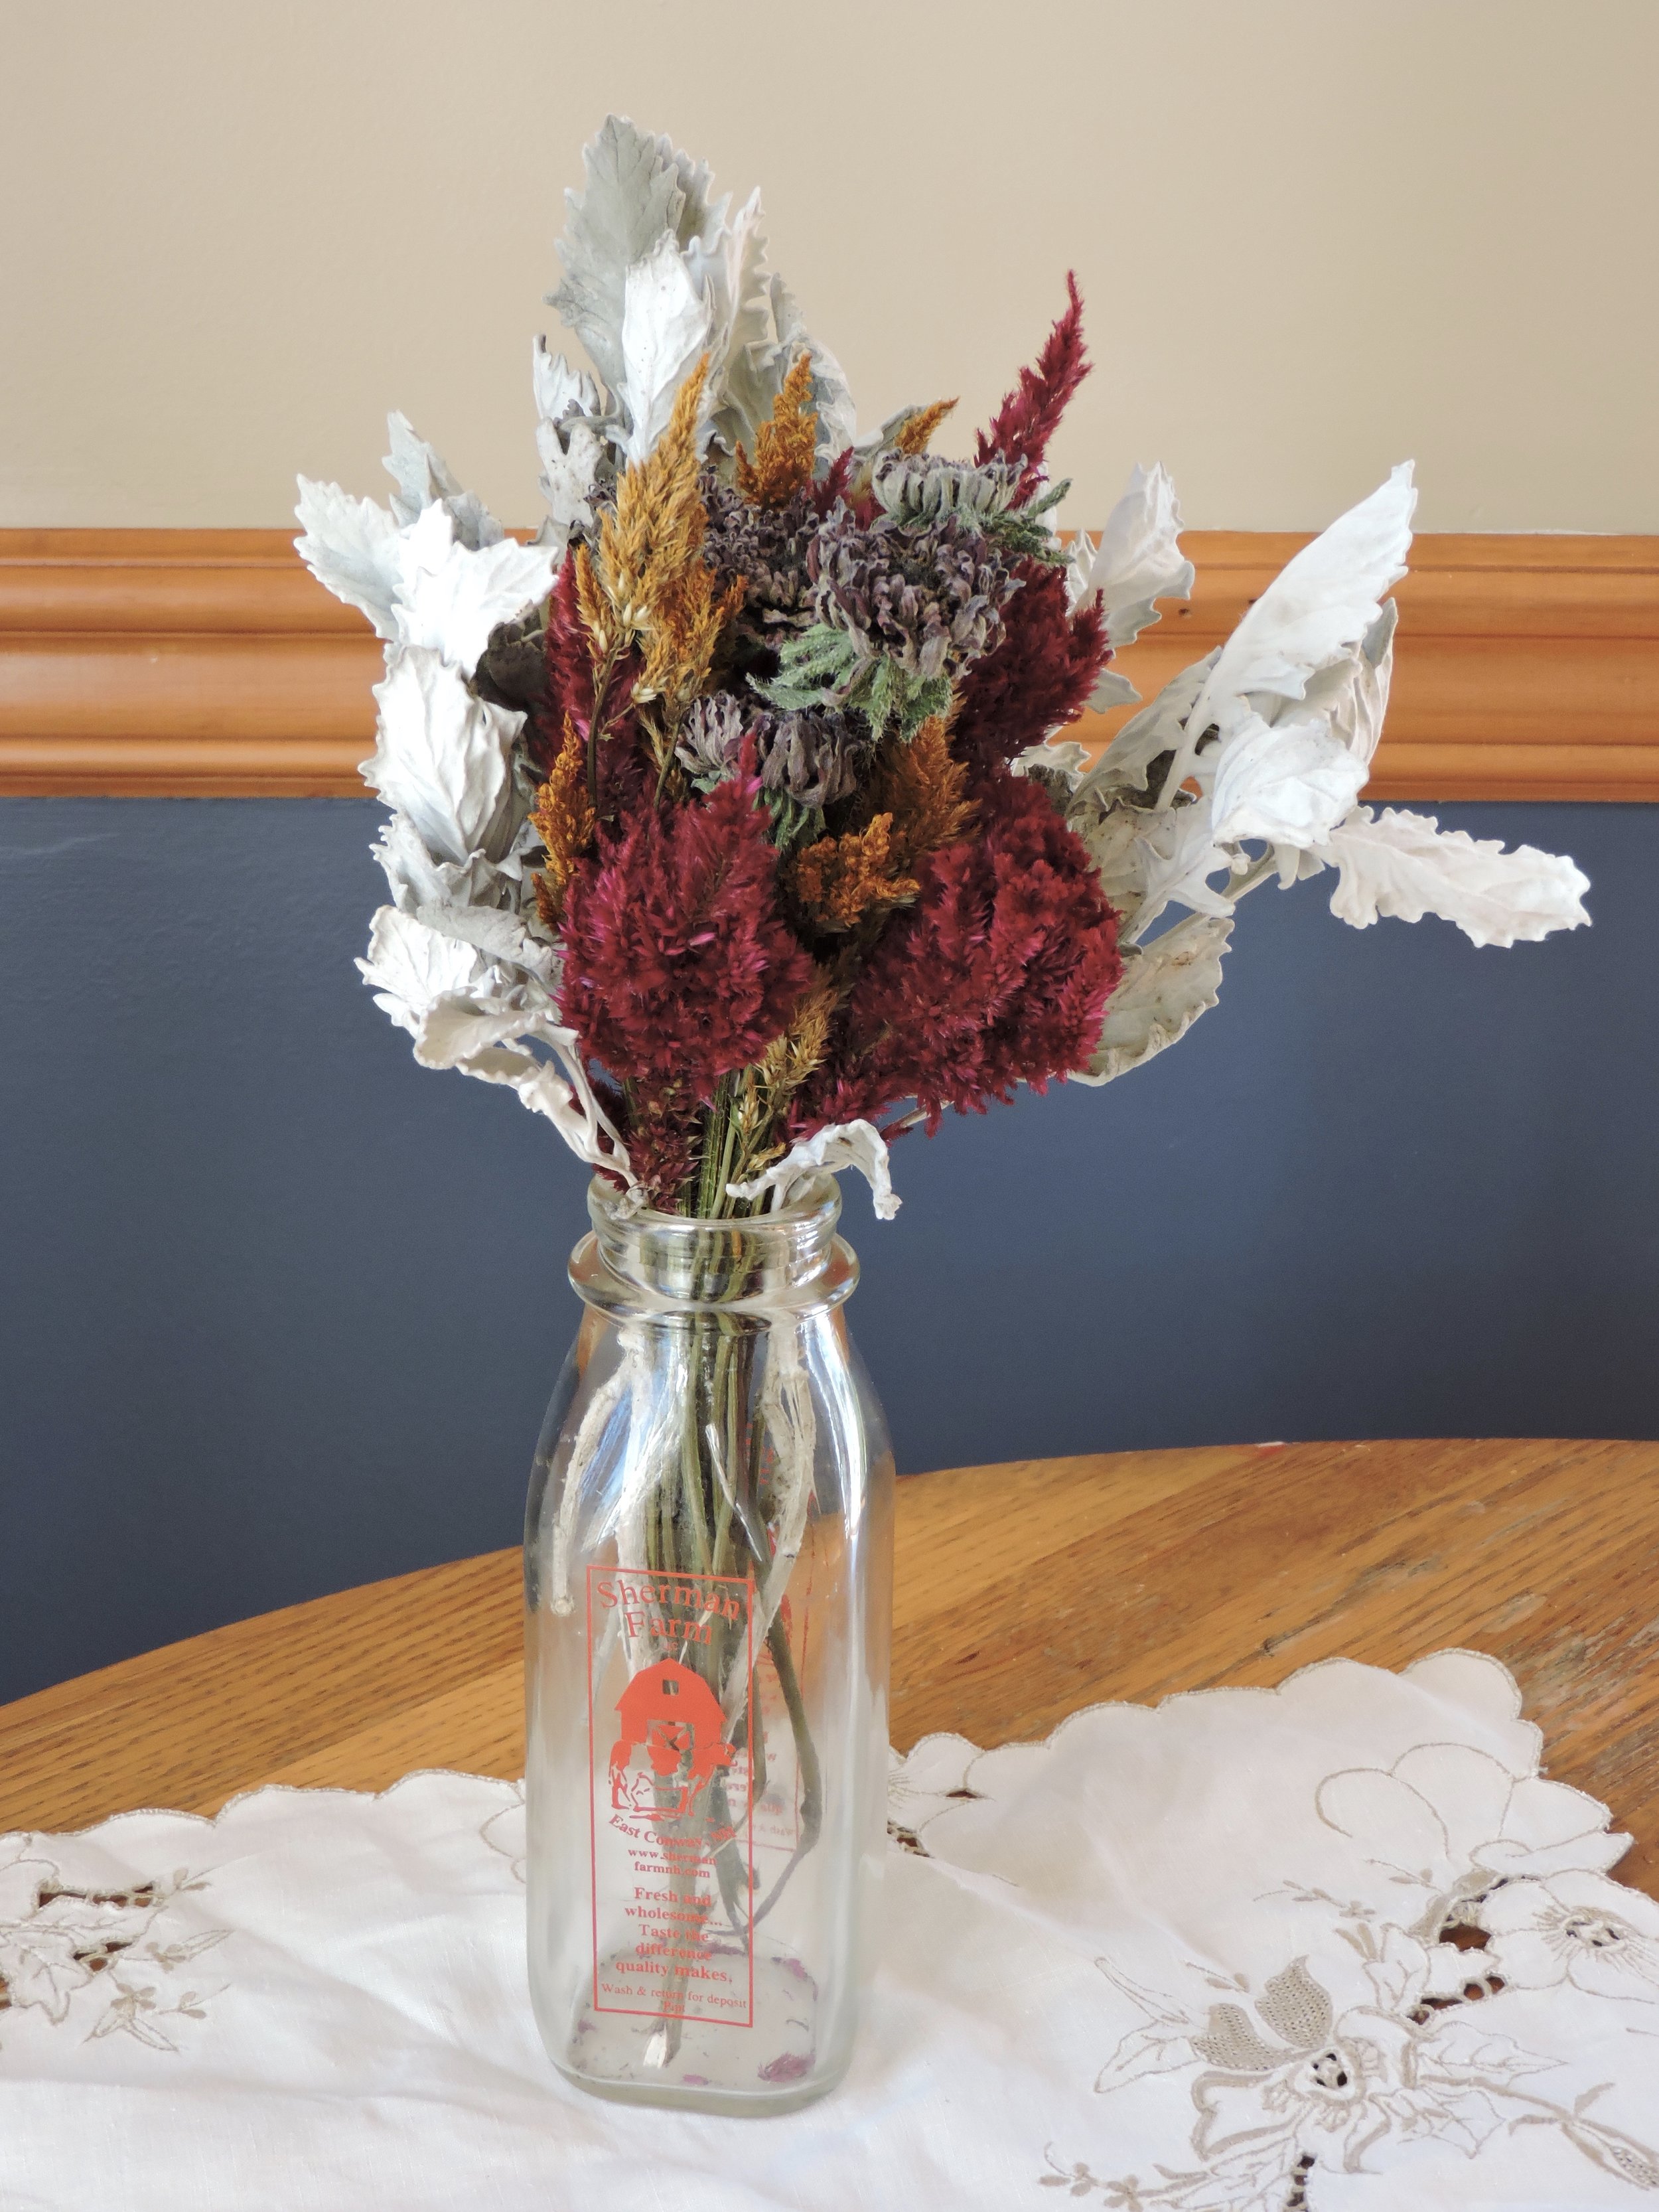
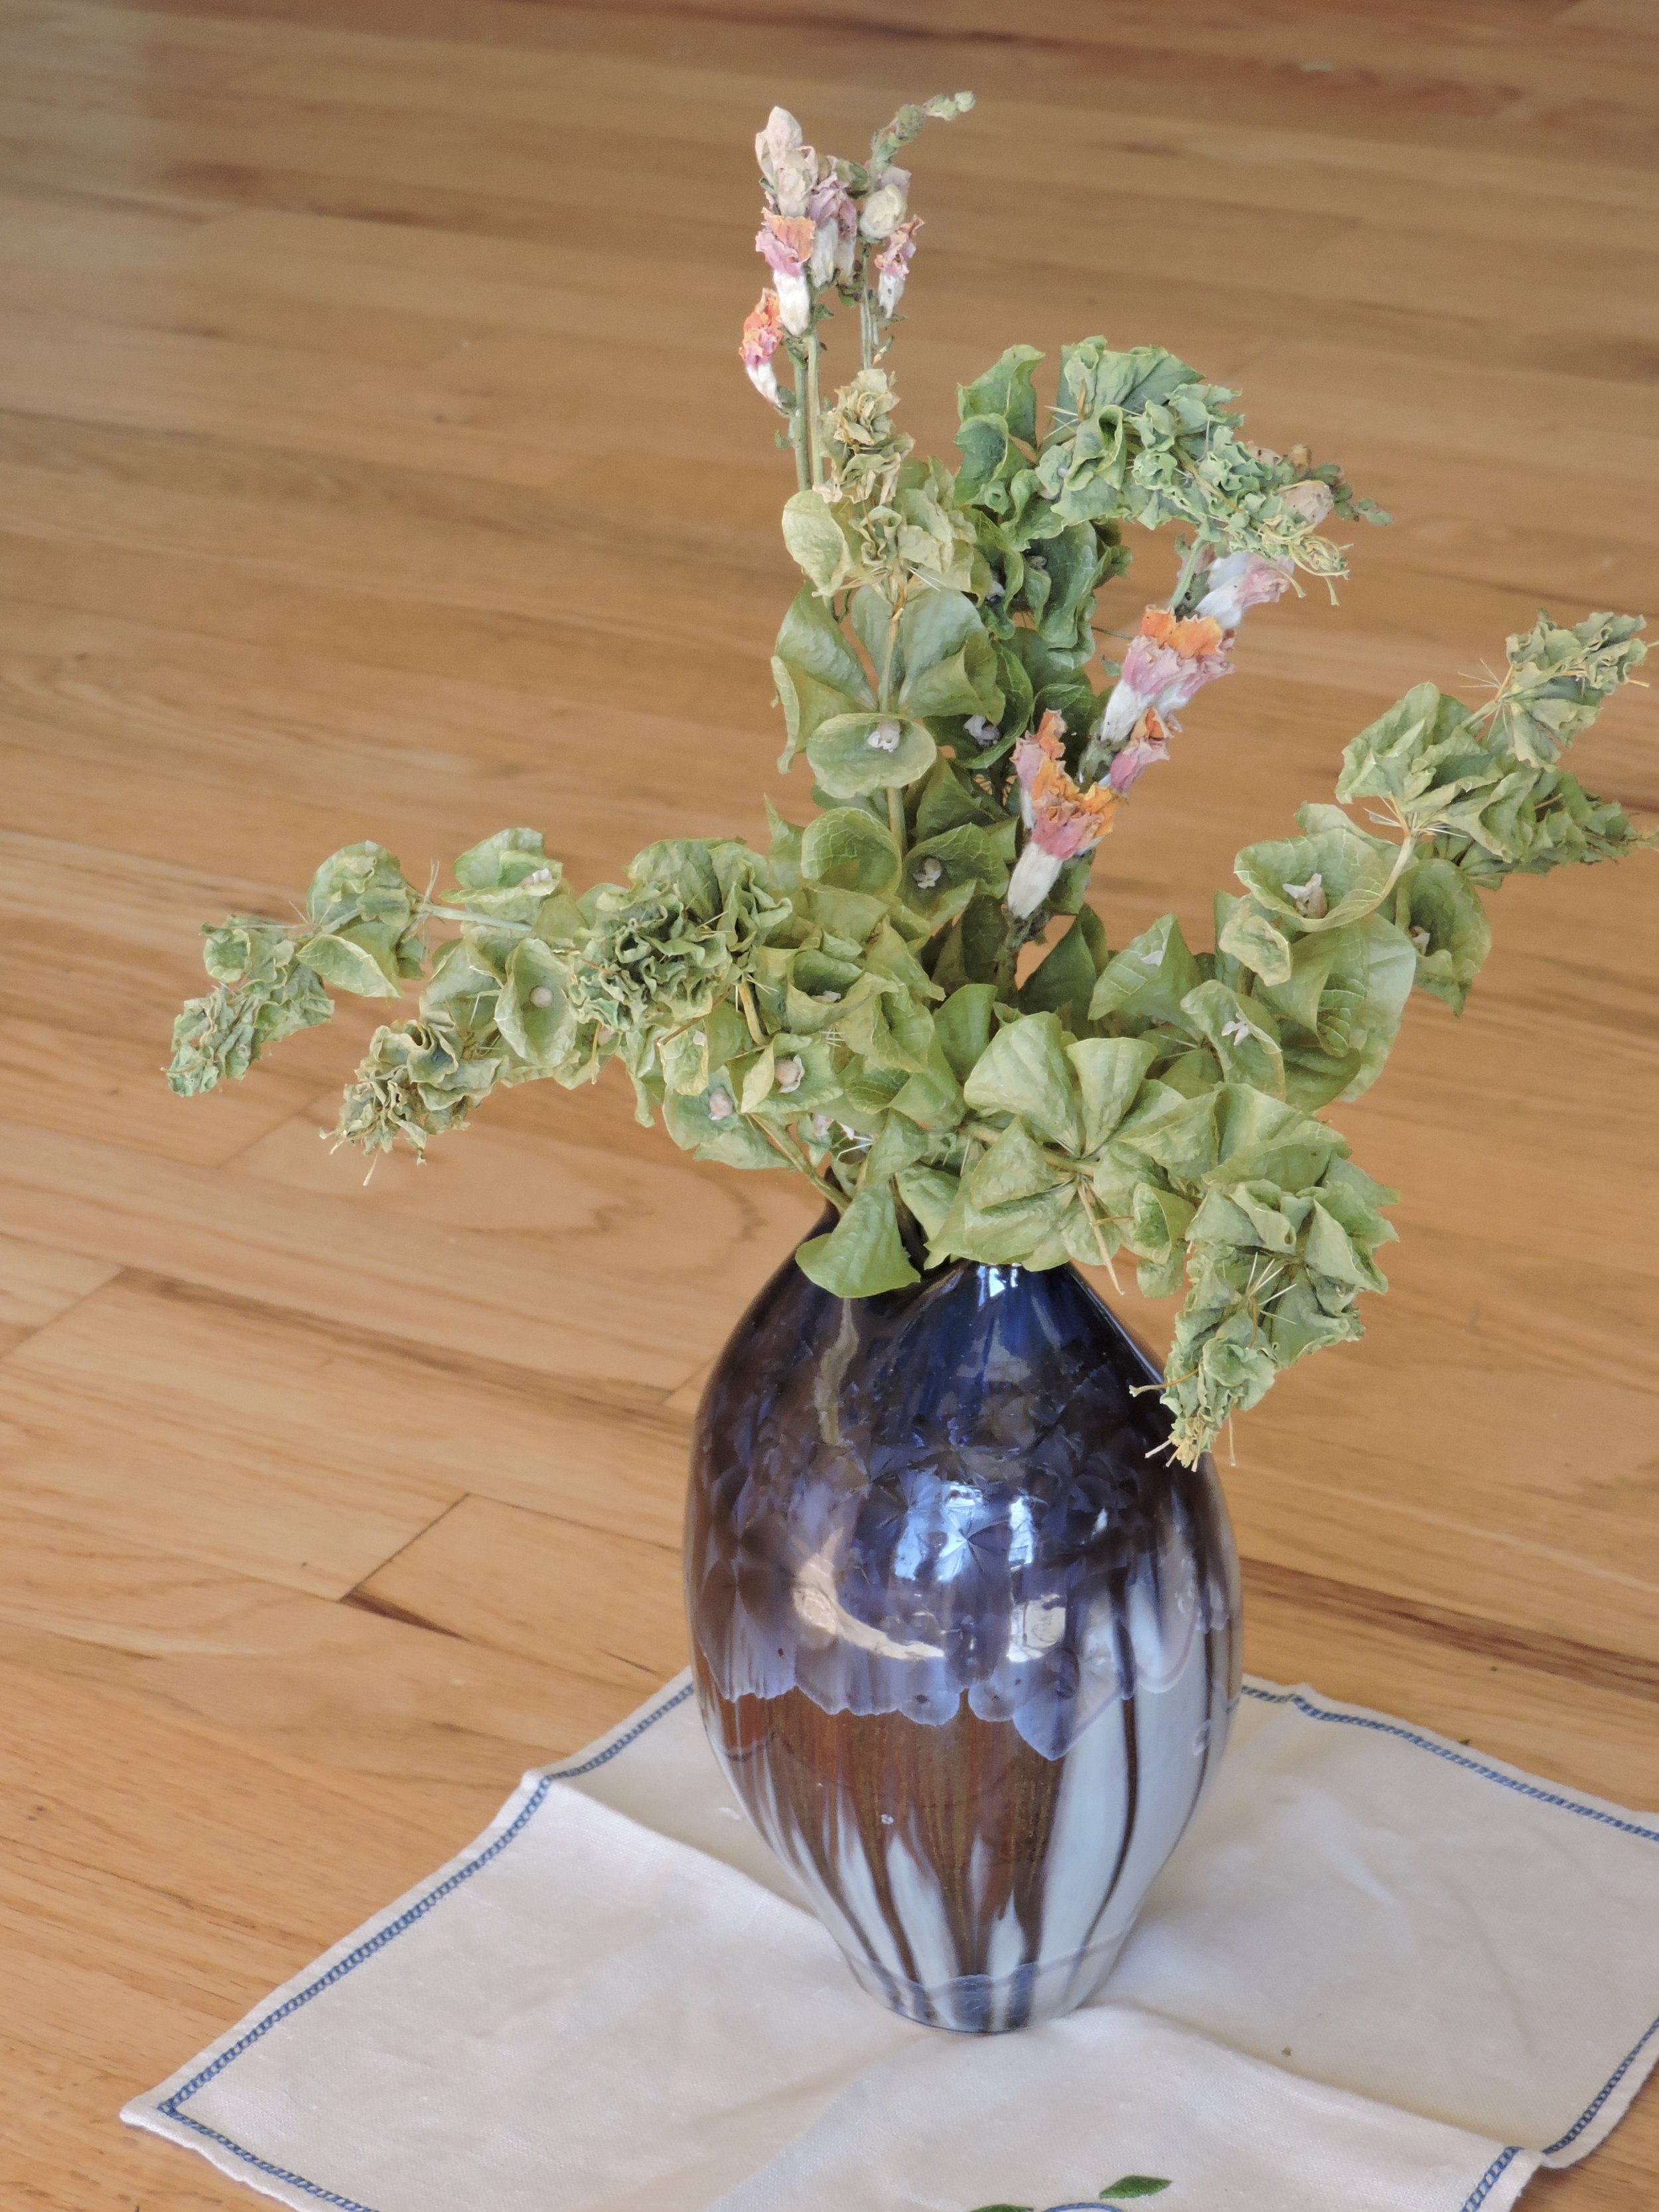
About a week or two later, I checked on all my bunches. Some varieties maintained their color and shape better than others, but overall, I was pleased with all the flowers I dried. The most drastic change from fresh to dry were the black-eyed Susans and Queen Anne’s lace. The former are heavily petaled, which I read can be more difficult to dry well. I still liked how they looked dried, but there was an initial shock when remembering their former appearance. The Queen Anne’s lace is frankly a dud. They lost all laciness and shriveled to uninteresting clusters. But the celosia, dusty miller, amaranth globes, snapdragons, and bells of Ireland were quite satisfying to behold! After making arrangements with my first batch, I went out to the garden to pick more. I’m looking forward only to improving!
A note: Most readers might not have flower gardens in their backyard. But, if you’d like to lengthen your enjoyment of spring and summer blooms, you can use the same guidelines and dry store-bought bouquets. Trader Joe’s is a great place to find affordable, beautiful, and varied bouquets.