graham cookies + a wonderful baking tool
I love these cookies. They are the perfect snack cookies that are sweet enough to satisfy a craving, but not sweet enough to make you think you’re over doing it on any regular old day. And they are so yummy! And satisfying! To be honest, I’m finding myself baking these up every other week or so.
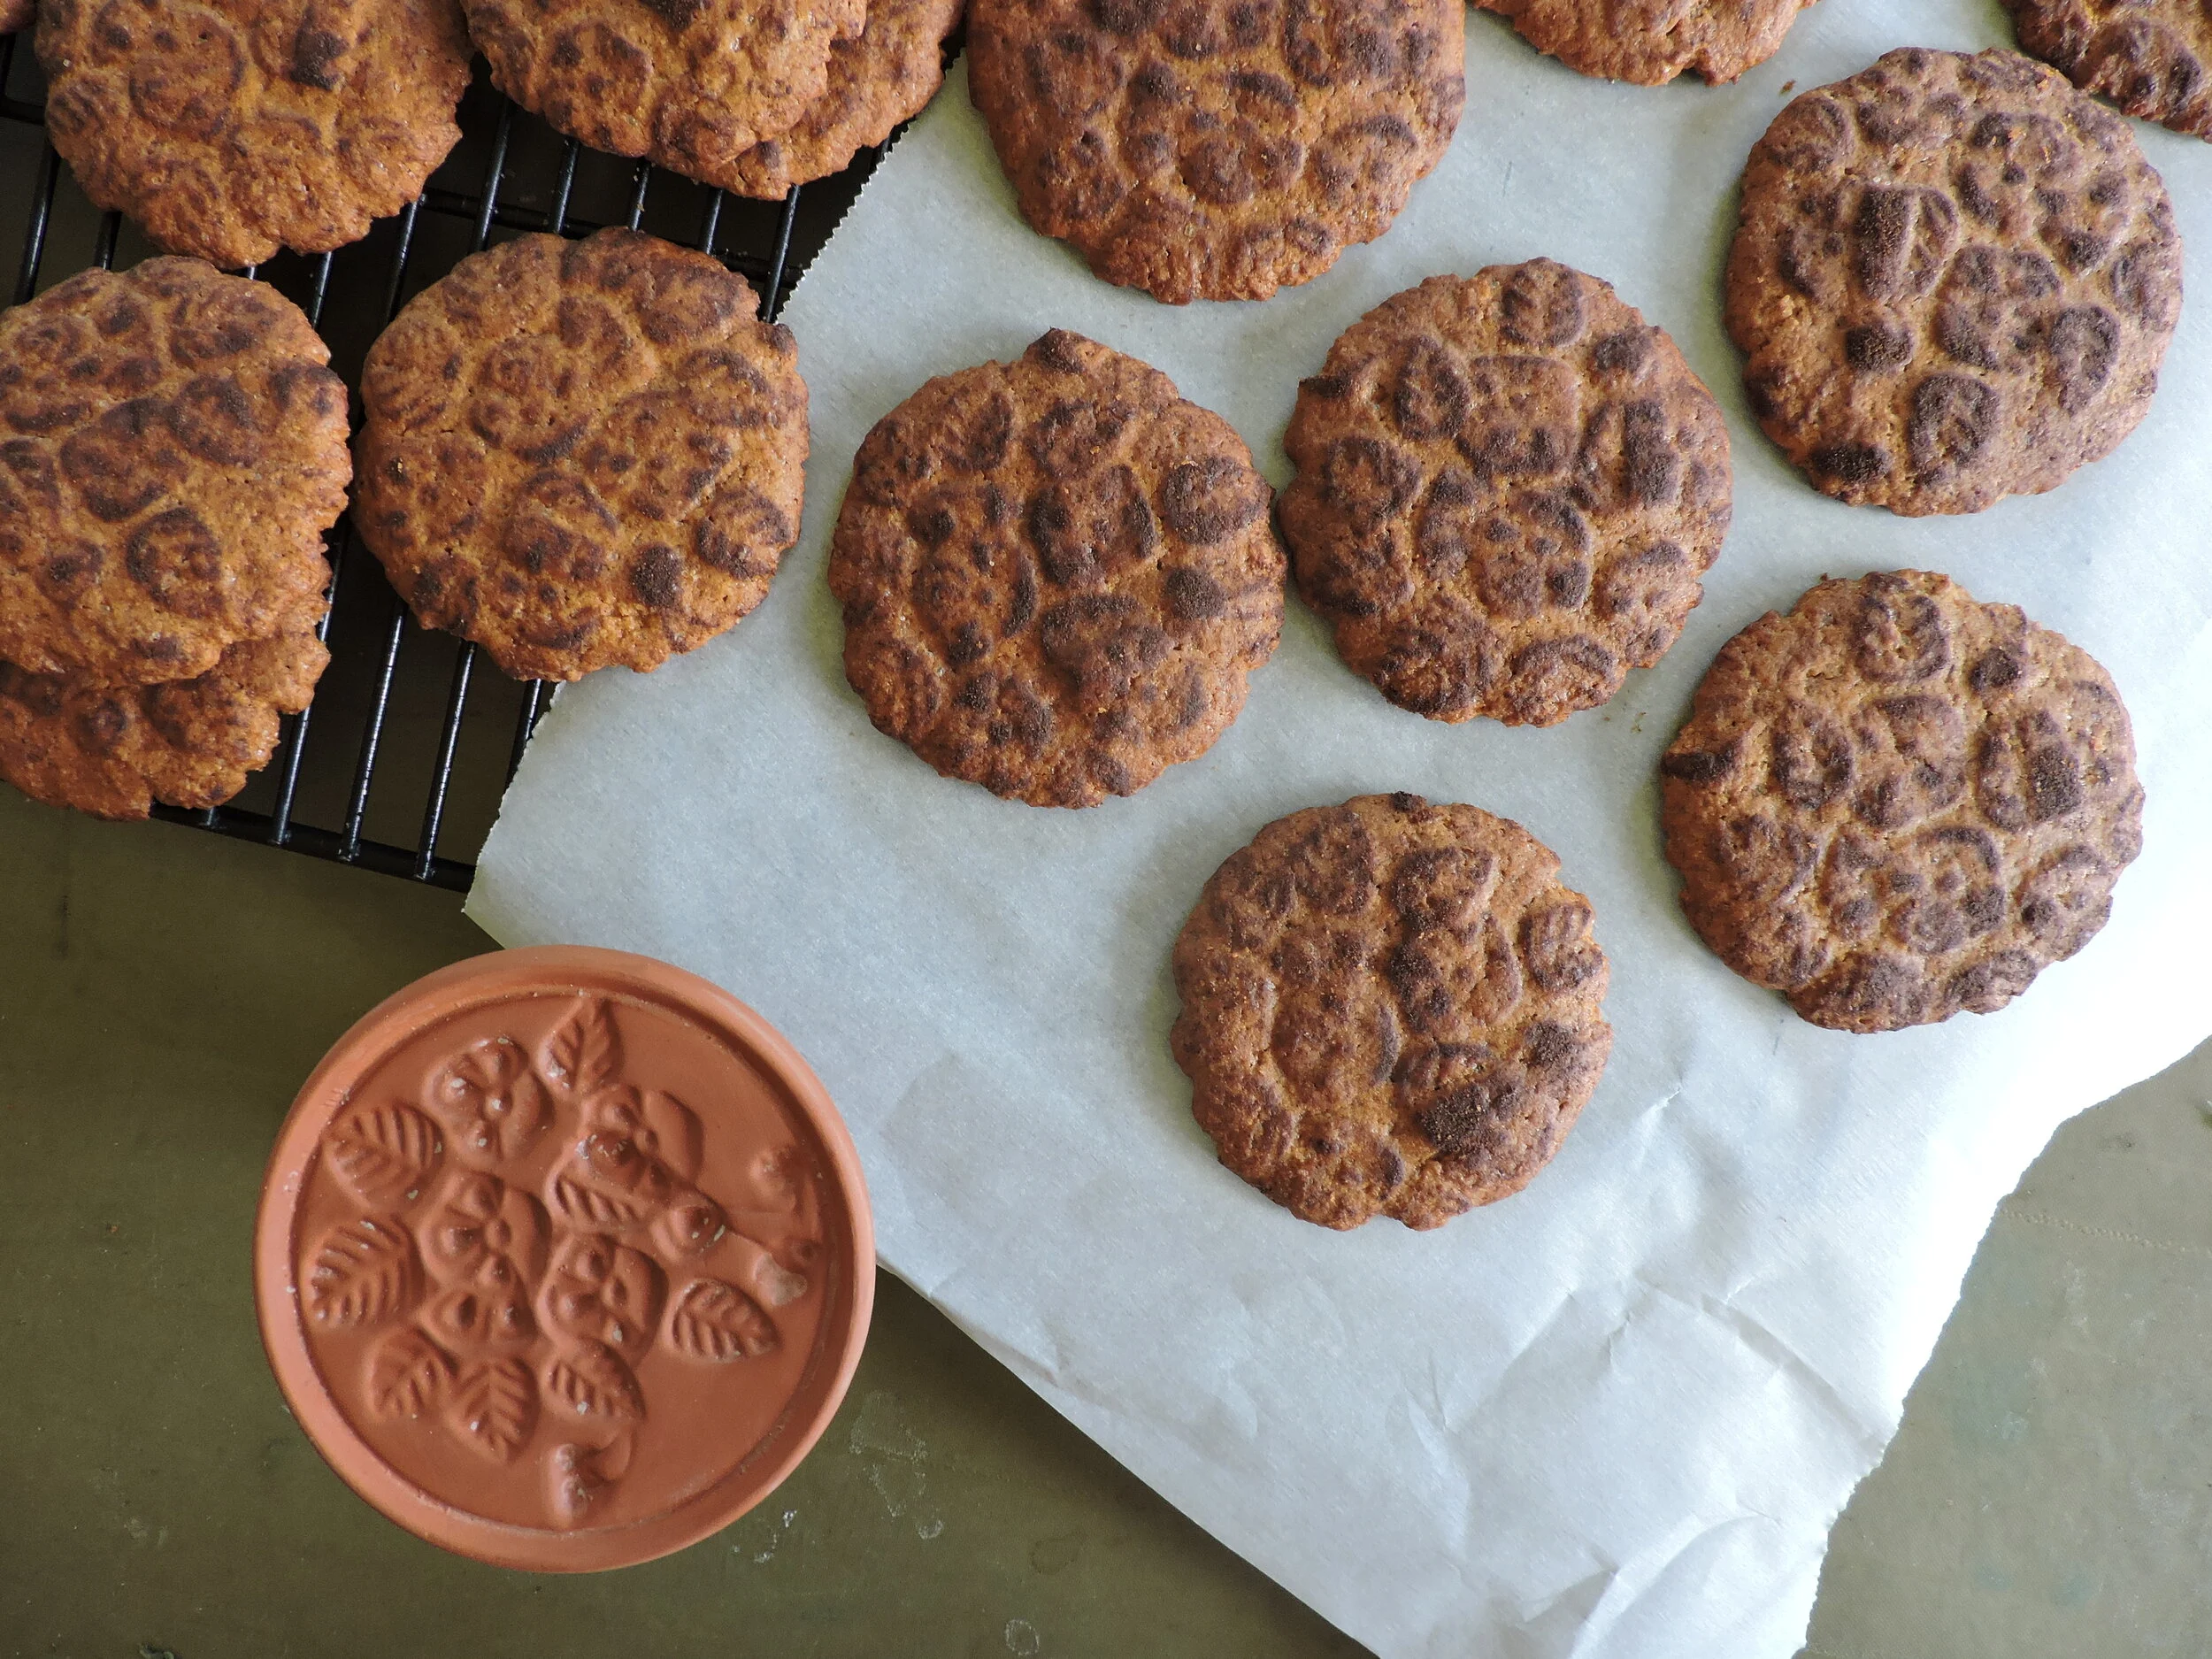
Cookies stamped using the cookie stamp pictured and cinnamon to keep from sticking. Pattern remains distinct, and they get the extra flavor boost!
I hit upon this recipe when making homemade mallomars for Easter. We modified the baking and assembly method, so had some extra dough from the cookie base. I rolled them into a few balls, stamped them with my cookie stamp, and out came graham-like cookies I fell in love with. Hopelessly.
About the cookie stamp. Sarah gifted me one she had found in a thrift store, and it is amazingly charming. Cookies that usually have to be rolled out and cut can be rolled into balls and stamped in much less time and with lovely, homey results. For someone who loves efficiency and convenience when cooking and baking but also appreciates a touch of beauty, the cookie stamp is becoming much beloved in my kitchen. Perfect to keep in mind as a little gift too!
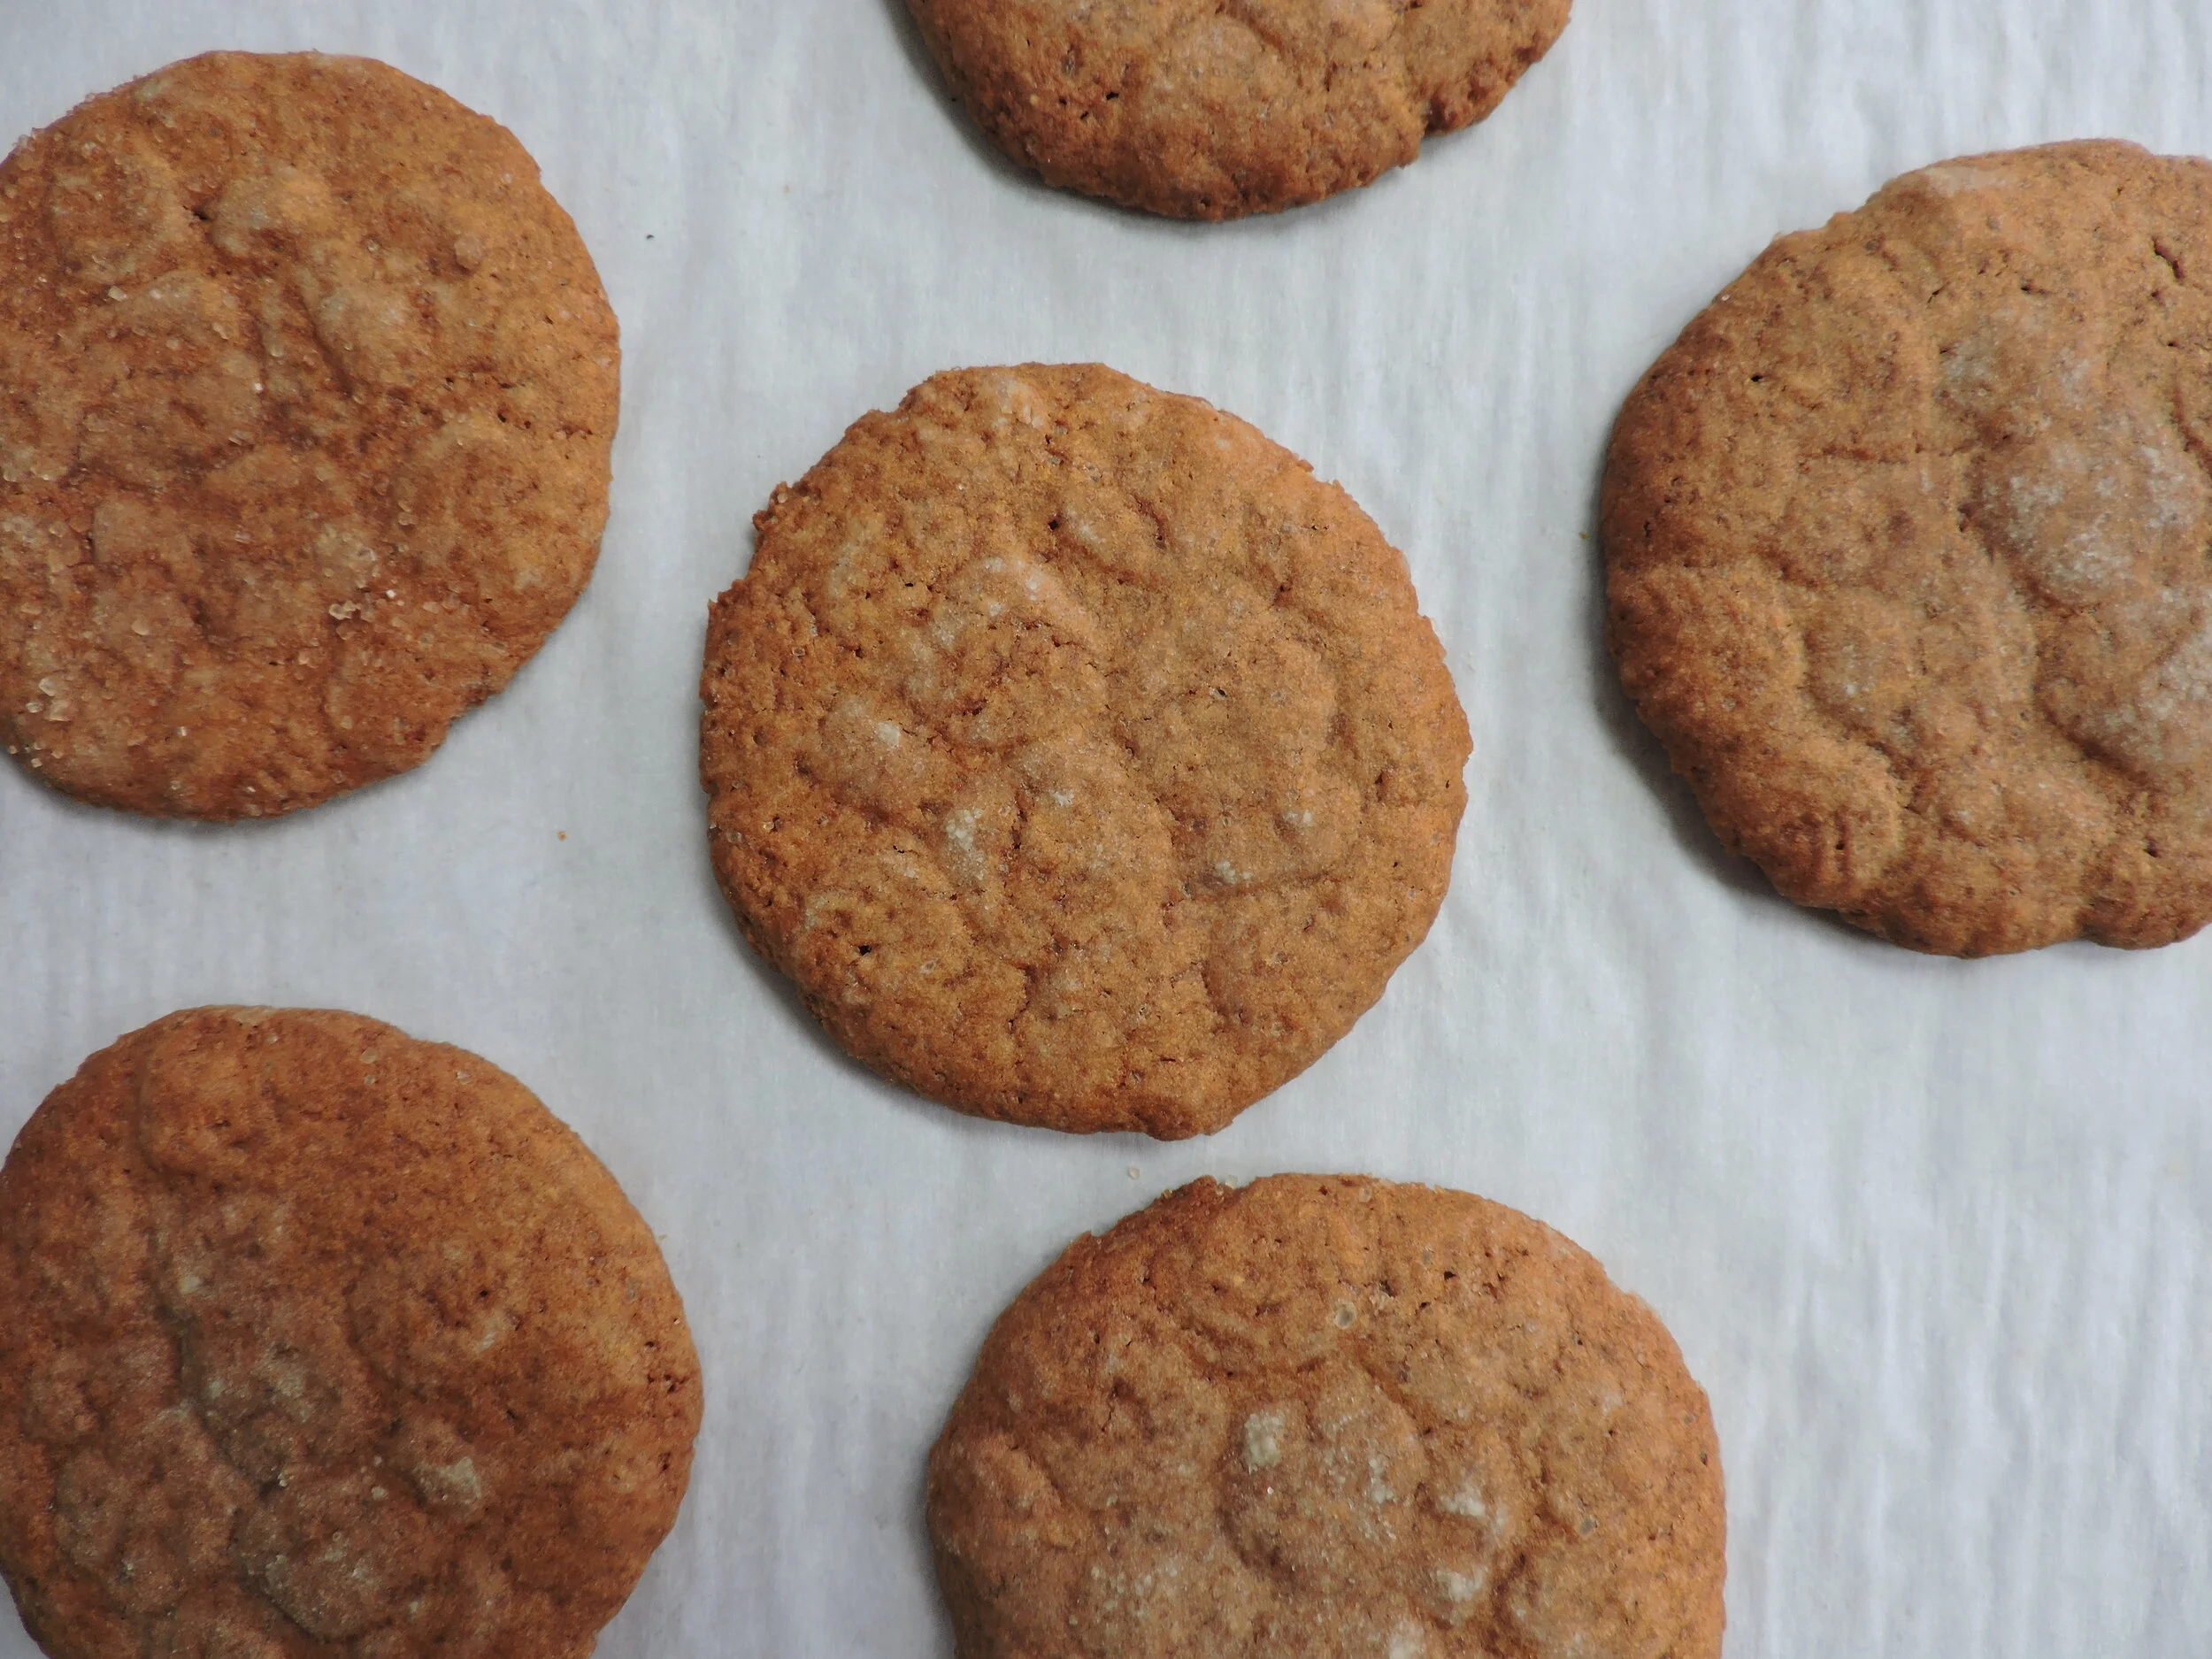
Cookies stamped with the cookie stamp using flour to keep from sticking. The pattern is more subtle, but still plenty enough interest for an everyday cookie.
These cookies are delightful on their own, but also pair very well with peanut butter sandwiched in between (or melted chocolate, or both mixed together!). They work well for graham cracker crusts, and based on the mallomars, they would taste delicious for s’mores.
graham cookies
Makes 32 thin, crispy cookies or 16 softer, cakier cookies
Ingredients:
1 1/2 cup flour
1/2 cup graham or wheat flour*
1 tsp baking soda
1/2 tsp salt
Pinch(es) of spice (Use a variety or none at all! As suits you. Cinnamon, cloves, nutmeg, allspice and/or ginger would all be good choices.)
1 stick butter, softened
1/2 cup dark brown sugar
2 tbs honey
1/4 cup milk or water
1 tsp vanilla
Directions:
In a small bowl, mix together the flours, baking soda, salt, and spices (if using). Set aside.
In a small glass measuring cup, measure the milk or water. Add the vanilla. Set aside.
In the bowl of a stand mixer, add butter, brown sugar, and honey. Beat on medium to low speed until nice and creamy. This should take a couple minutes. Please avoid beating on high speed — you don’t want a lot of air whipped into these.
Add the flour mixture in three parts alternating with the milk mixture in two parts. Make sure to scrape the bottom and sides of the bowl as necessary to ensure everything is mixed thoroughly and evenly.
Turn dough onto the counter. Decide if you’d like crisp or cake-like cookies and divide the dough into 32 pieces for the former and into 16 pieces for the latter. (Or make half into 16 pieces and the other half into 8 pieces for a bit of both!) If your dough is very soft or your kitchen very hot, you may need to stick it in the fridge for 10 minutes to firm up a little if much too soft and messy to deal with, but I usually don’t need to.
Roll each piece into a ball. Put on a plate, and stick in the fridge to firm up a little before stamping. Meanwhile, preheat the oven to 350.
About 30 minutes later or so, take your dough balls out of the fridge. Grab a small piece of parchment paper to keep your dough from sticking on the counter. Get your cookie stamp, dust with flour or cinnamon to keep the dough from sticking, then stamp the dough ball into an even disk. Lift stamp, and if needed, gently peel off the cookie disk from the stamp. Transfer to a baking sheet and continue with the remaining dough balls making sure to dust with flour or cinnamon* before stamping each cookie. These cookies do not spread too much, but leaving about an inch between each cookie is a good idea.
Bake cookies for 12-15 minutes, rotating halfway through. Cookies should brown on top and around the edges just a little. For crisp cookies, err on the longer side.
Let cookies sit on pan for a minute or two then transfer to a wire rack to cool completely. These store well in an airtight container. Enjoy!
Notes:
If you have a white wheat flour, use it for all of the flour and skip using a mixture of pure white and wheat.
This recipe does tend to stick to the cookie stamp if not generously dusted. Flour works very well and usually doesn’t show after baking. Cinnamon works too and makes the pattern more distinct. I’ve tried cocoa for a chocolate dough, and it also worked, but slightly less well.
No cookie stamp?
These can also be rolled and cut into shapes. (They should be able to be rolled right away on a floured surface, but stick in fridge for 10min to firm up a little if far too soft and messy. After cutting into shapes, transfer to baking pan and allow to firm up in the fridge for about 30 min before baking to help them retain their shape. If you don’t want too much puffing, poke cookies with a fork before baking.)
Or: my guess is that the greased bottom of a water glass dusted with flour, cinnamon, or perhaps even granulated sugar would do the trick as well. No pattern, but less effort than rolling and cutting into shapes!
Adapted from this recipe.


![rice flour snickerdoodles [gluten-free]](https://images.squarespace-cdn.com/content/v1/597b816fcd39c3708a0bace0/1561062982515-5DUSRH1Z49QADC2L6O5F/IMG_2471.jpeg)


